Email Setup for iPhone & iPad

Email Setup for iPhone & iPad

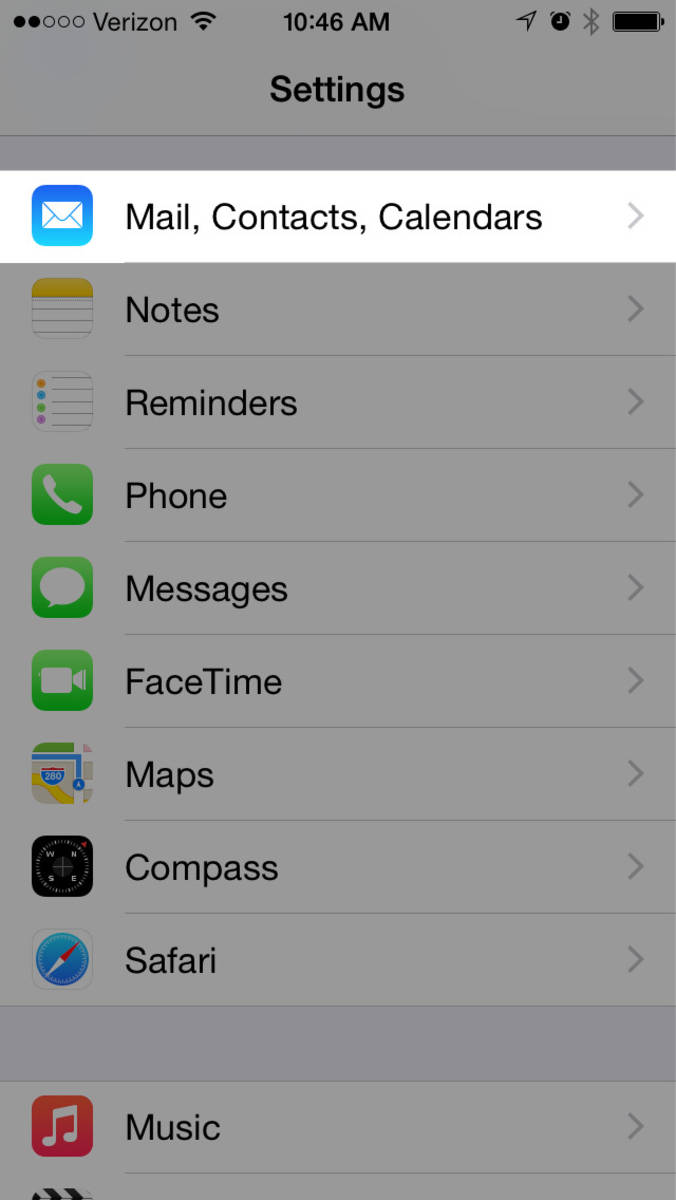
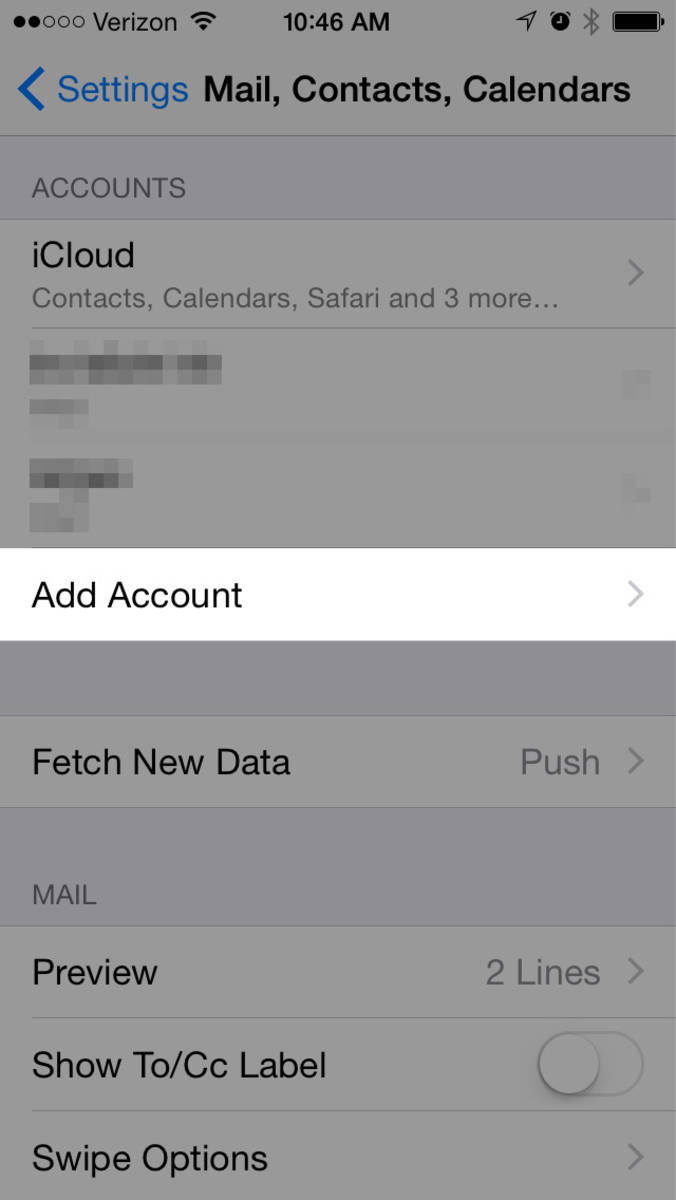
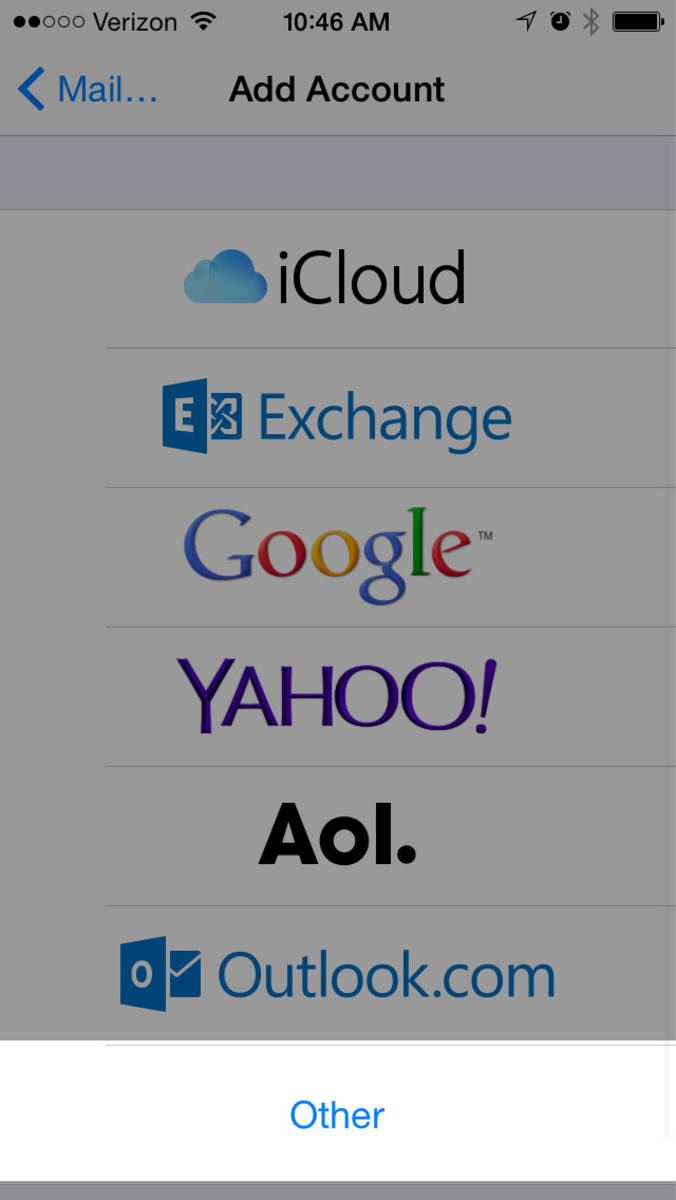
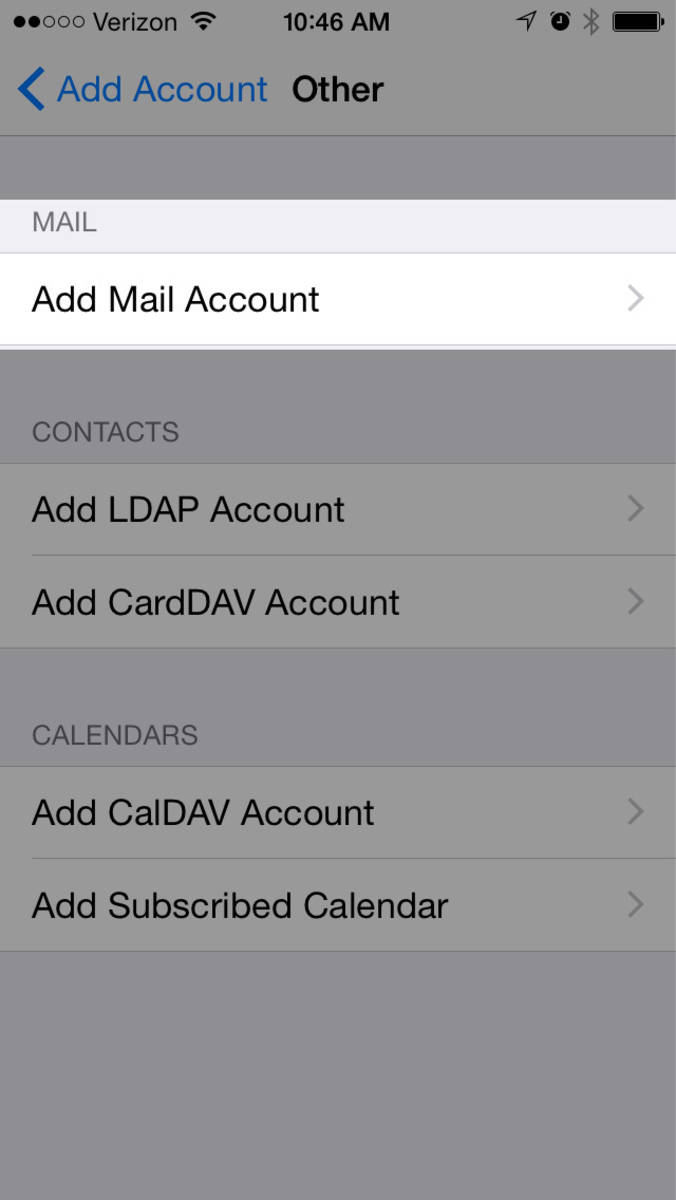
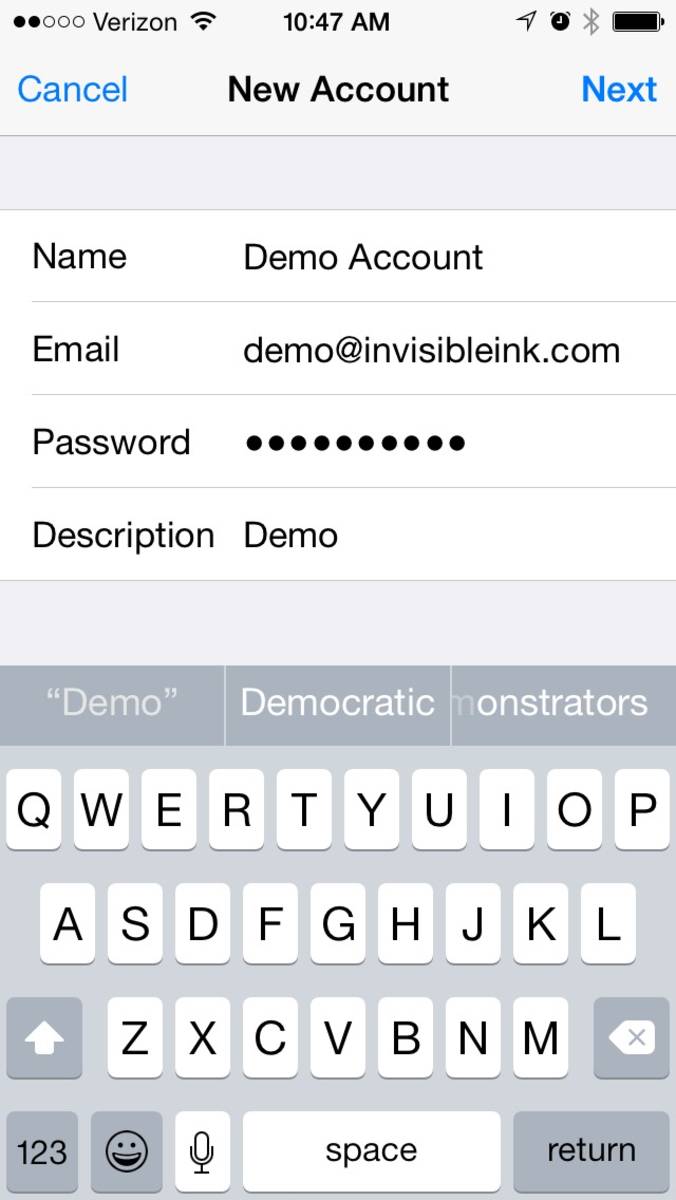
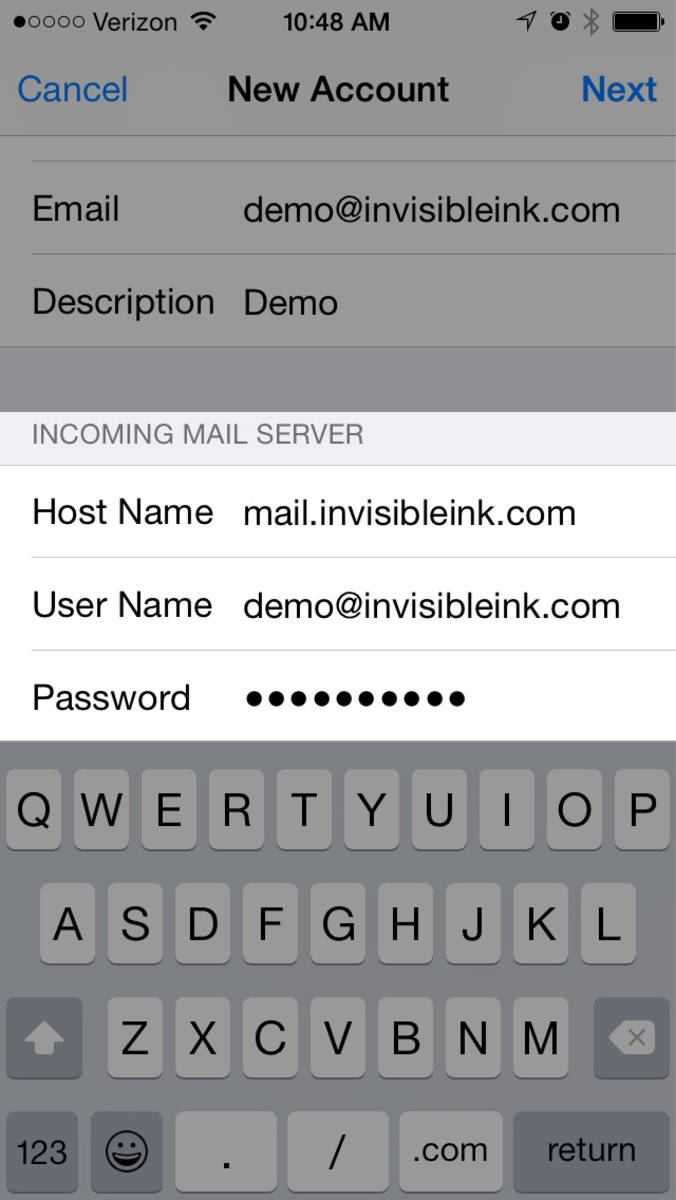
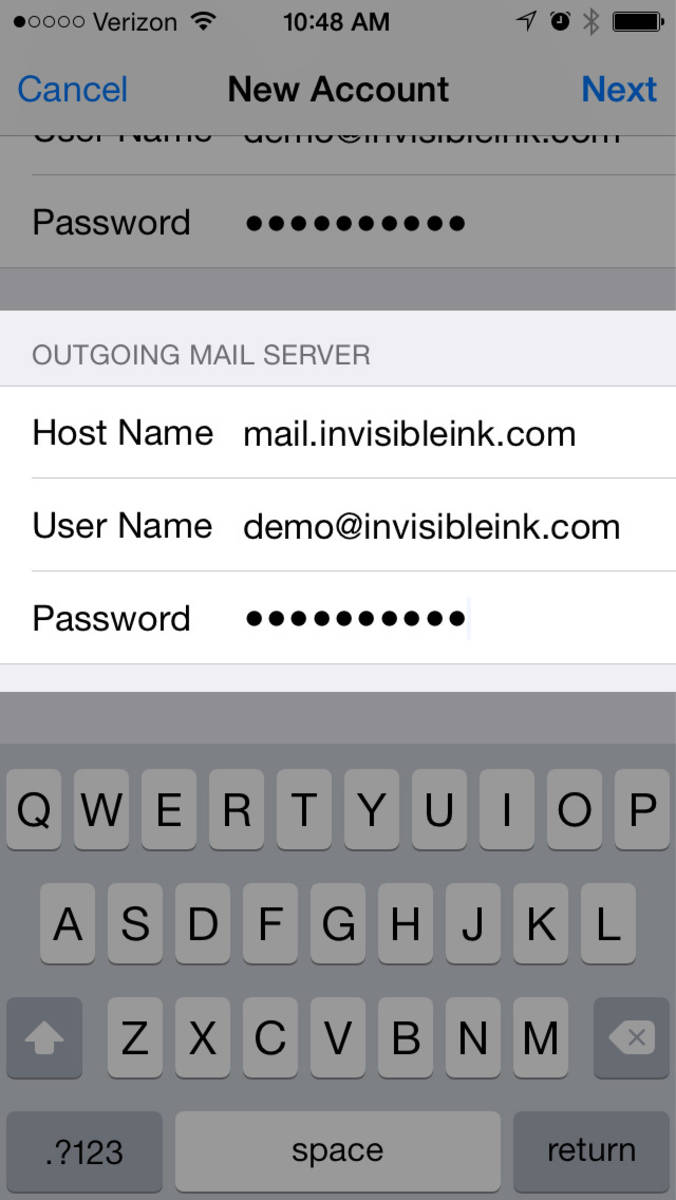
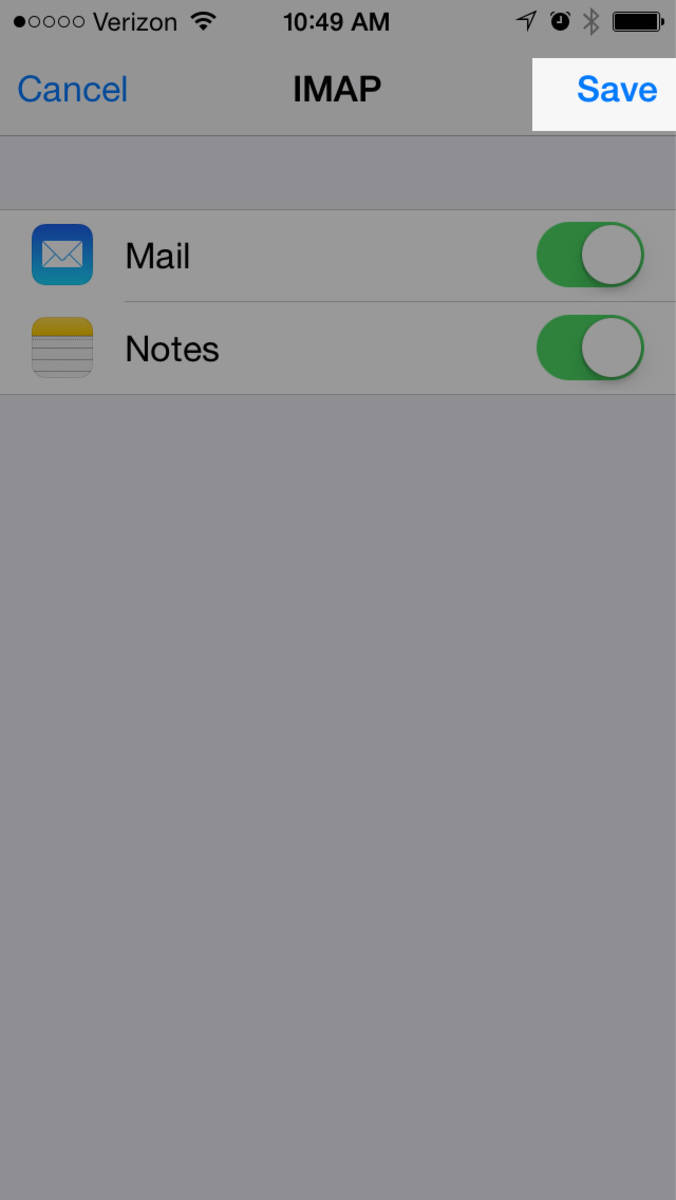
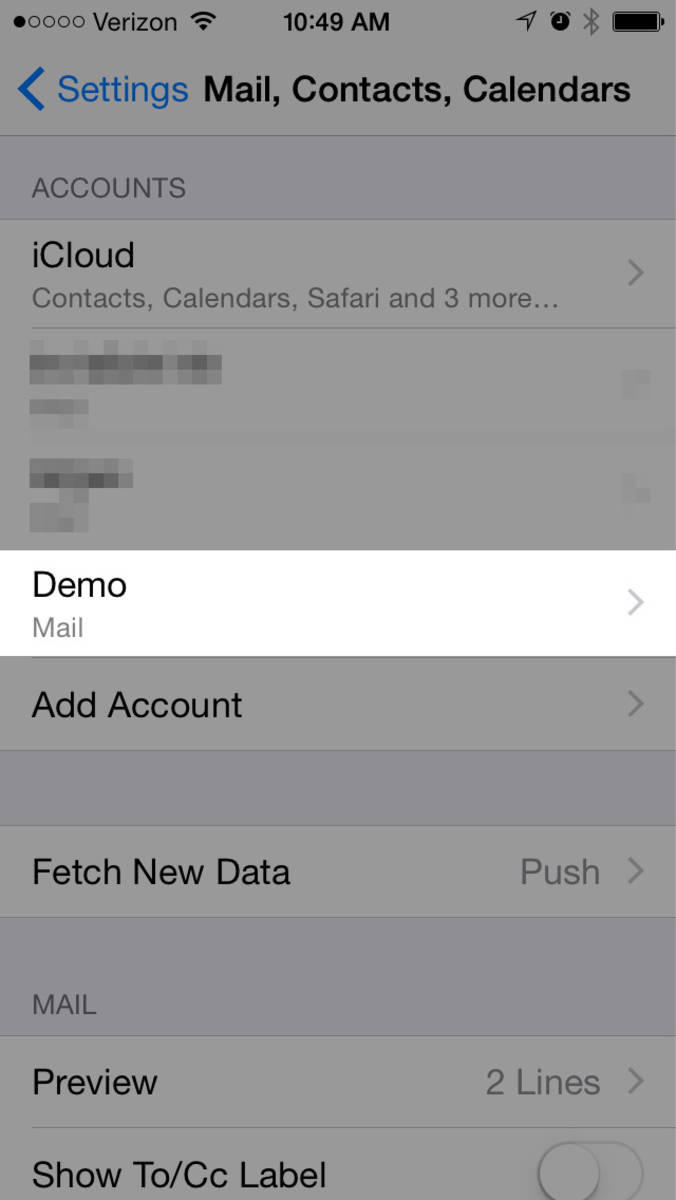
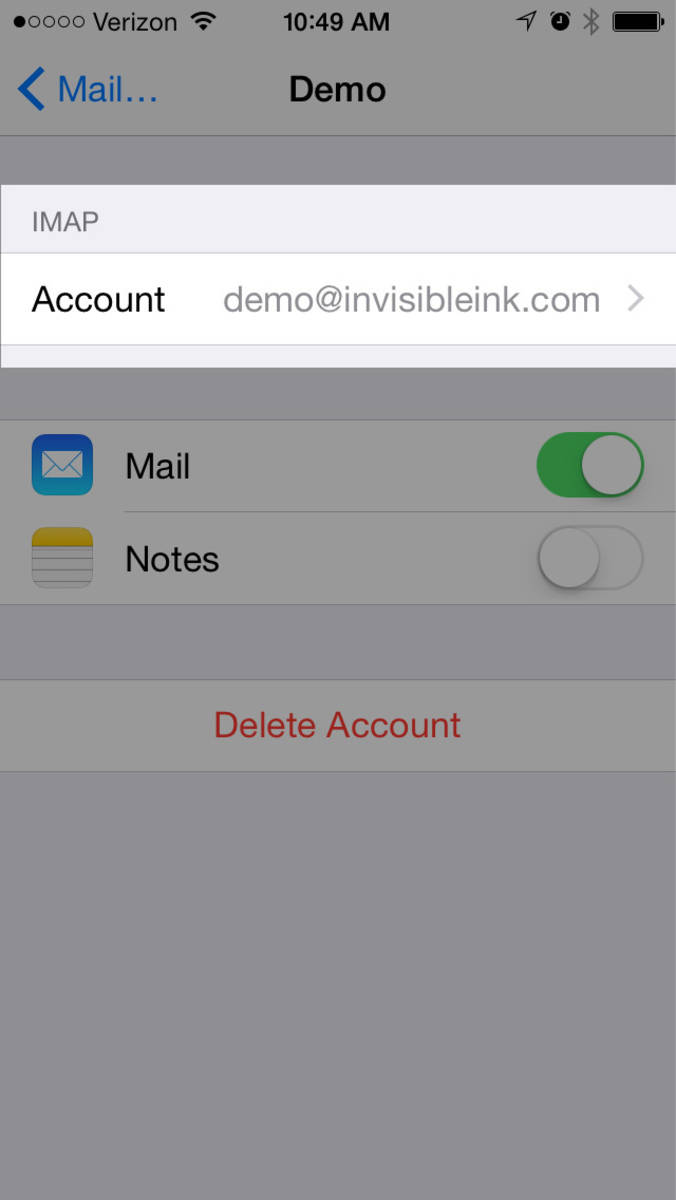
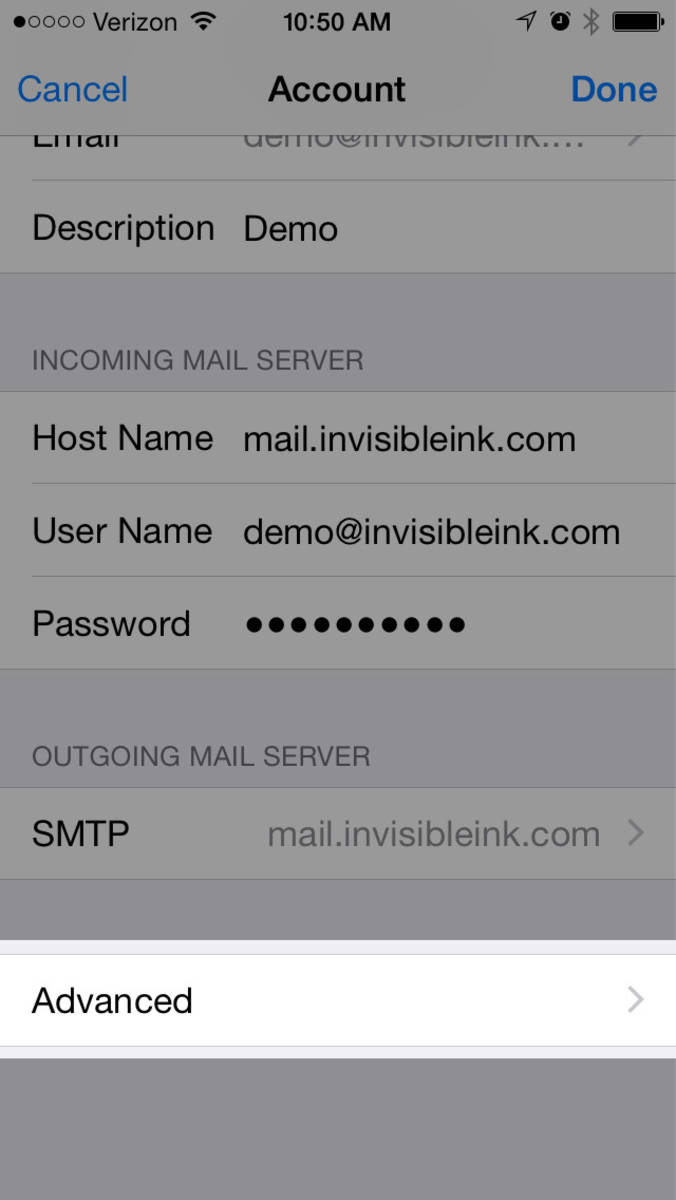
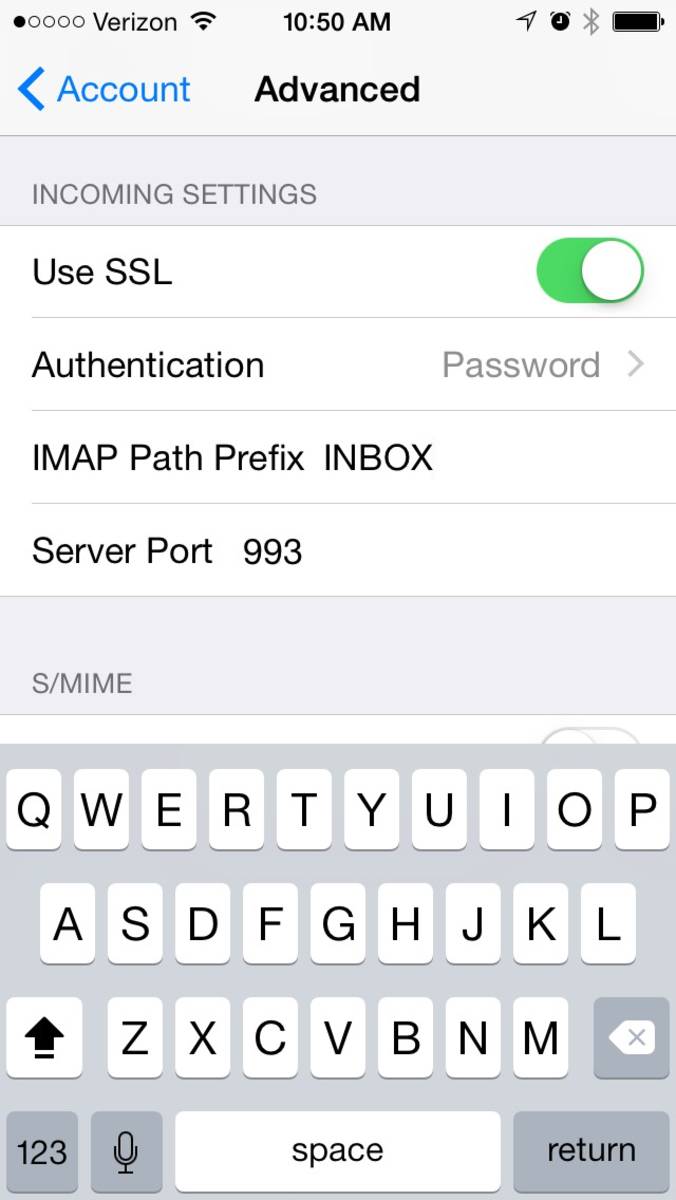
The following instructions will guide you through the step-by-step process of adding a secure email account to your iPhone, iPad or other iOS device.

Account Settings

  • Account type: IMAP
  • Incoming mail server: mail.invisibleink.com
  • Outgoing mail server: mail.invisibleink.com
  • Username: you@yourdomain.com (full email address, all lowercase)

Prepared using an iPhone 5 with iOS8. Setting up iPads, iPods or devices running older versions of iOS will be nearly identical. Older devices (i.e. iPhone 3) may be asked to trust the identity of the server when verifying server settings.

Posted November 11, 2014

Details

Step 1 » From the Settings app, select Mail, Contacts, Calendars
Step 2 » Select "Add Account"
Step 3 » From the list of available account types, choose "Other"
Step 4 » Select "Add Mail Account" to proceed.
Step 5 » Enter your name, email address and password. Tap "Next" to proceed.
Step 6 » Make sure IMAP is selected and confirm your name and email address. Swipe down to continue.
Step 7 » Enter the incoming mail server settings (substitute username and password for your own). Swipe down to continue.
Step 8 » Enter the outgoing mail server settings (substitute username and password for your own). Tap "Next" to verify your account.
Step 9 » Once your account settings have been verified, tap "Save" in the upper right of your screen.
Step 10 » Select your new account from the Mail, Contacts, Calendars screen.
Step 11 » Select your email account listed under the IMAP heading
Step 12 » Swipe to the bottom of the account settings and select "Advanced"
Step 13 » Swipe to the bottom of the Advanced settings screen and change prefix to INBOX (all caps), then click Account to return to previous screen. Tap "Done" to save changes.
[?]