Email Setup for Mac - OSX Mountain Lion

Email Setup for Mac - OSX Mountain Lion

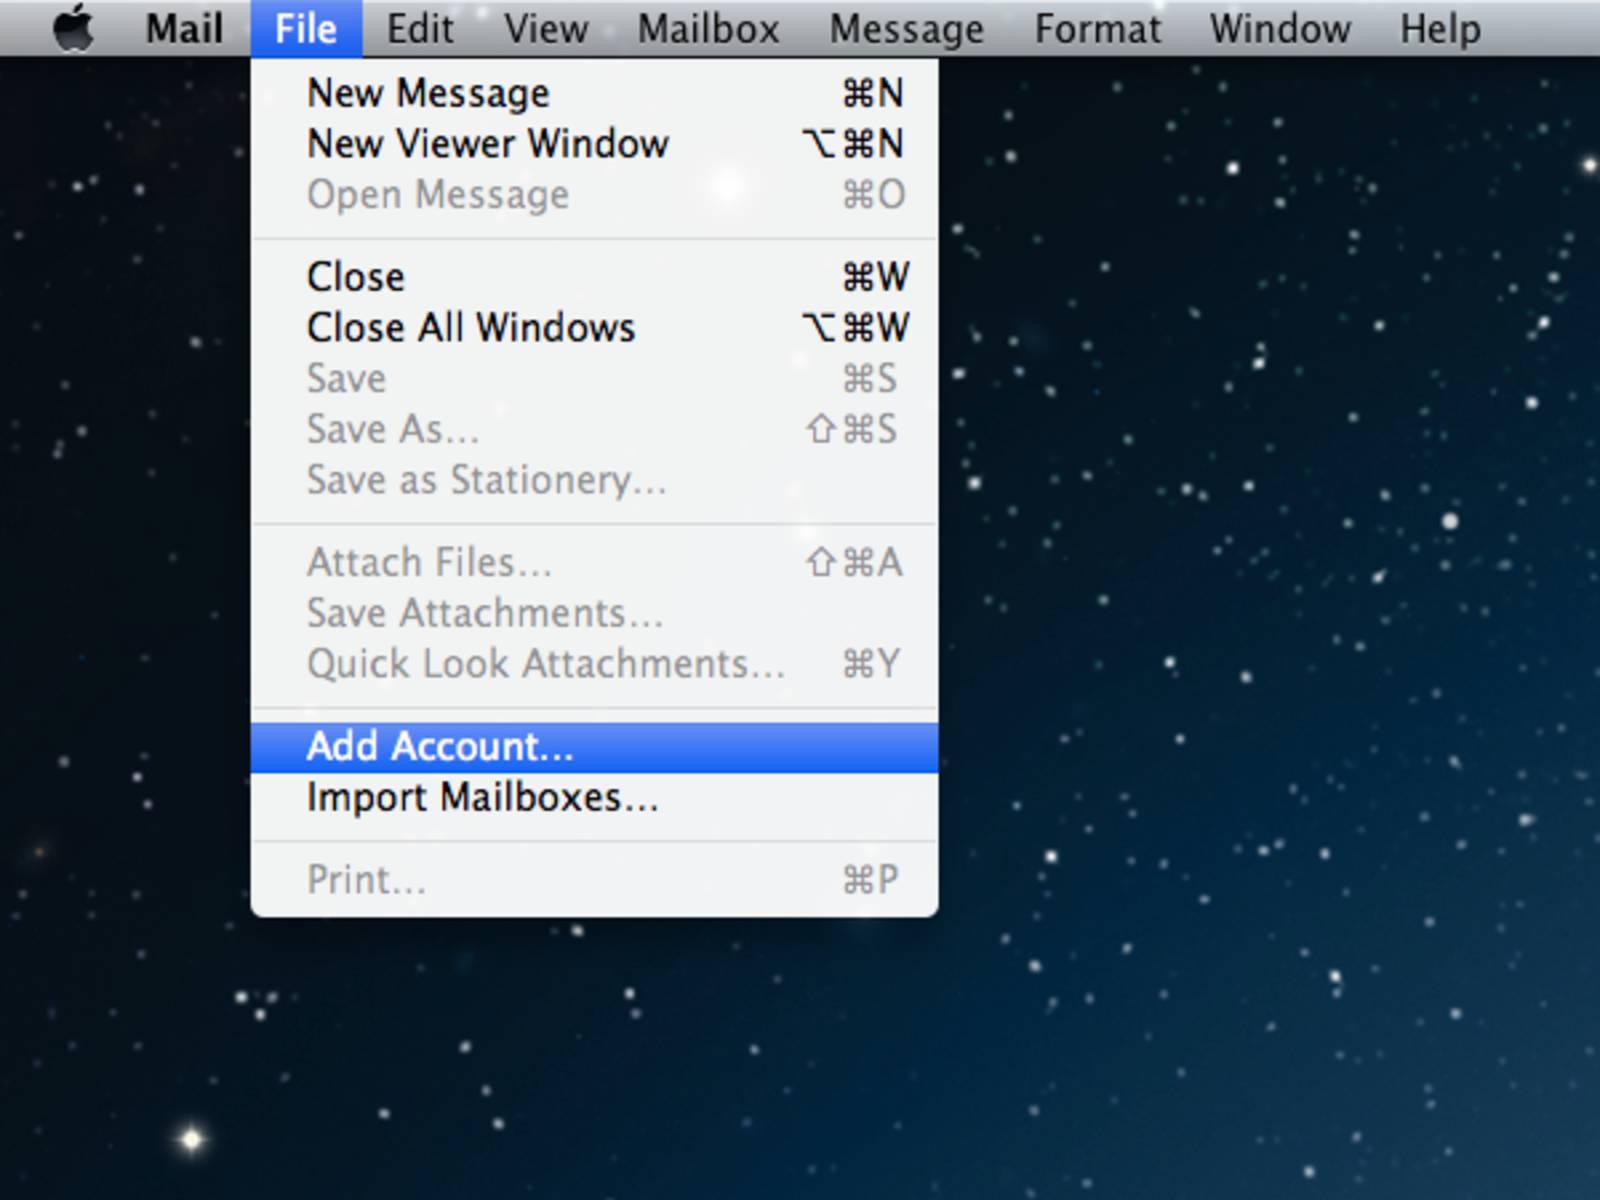
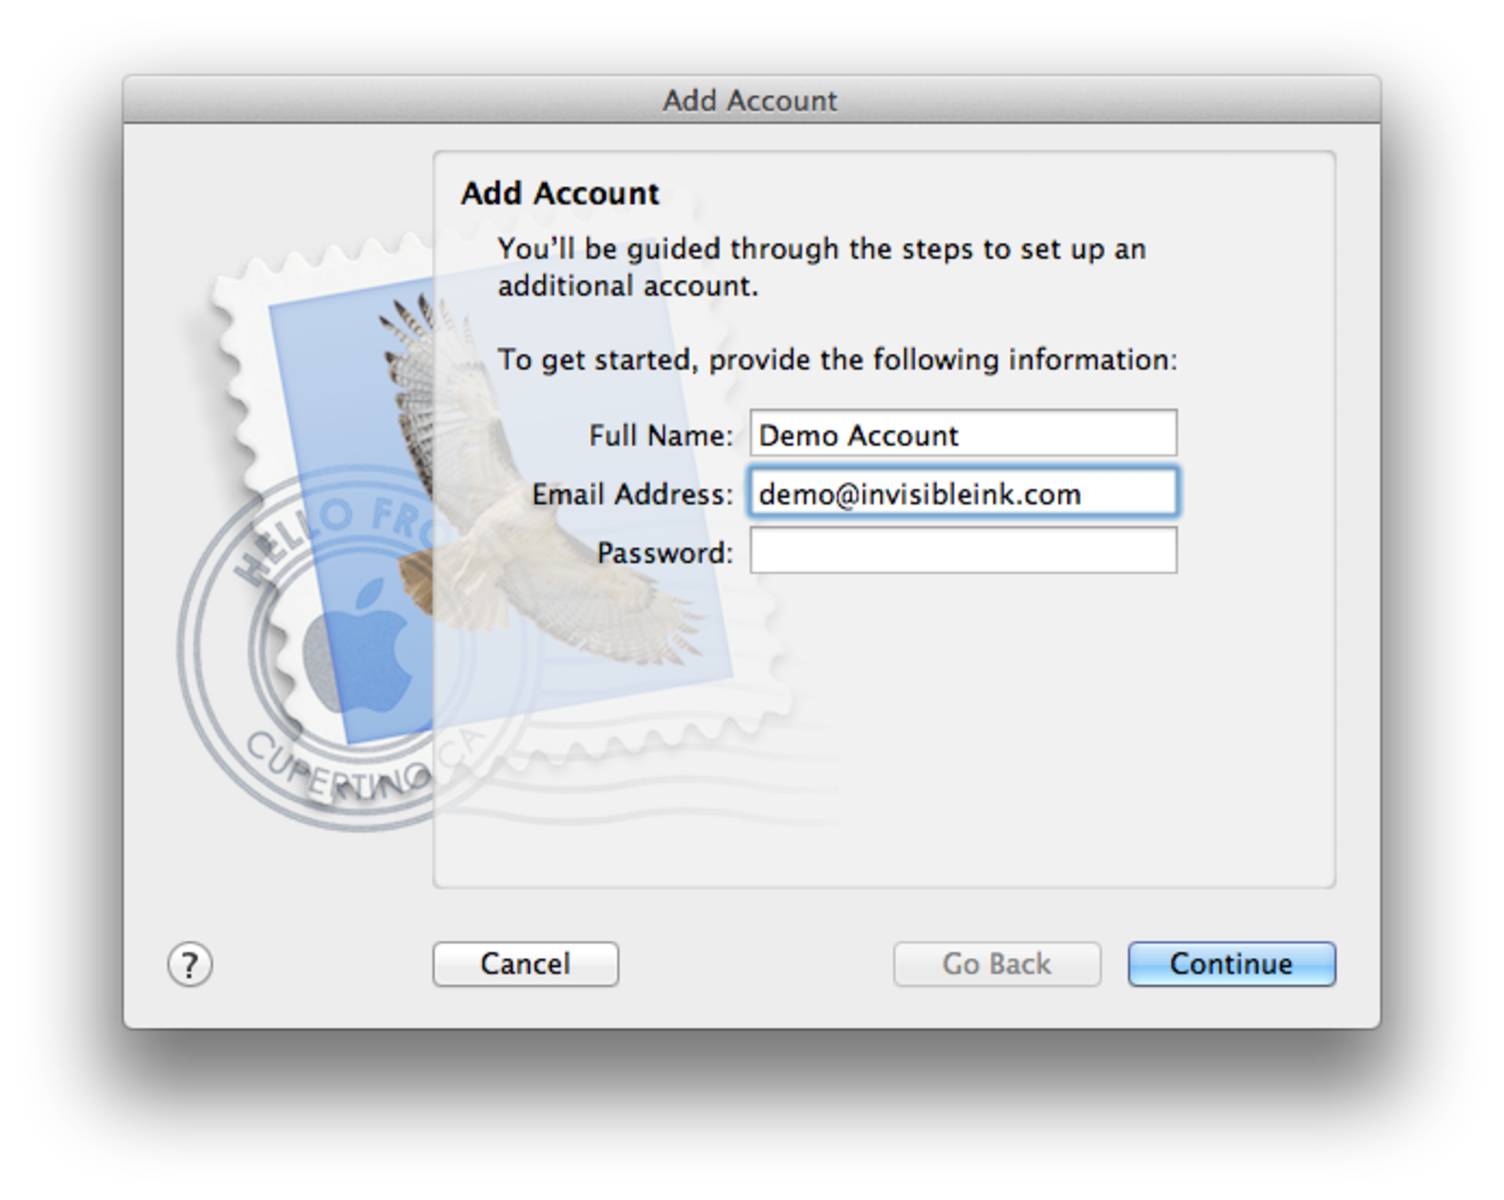
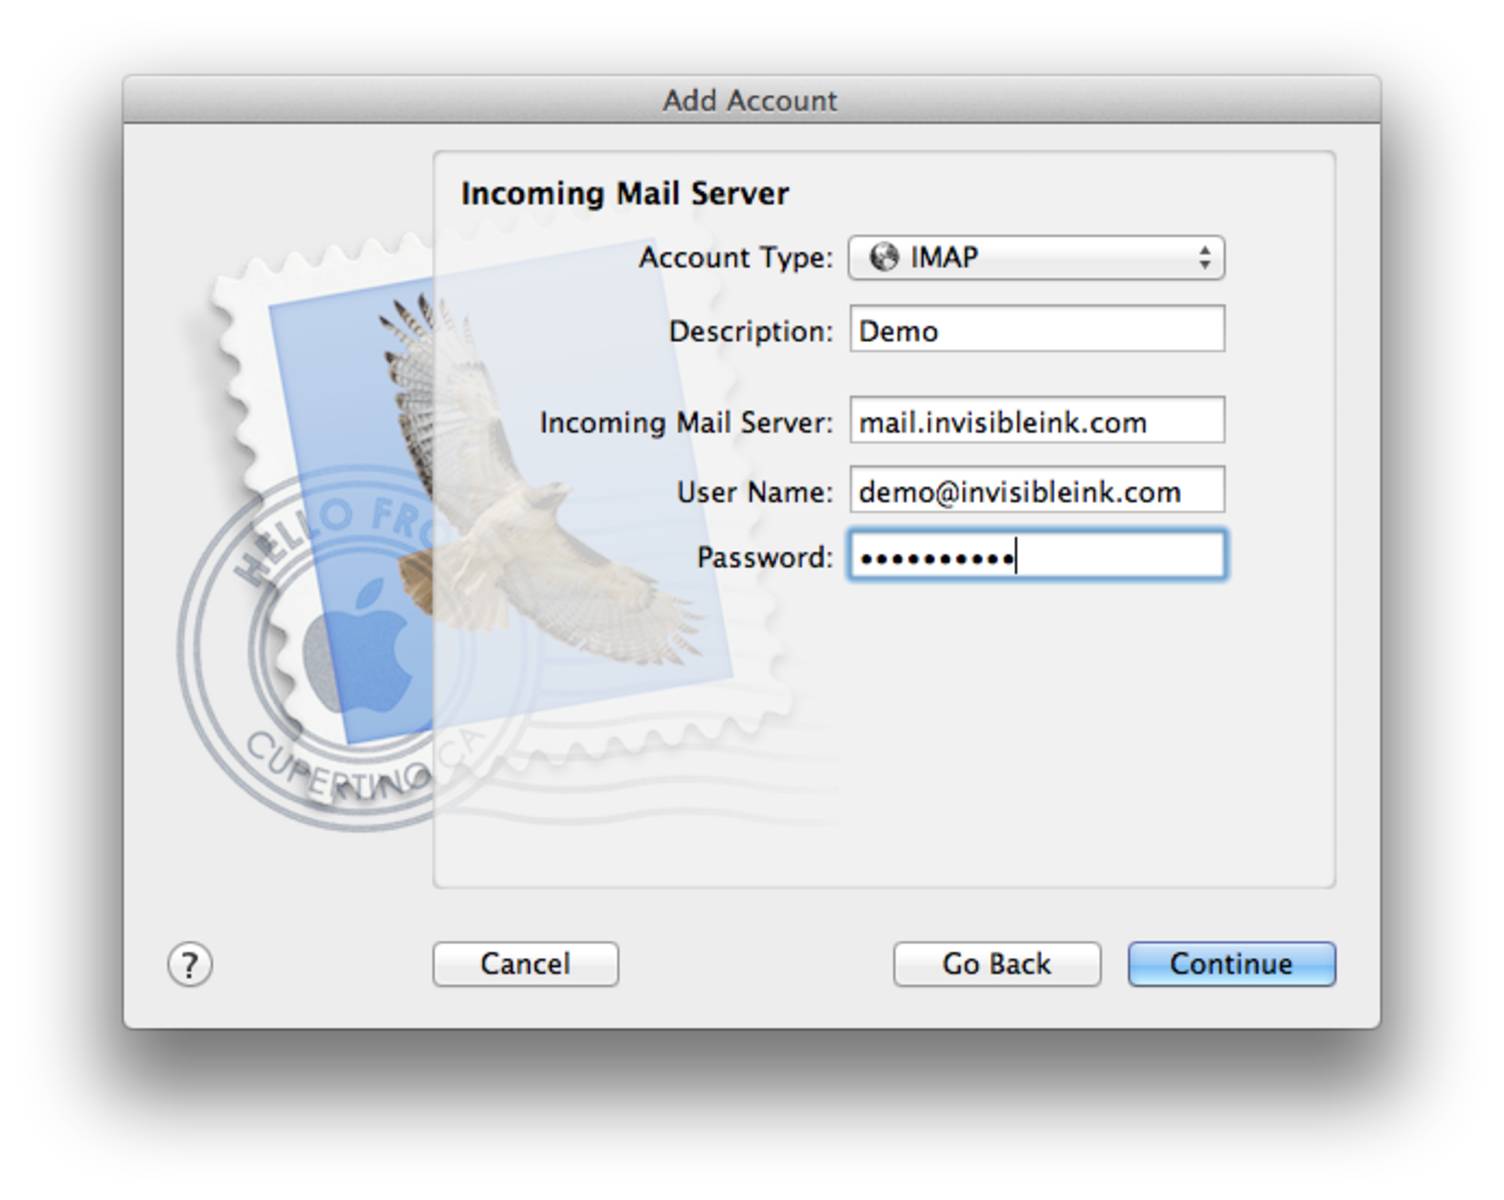
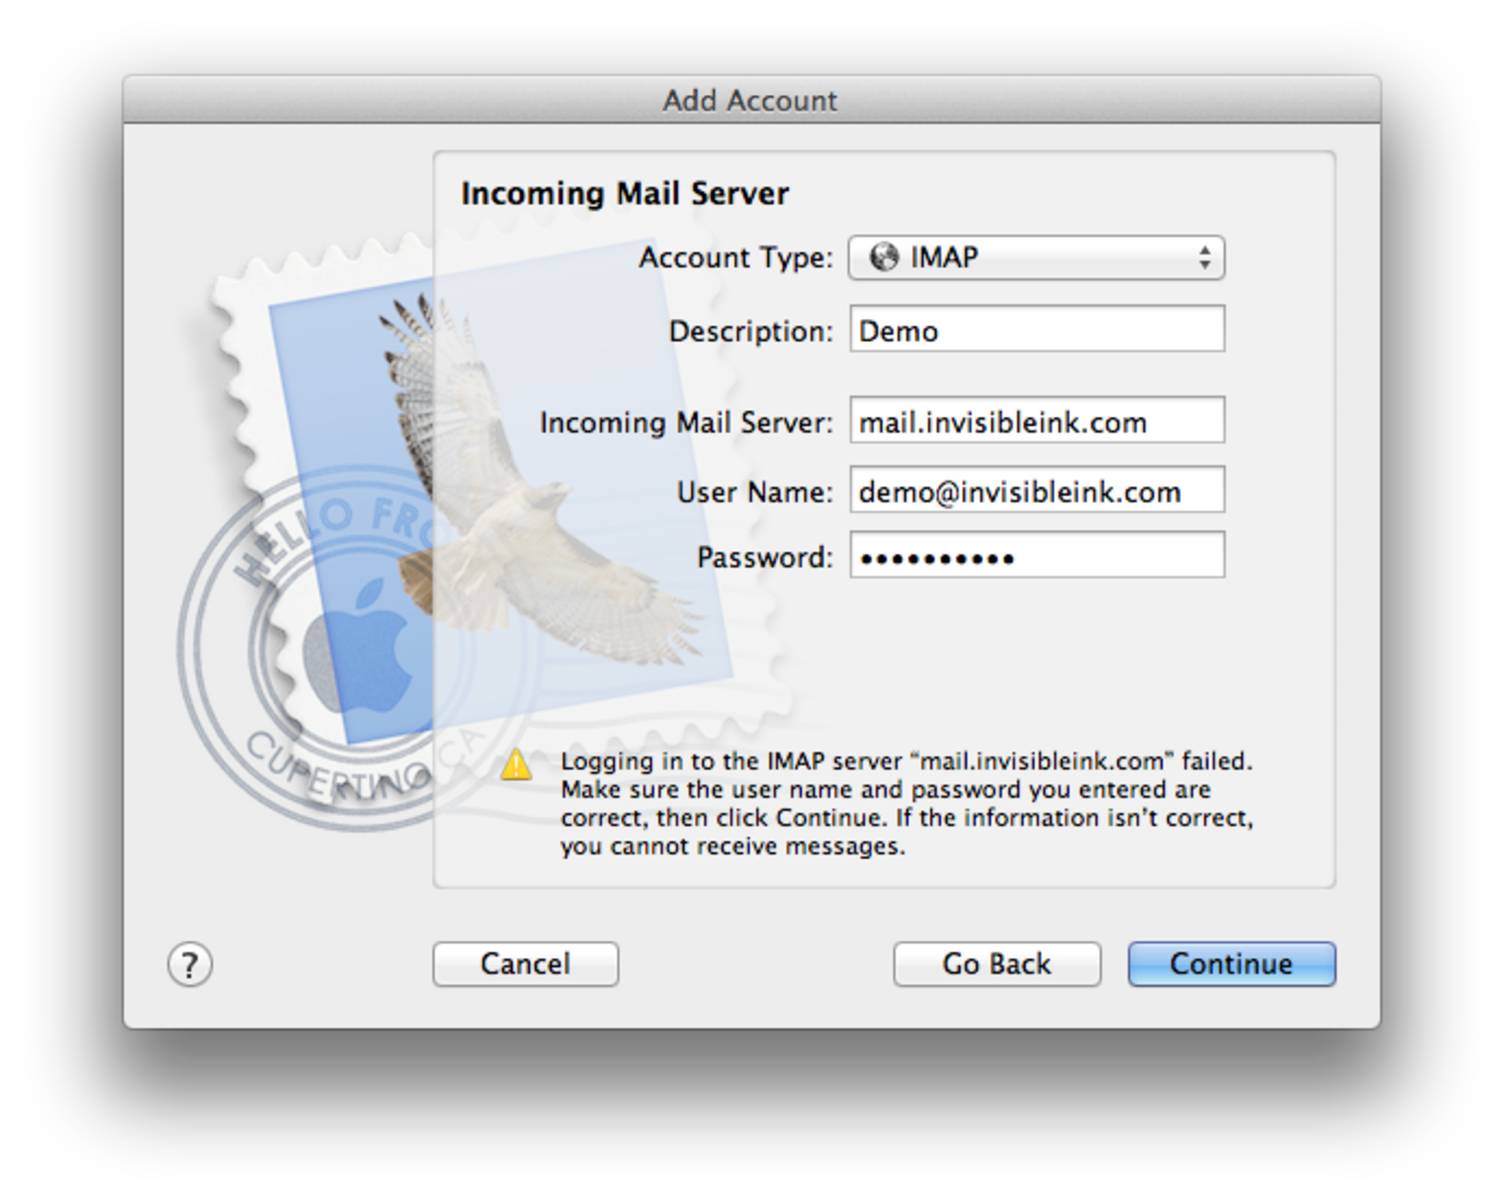
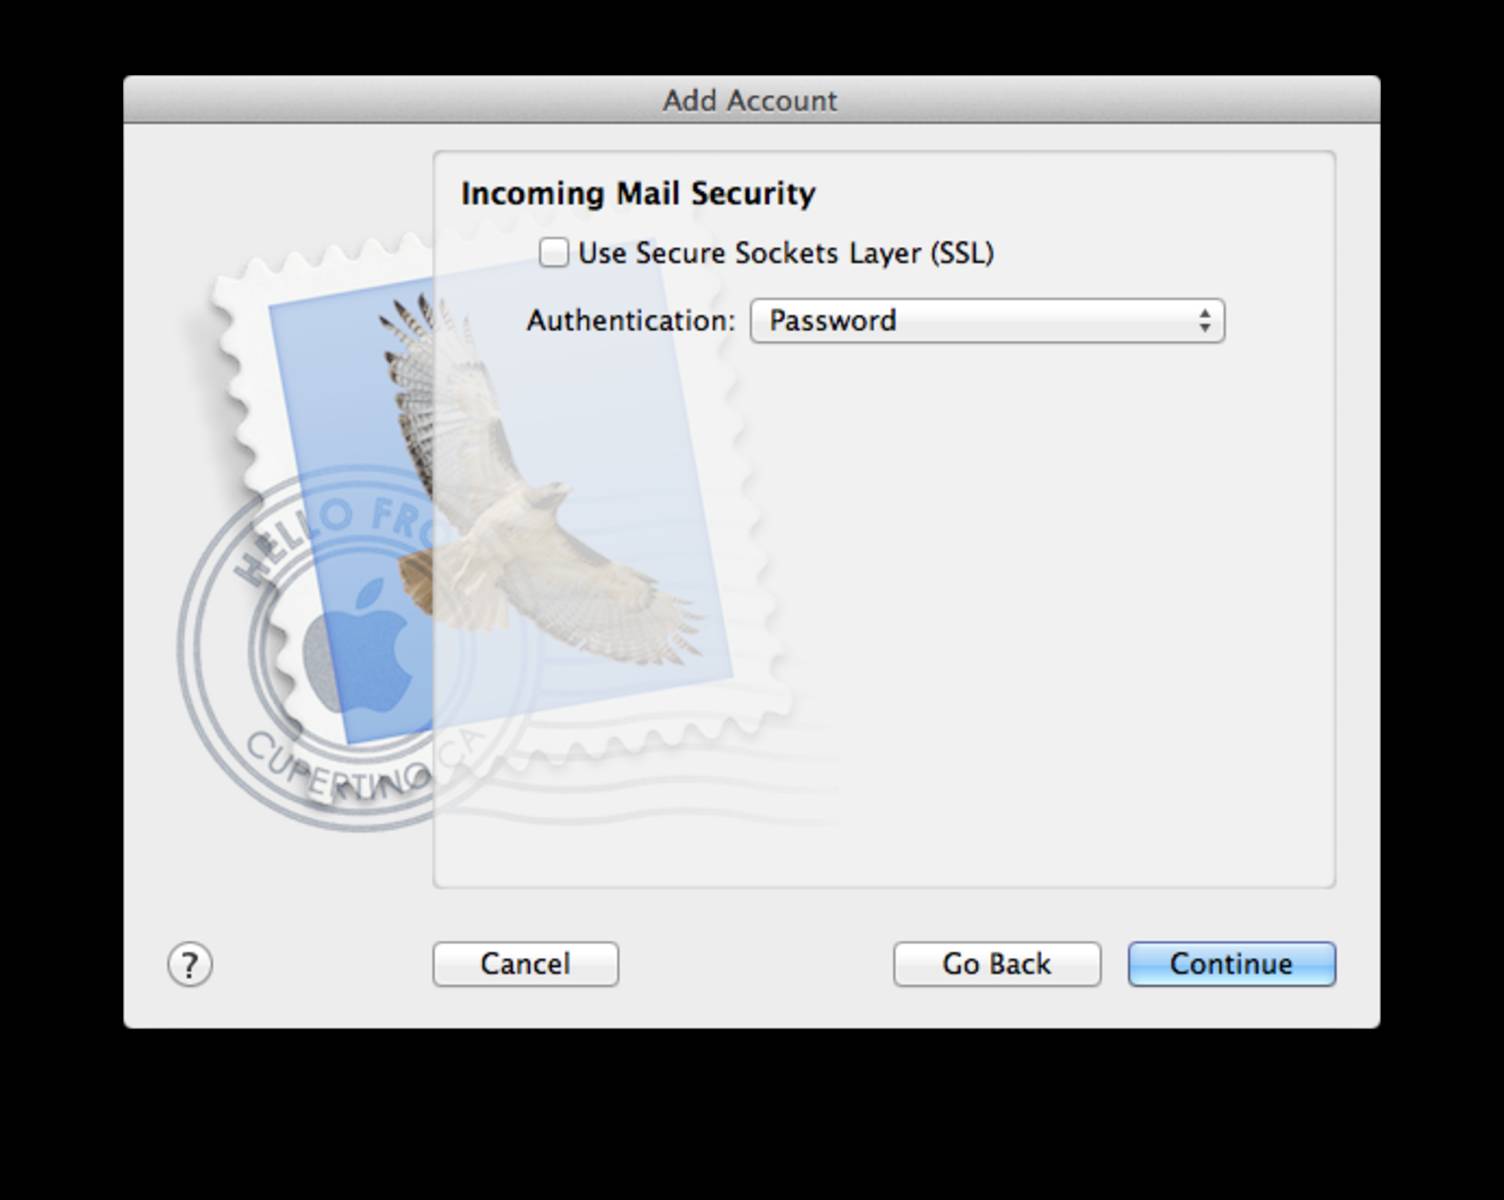
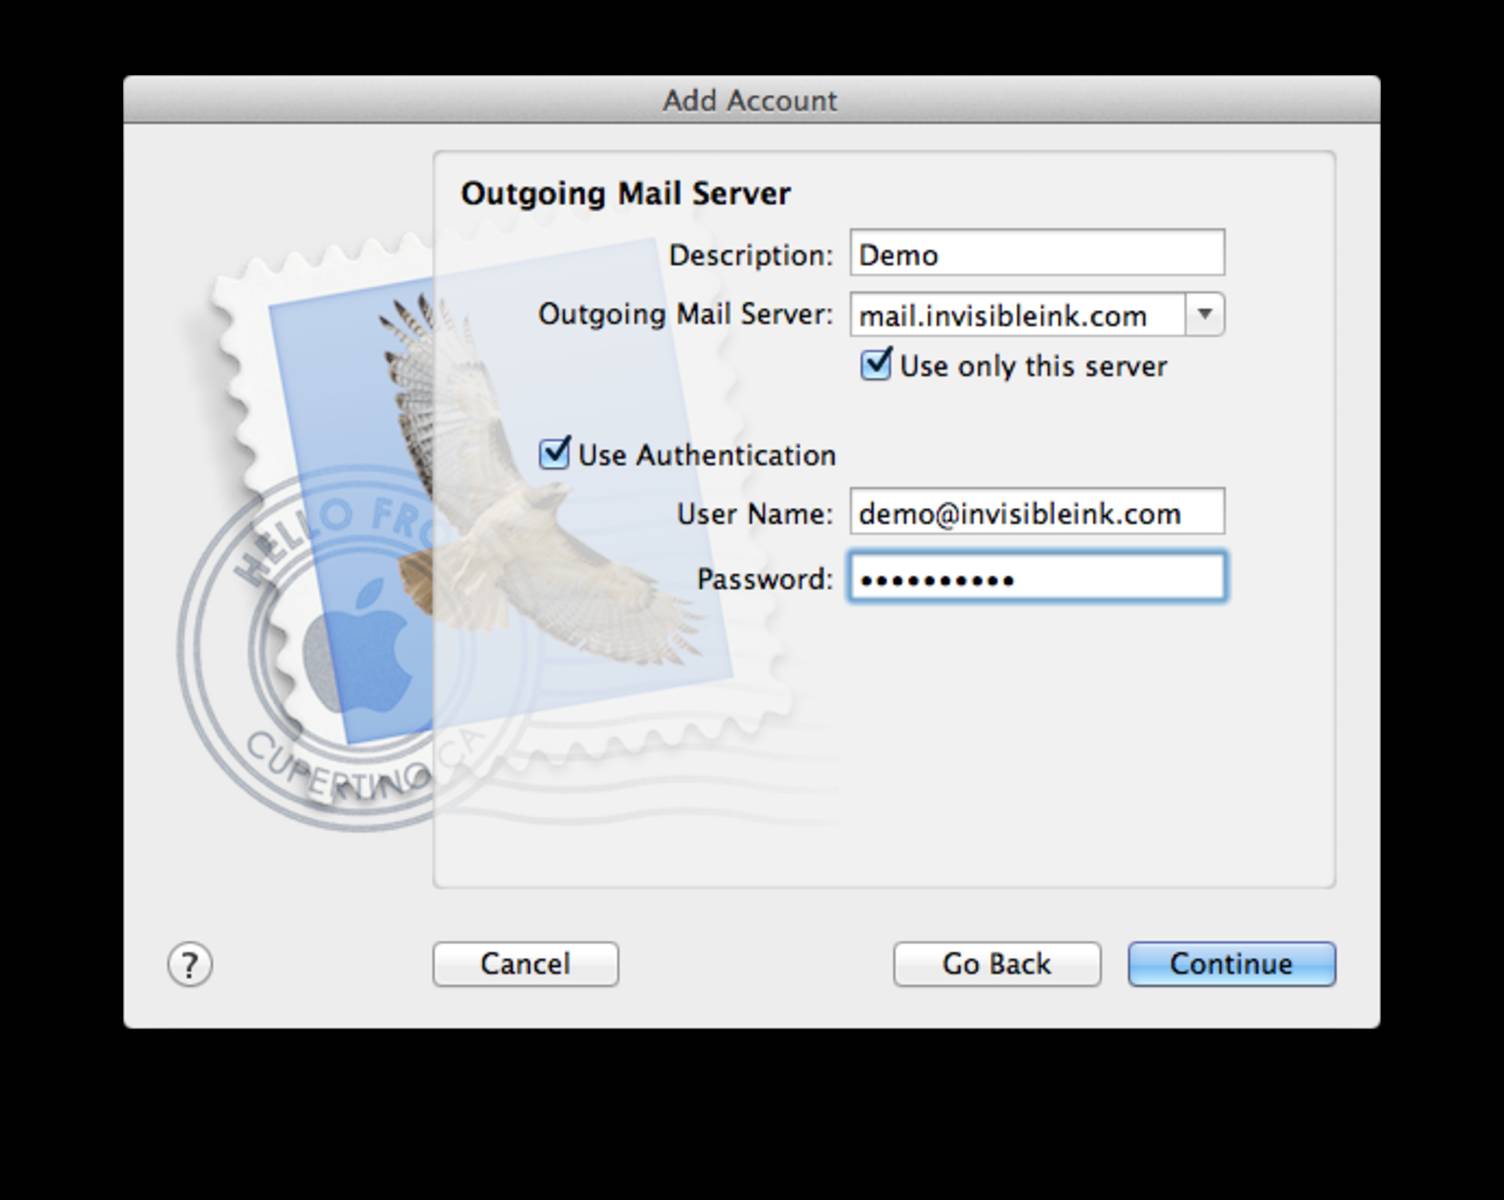
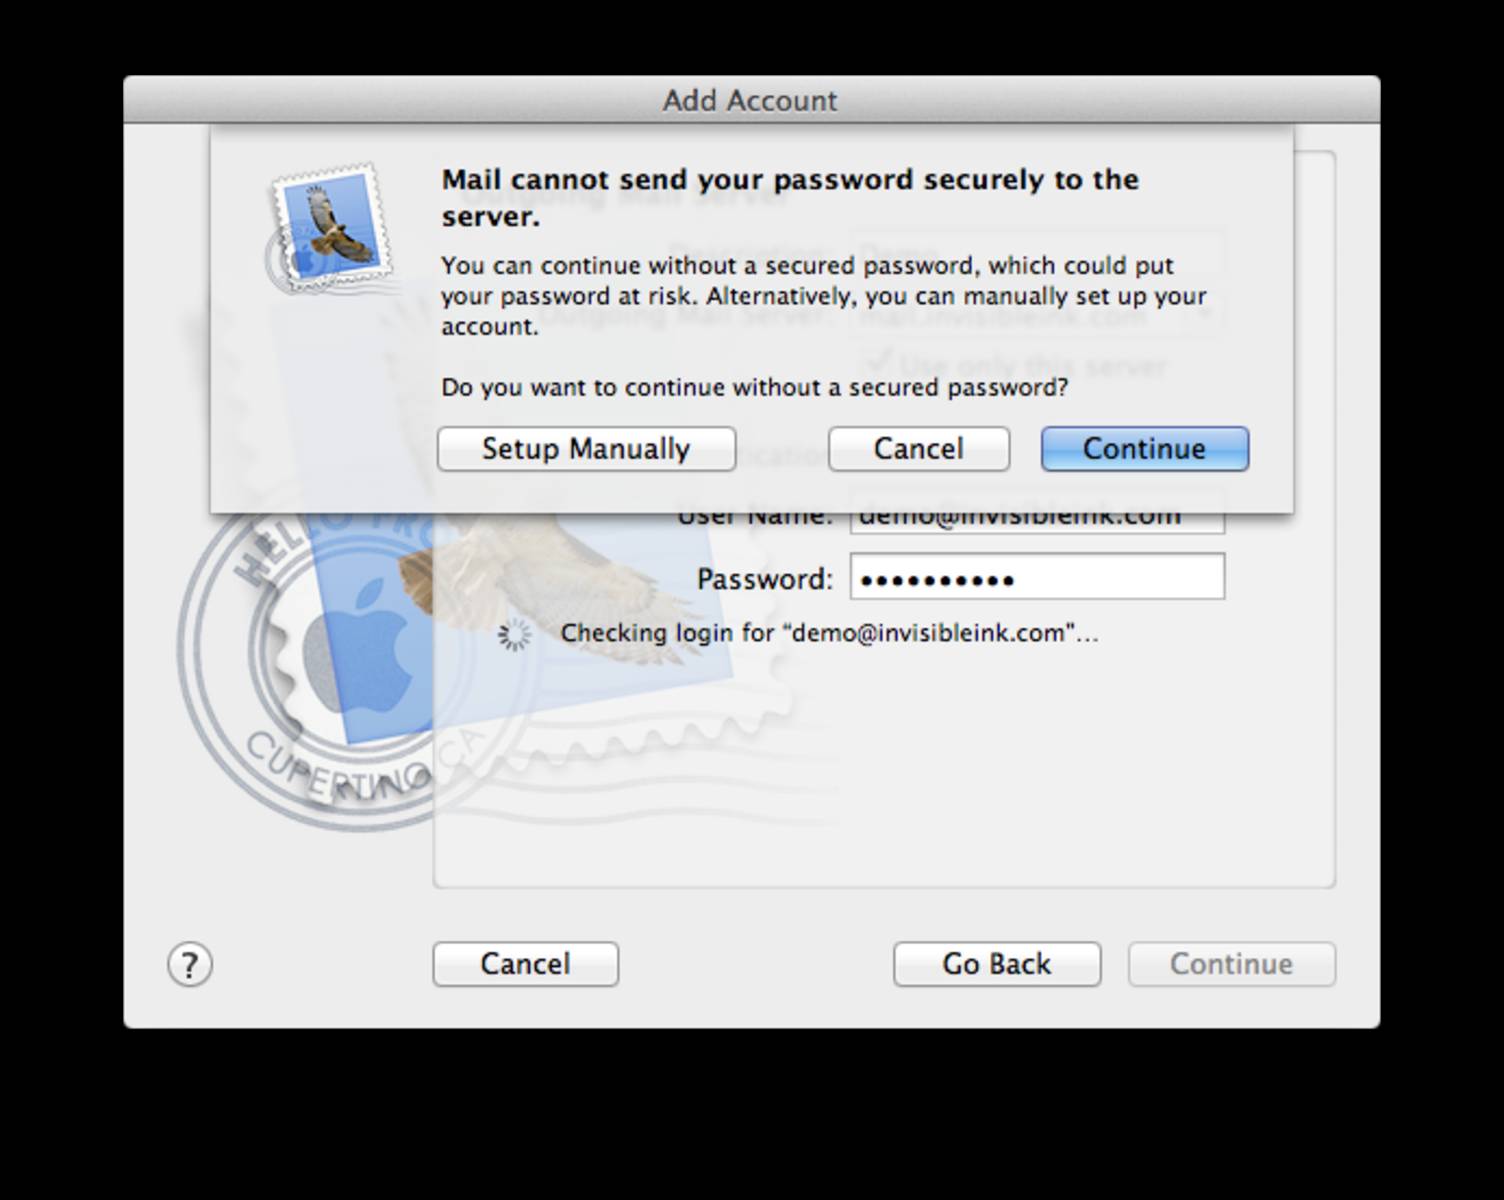
Macintosh OSX comes pre-installed with an email application called Mail. Follow the instructions outlined below to activate your new email account. If you plan on using more than one computer or device to send and receive email messages (laptop, phone, etc.), we recommend using the “IMAP protocol” to manage your account. If you only use one computer to access your email, you can choose “POP3” instead. POP3 account setup is almost identical to IMAP, so you can still use this guide as a basic outline to set up your account.

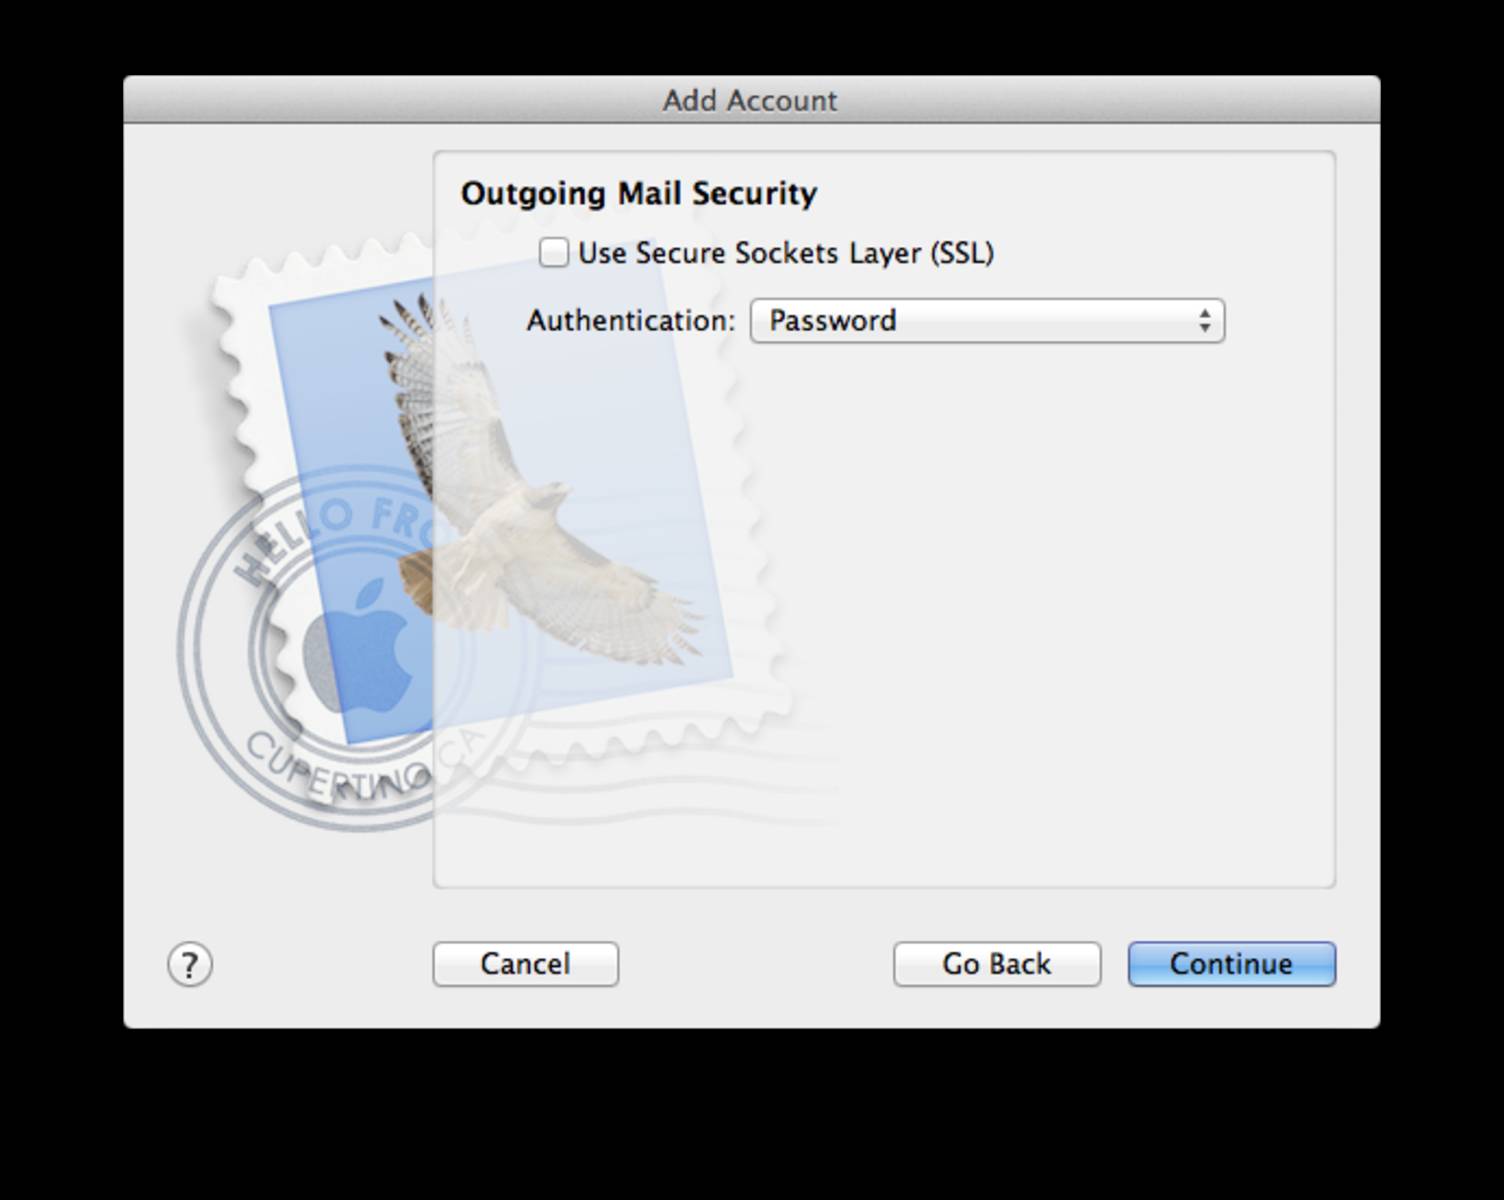
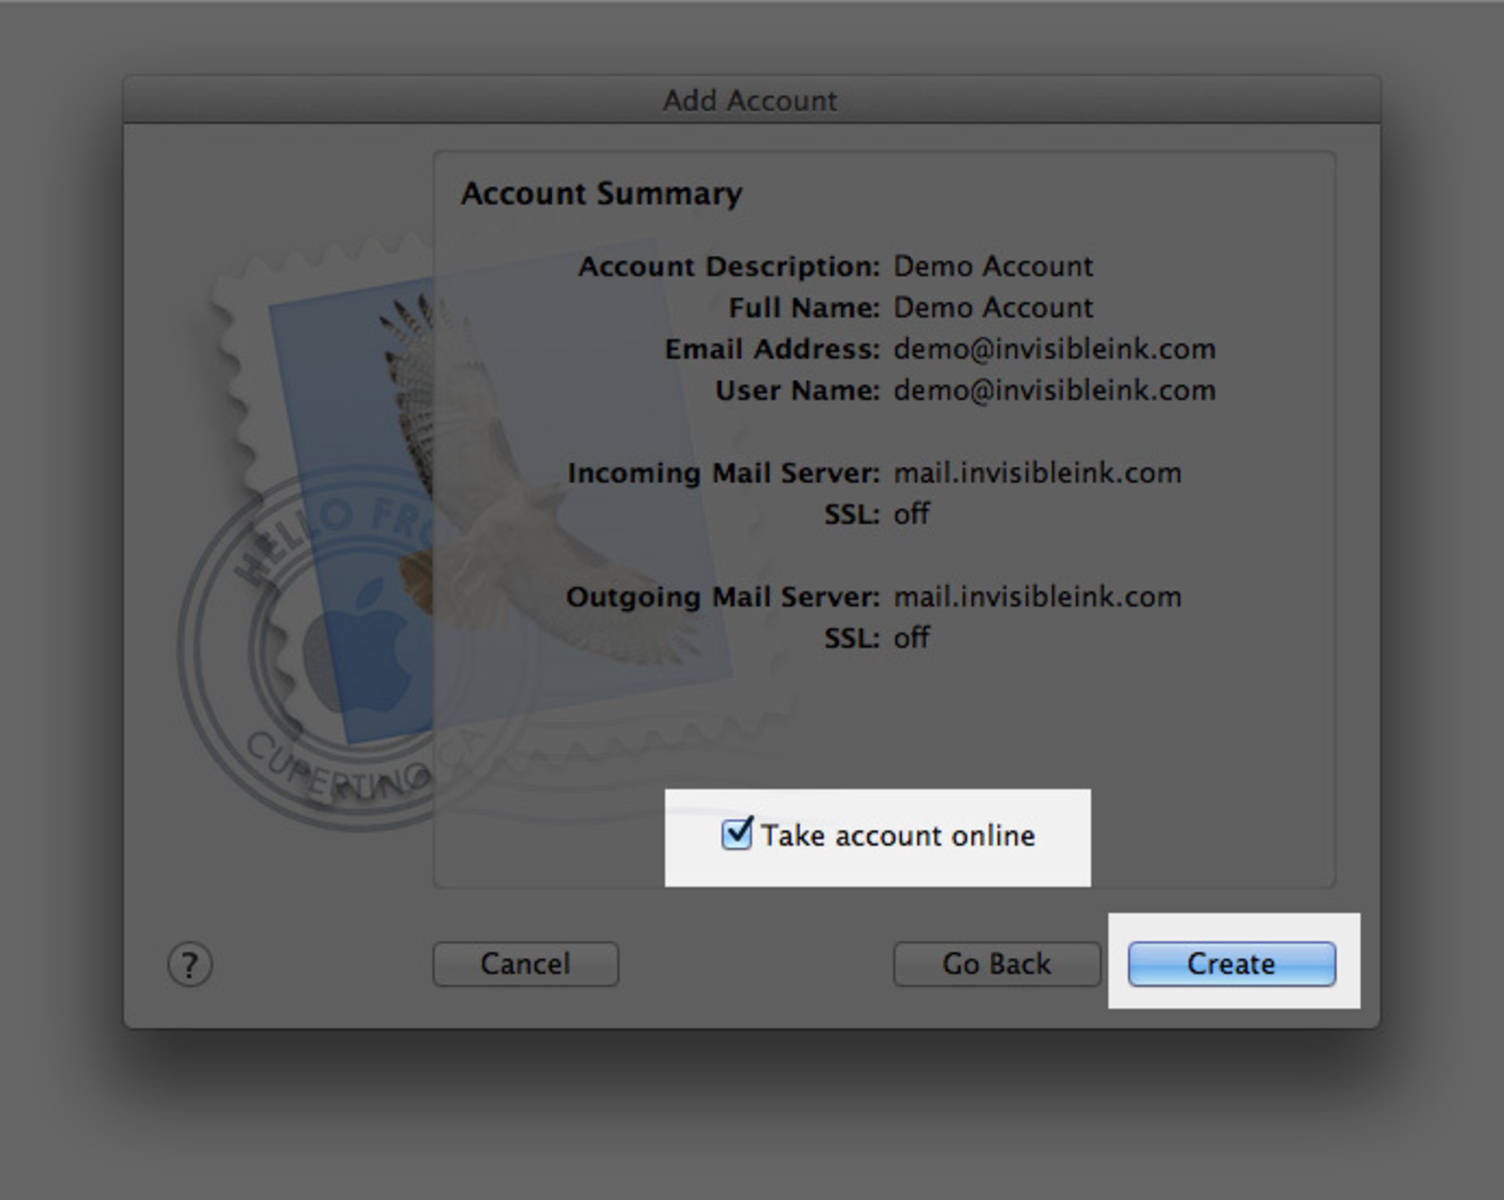
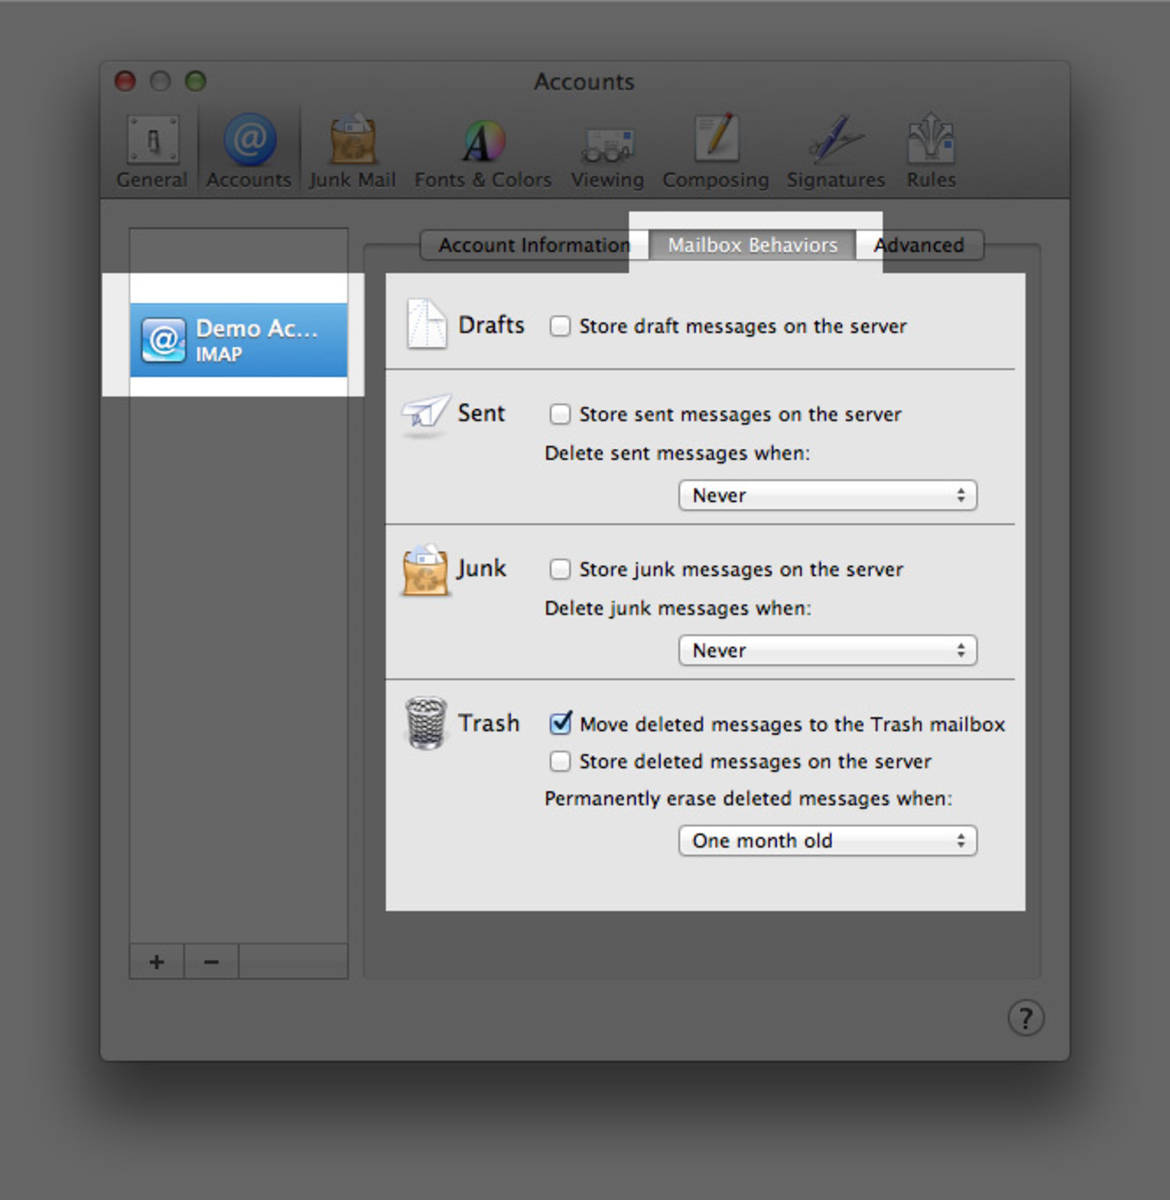
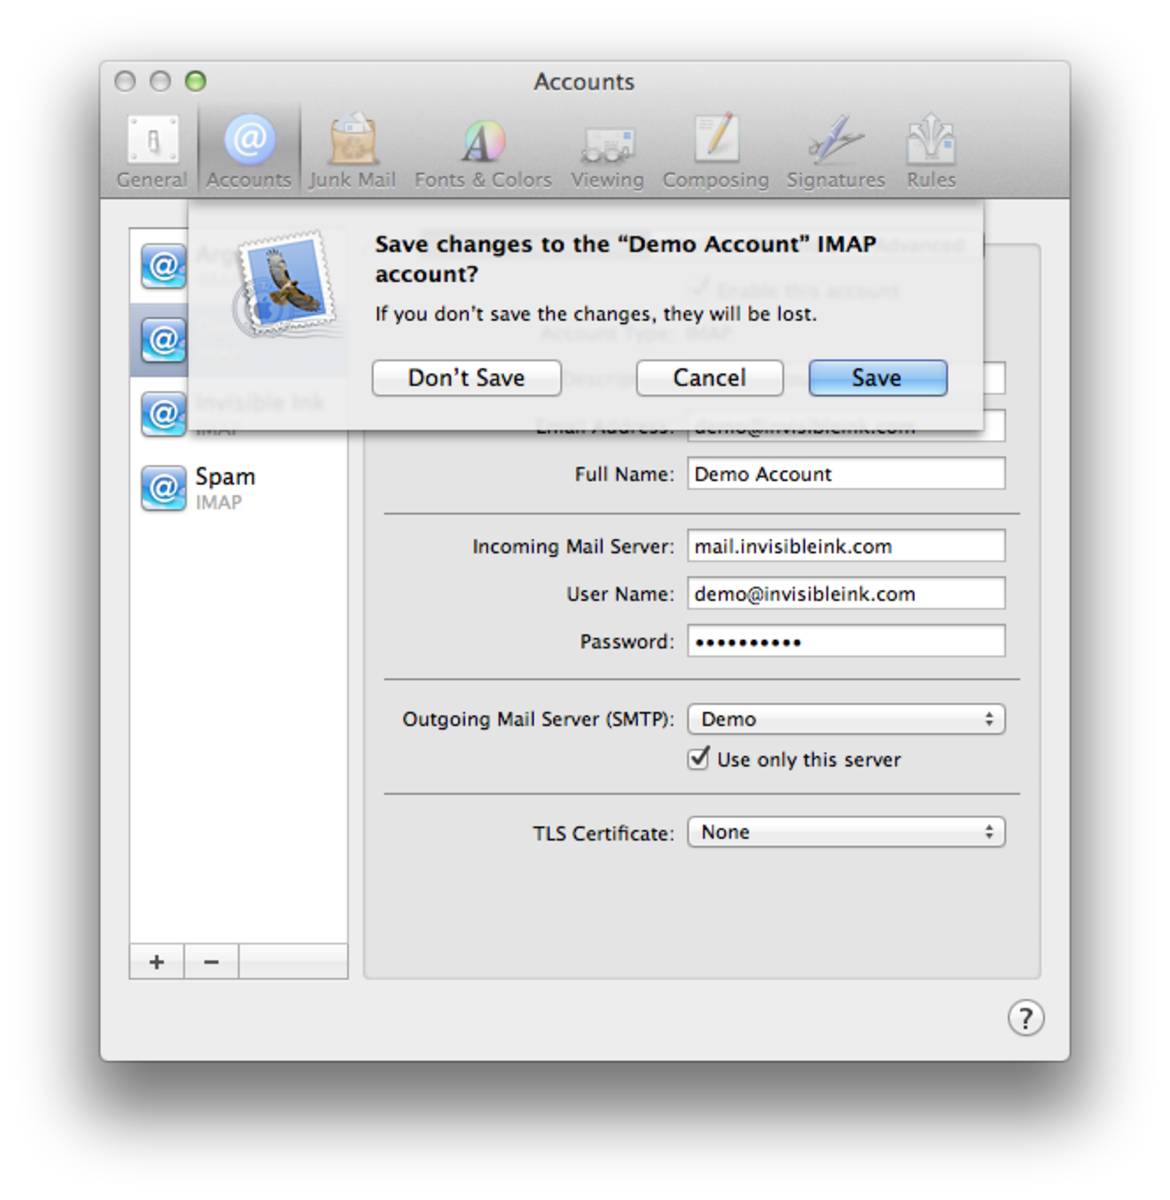
Note: When setting up your mailbox, substitute all Demo Account settings displayed in the example images below with your own.

View Setup Guide

Prepared using Mail version 6.6 on OSX 10.8.5 (Mountain Lion)

Posted January 24, 2014

Details

Step 1 » Open Mail and select Add Account from the File menu at the top of the screen.
Step 2 » Enter your name and email address, then click Continue.
Step 3 » Select IMAP as your Account Type and enter your server address, username and password. Make sure your full email address is listed for the username. Click Continue.
Step 4 » You will receive a warning message asking you to Verify Your Certificate for mail.yourdomain.com. Click CANCEL.
Step 5 » Click Continue to skip to the next step.
Step 6 » Make sure "Use Secure Sockets Layer" is un-checked. Set Authentication to Password, then click Continue.
Step 7 » Enter your Outgoing Server settings. Select the box labeled Use Authentication and enter your username and password. Click Continue.
You will receive a password security warning. Click Setup Manually.
Step 9 » Make sure Use Secure Sockets Layer is un-checked. Set Authentication to Password, then click Continue.
Step 10 » Review the Account Summary screen, and click Create to finish setting up your mailbox (make sure the "Take account online" checkbox is selected).
Step 11 » Select Preferences from the Mail menu at the top of your screen.
Step 12 » Choose the Accounts tab and select your account in the list of accounts (on the left). Select the Mailbox Behaviors tab and make sure all options are un-checked except for "Move deleted messages to the Trash mailbox".
Step 13 » Close the Accounts window to save your changes.
[?]