Email Setup Instructions for Android on the Nexus 7

Email Setup Instructions for Android on the Nexus 7

Update: In 2021 several mail users reported that the native mail app on many Android devices no longer works with standard IMAP accounts. We recommend using the Gmail app to send and receive mail from your Android phones and tablets. View updated instructions here


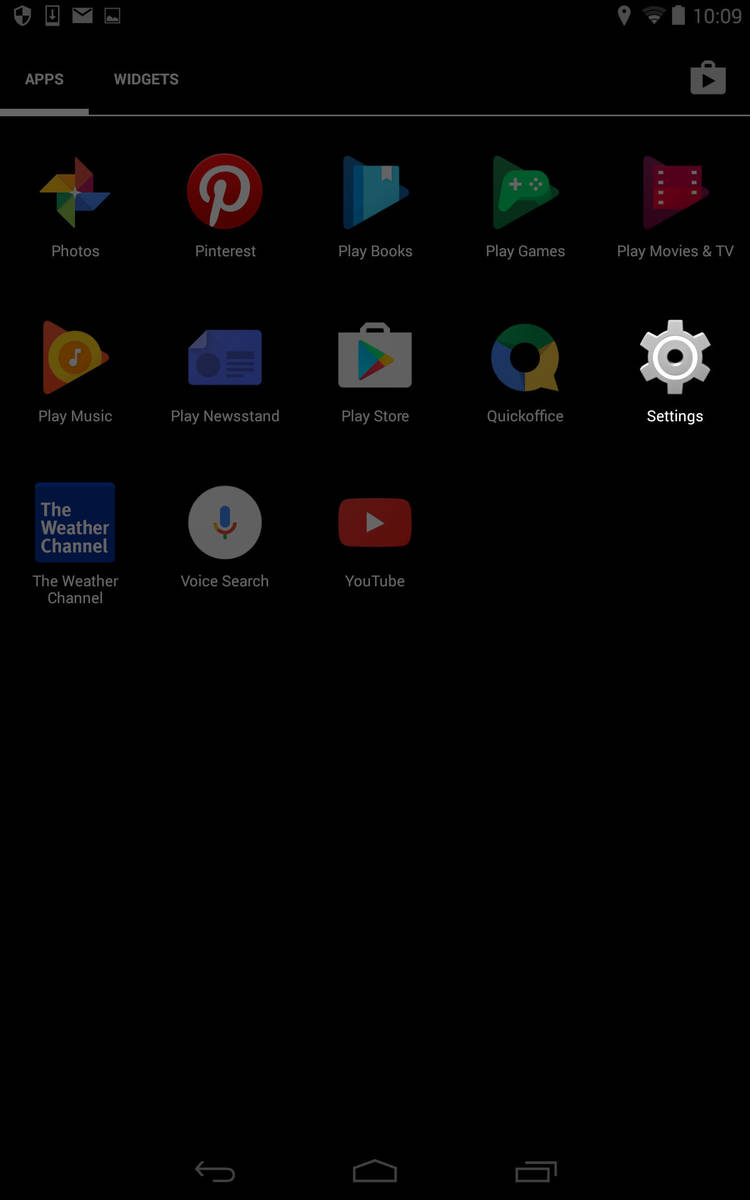
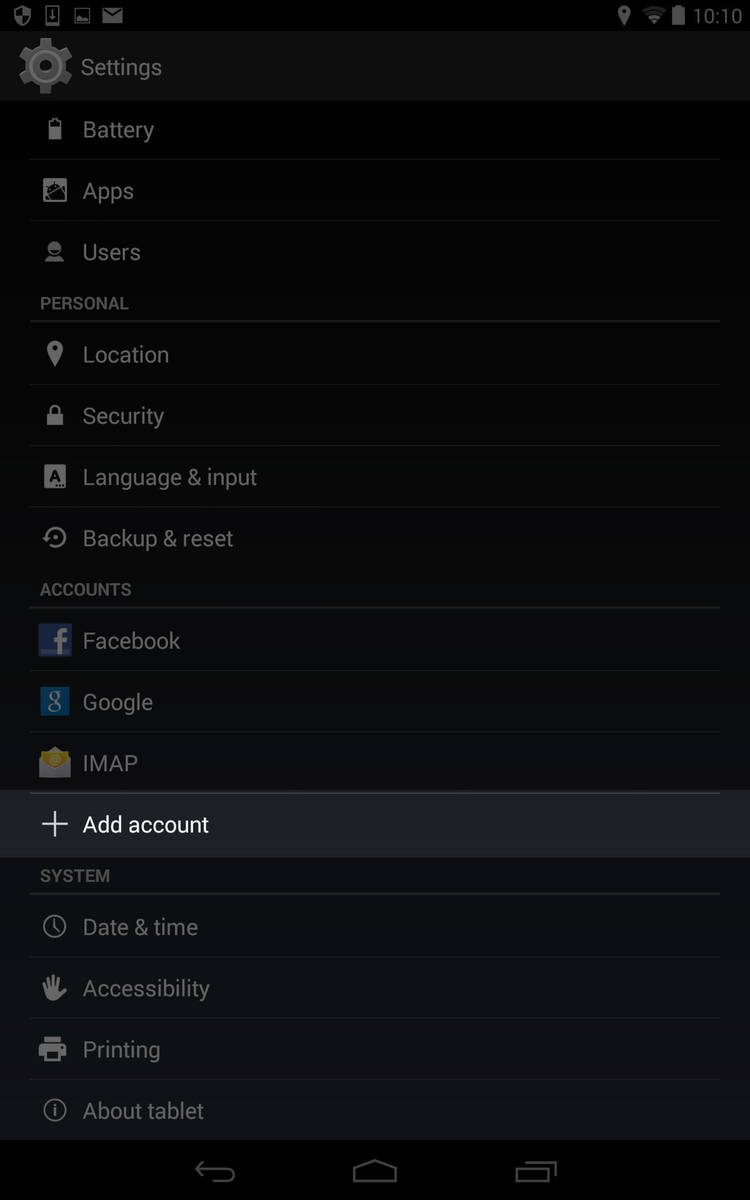
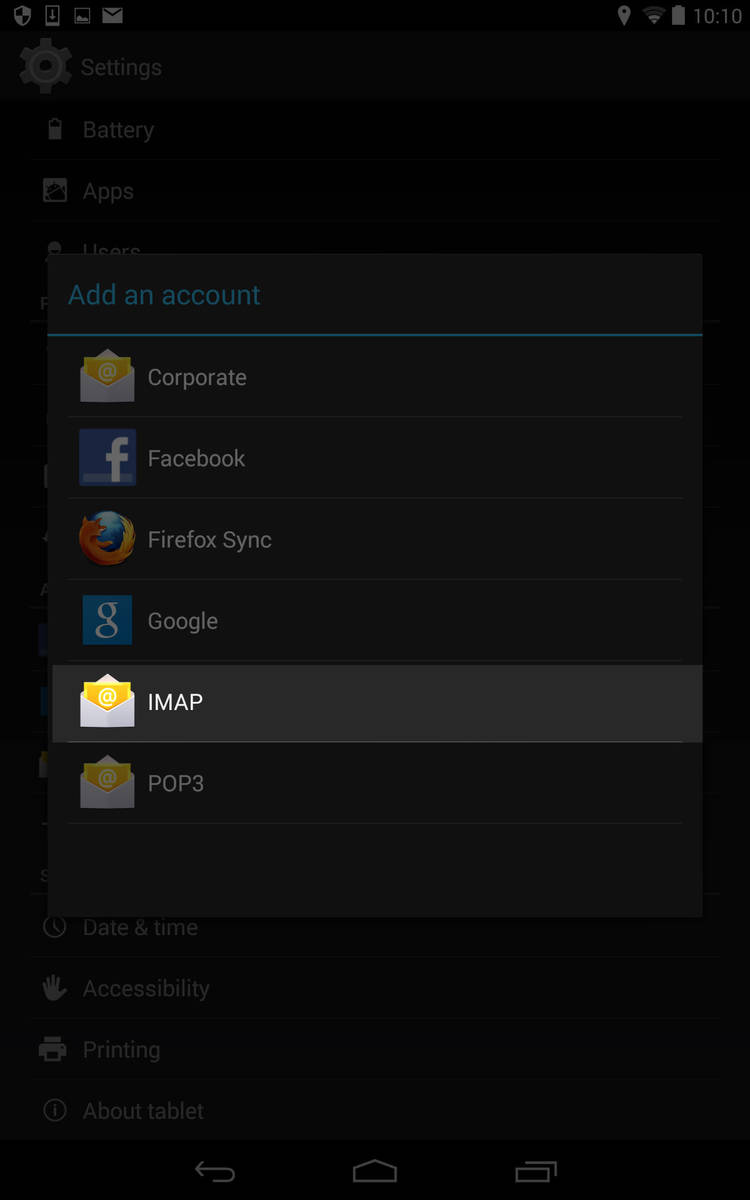
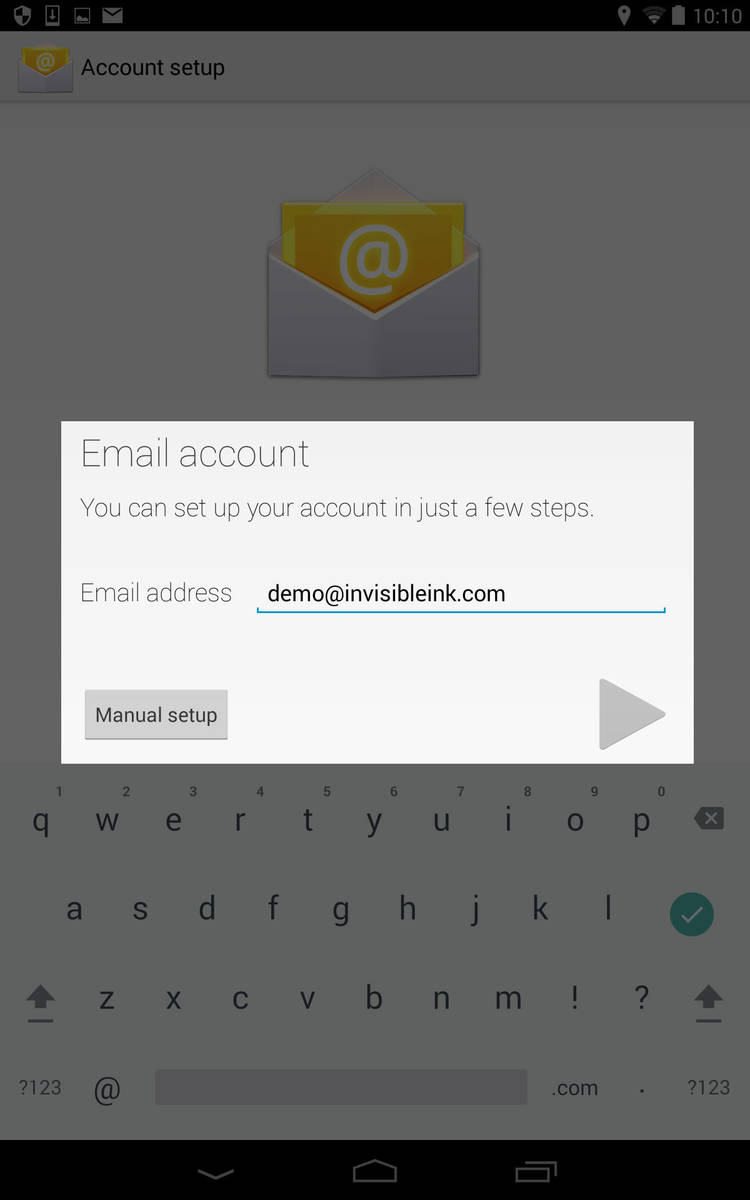
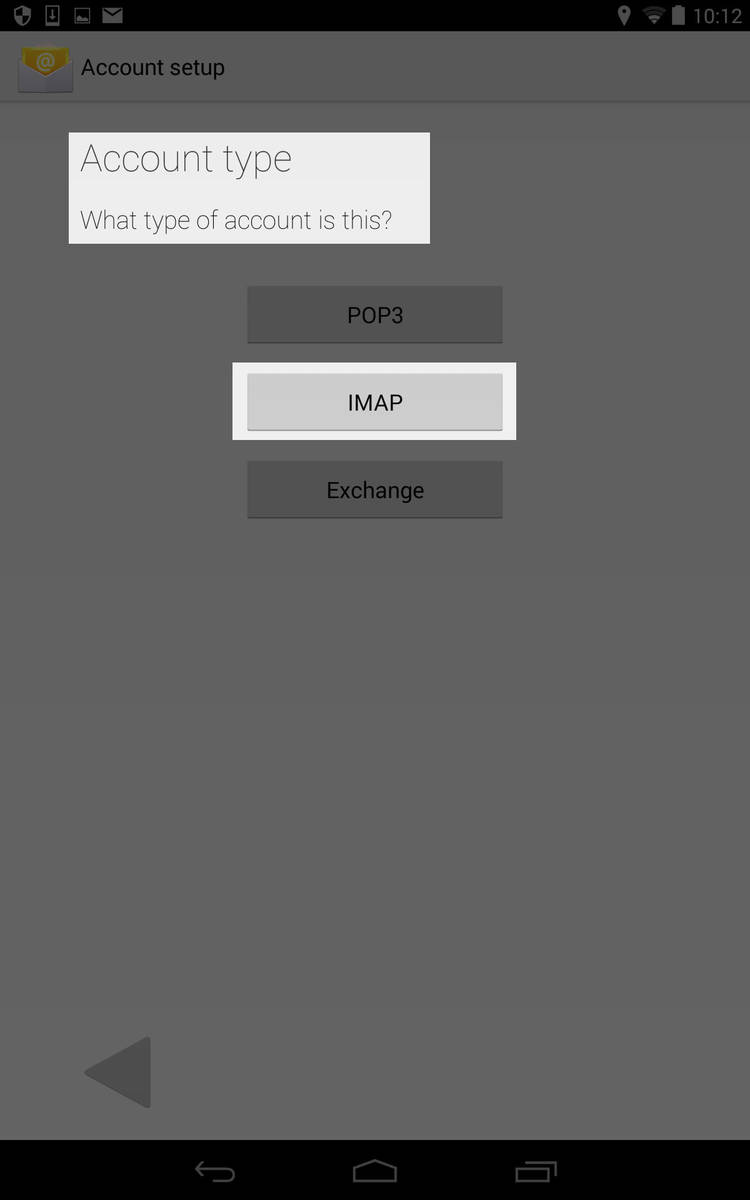
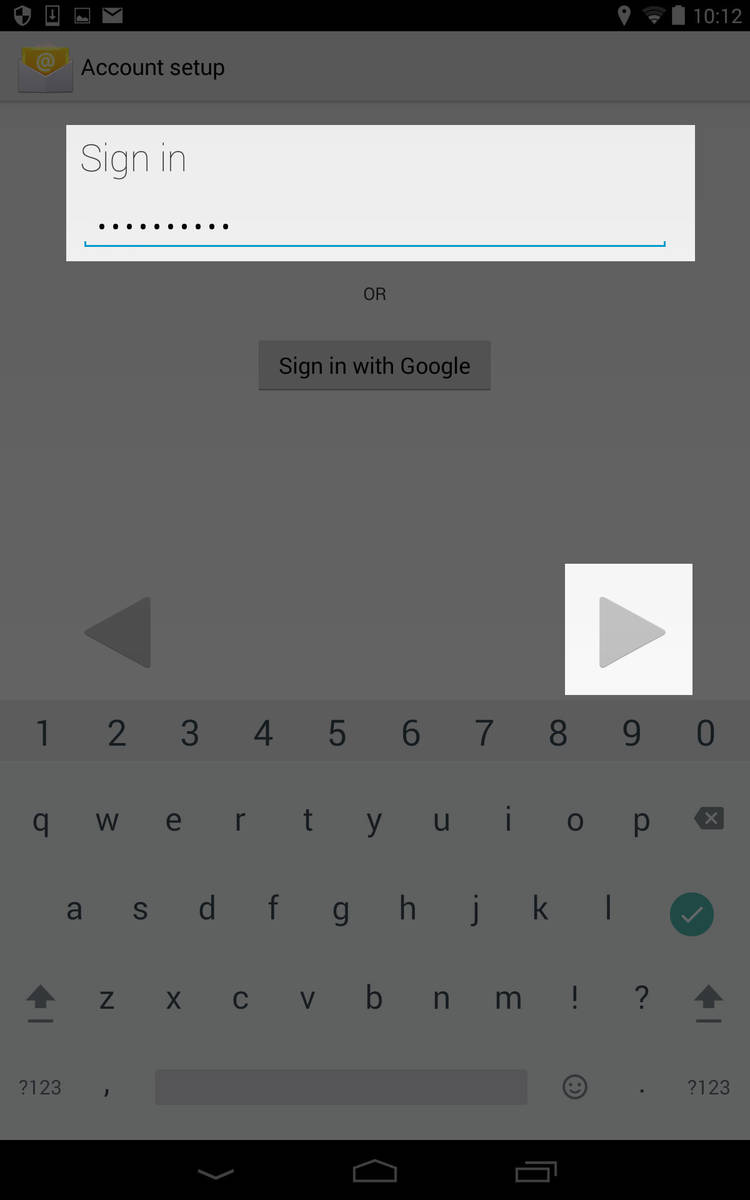
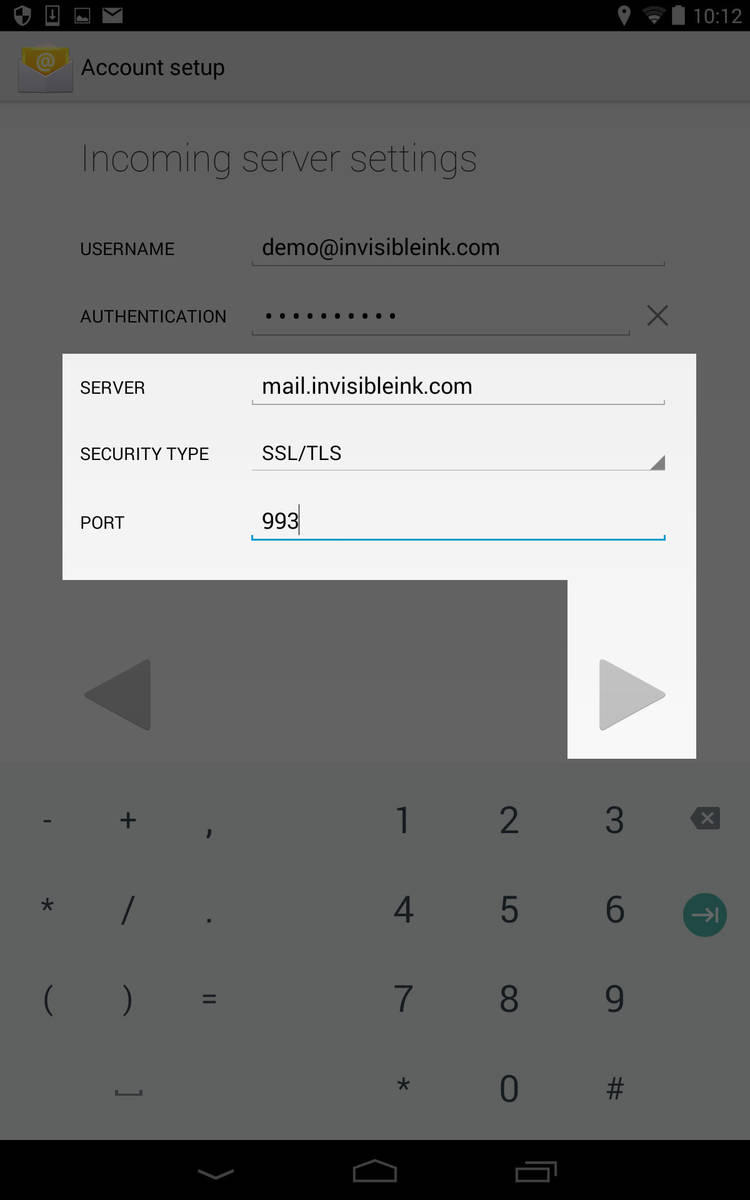
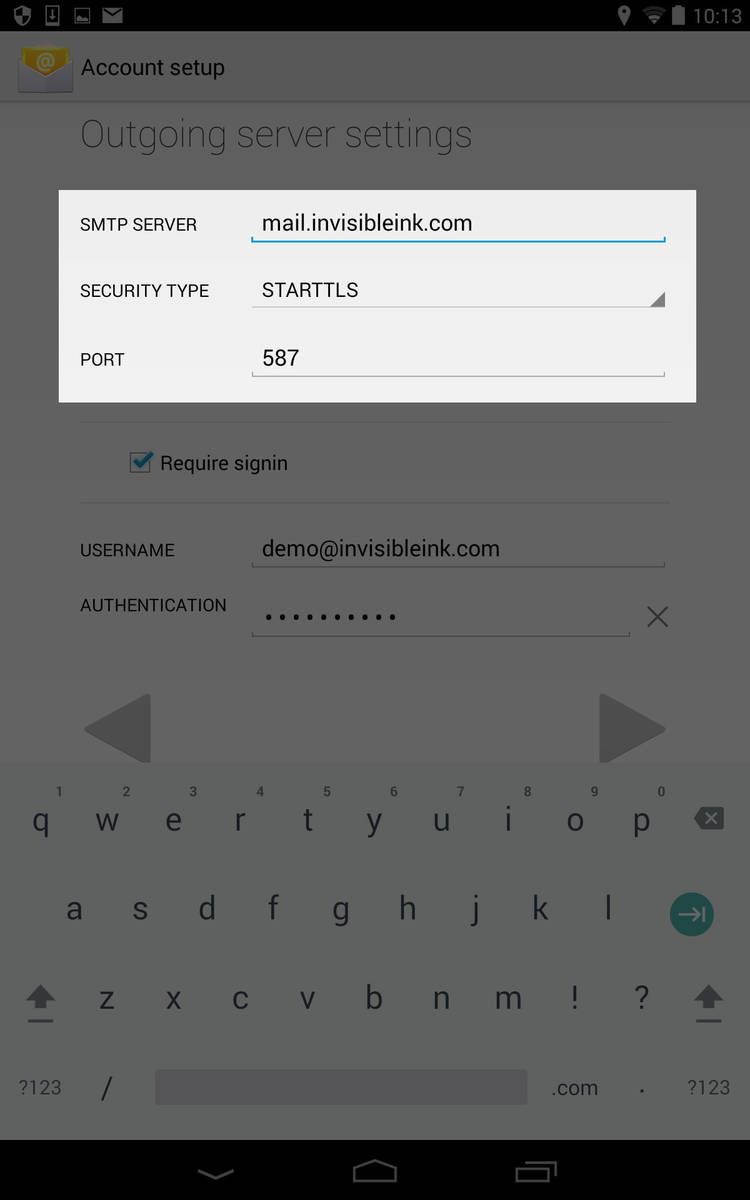
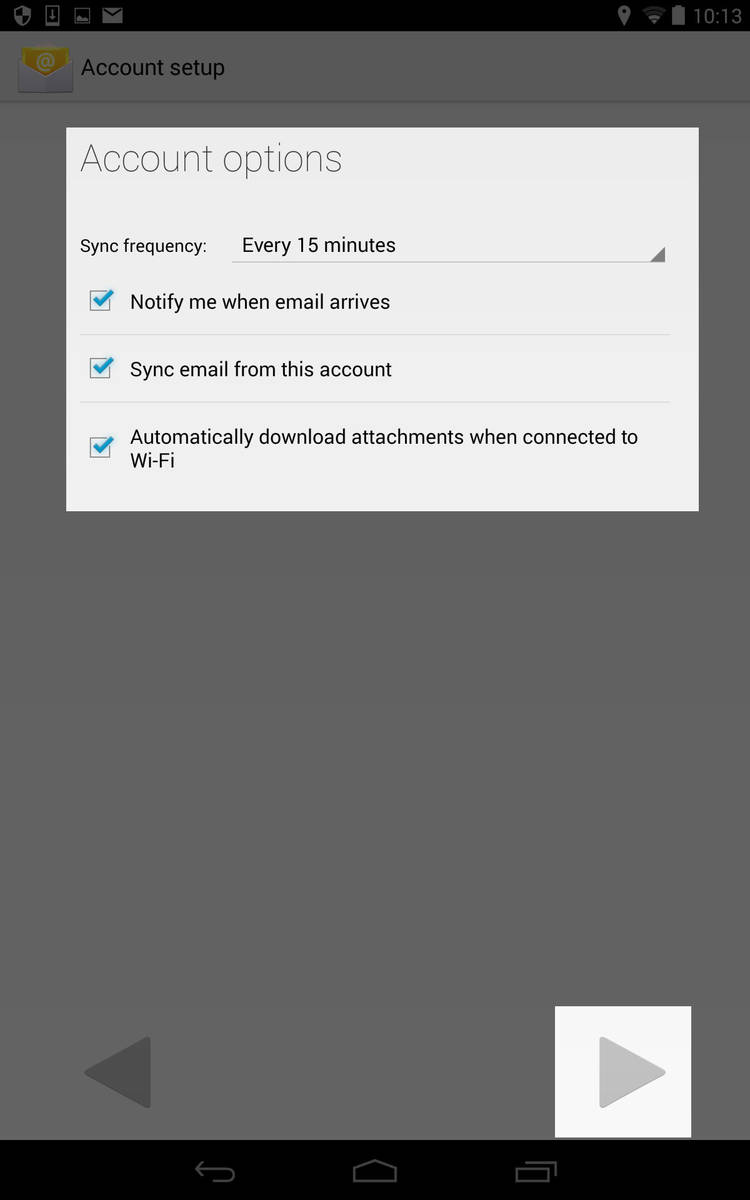
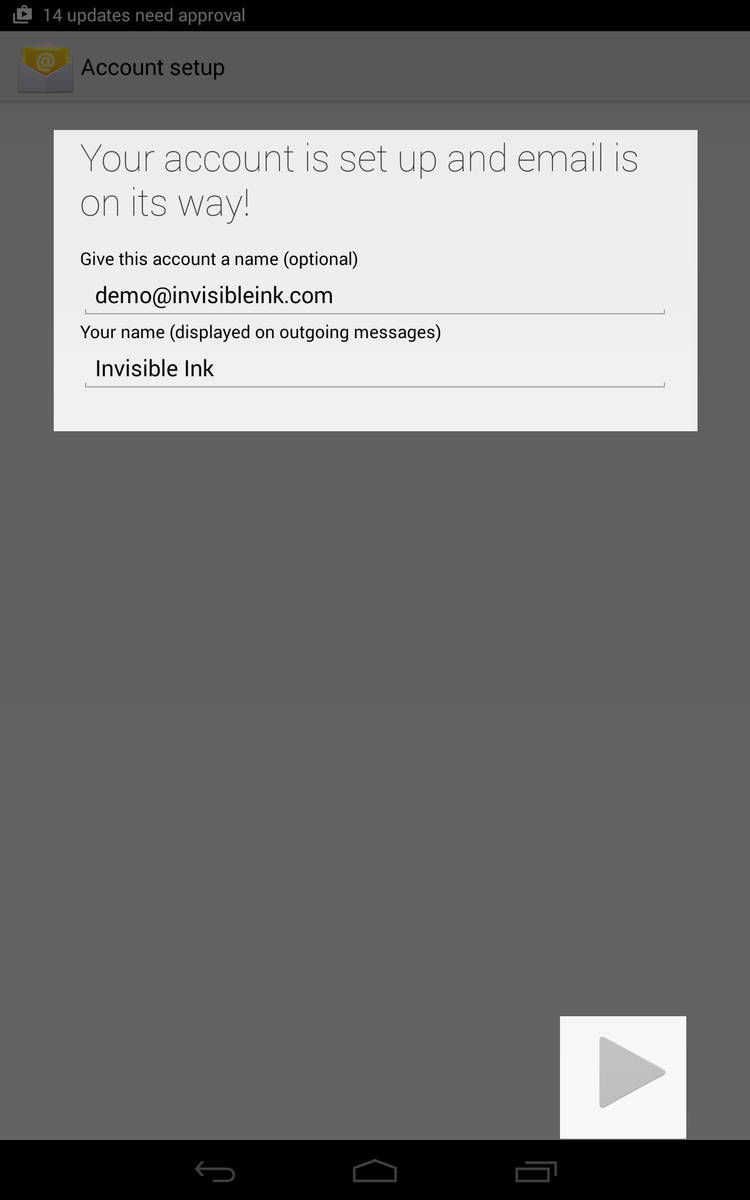
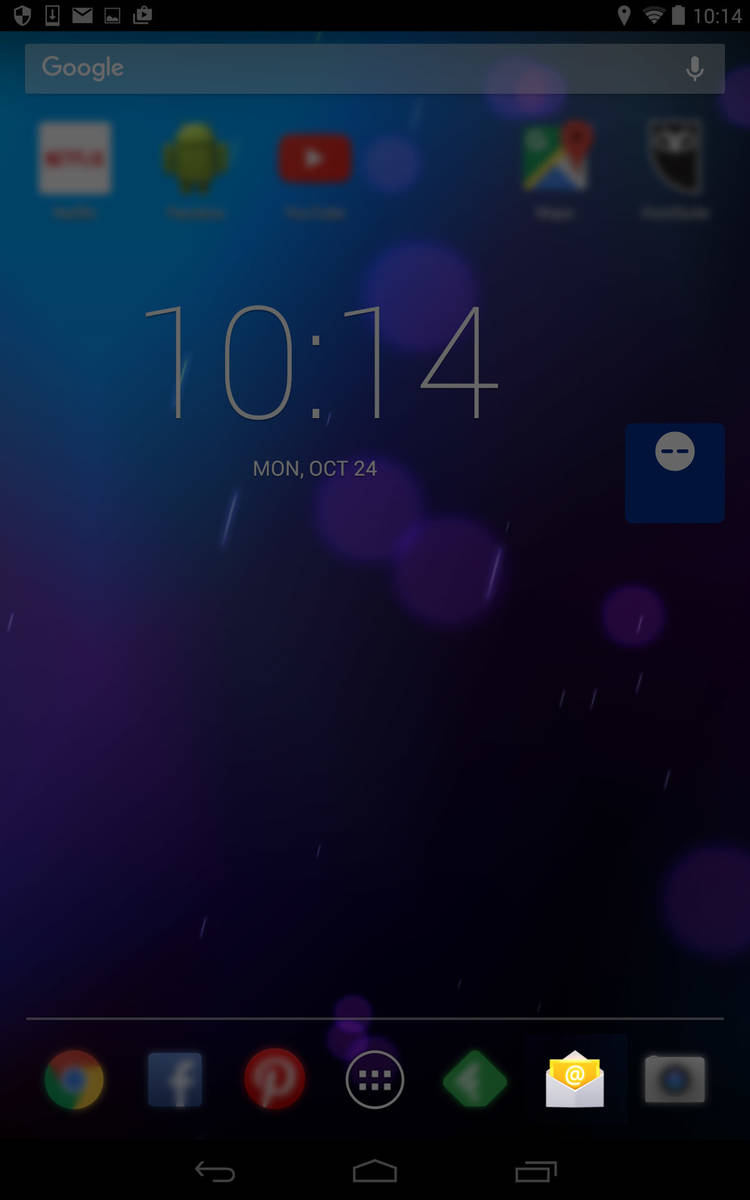
The process for configuring email on a Nexus 7 is pretty straightforward. Click on the screen shots below to view step-by-step instructions for setting up a new mailbox using the IMAP protocol.

Posted October 24, 2016

Details

Step 1: Open Settings for your Android device and locate mail accounts.
Step 2: Select ‘Add Account’.
Step 3: Choose IMAP from the list of mail accounts.
Step 4: Enter your email address, then select ‘Manual Setup’.
Step 5: Select IMAP as the account type.
Step 6: Enter your password and tap the next arrow.
Step 7: Enter mail.invisibleink.com as the Server and choose SSL/TLS as the Security Type, then tap the next arrow.
Step 8: Enter mail.invisibleink.com as the SMTP Server and choose STARTTLS as the Security Type, and make sure your username and password are listed under the Require Signin section. Tap the next arrow to continue.
Step 9: Adjust the optional account options if desired, then tap the next arrow to continue.
Step 10: Update your account name and display preferences (if desired), then tap the next arrow to complete account setup.
Step 11: Close Settings and locate the Mail icon to start using your new account.
[?]