Email Setup for Mail on Windows 10

Email Setup for Mail on Windows 10

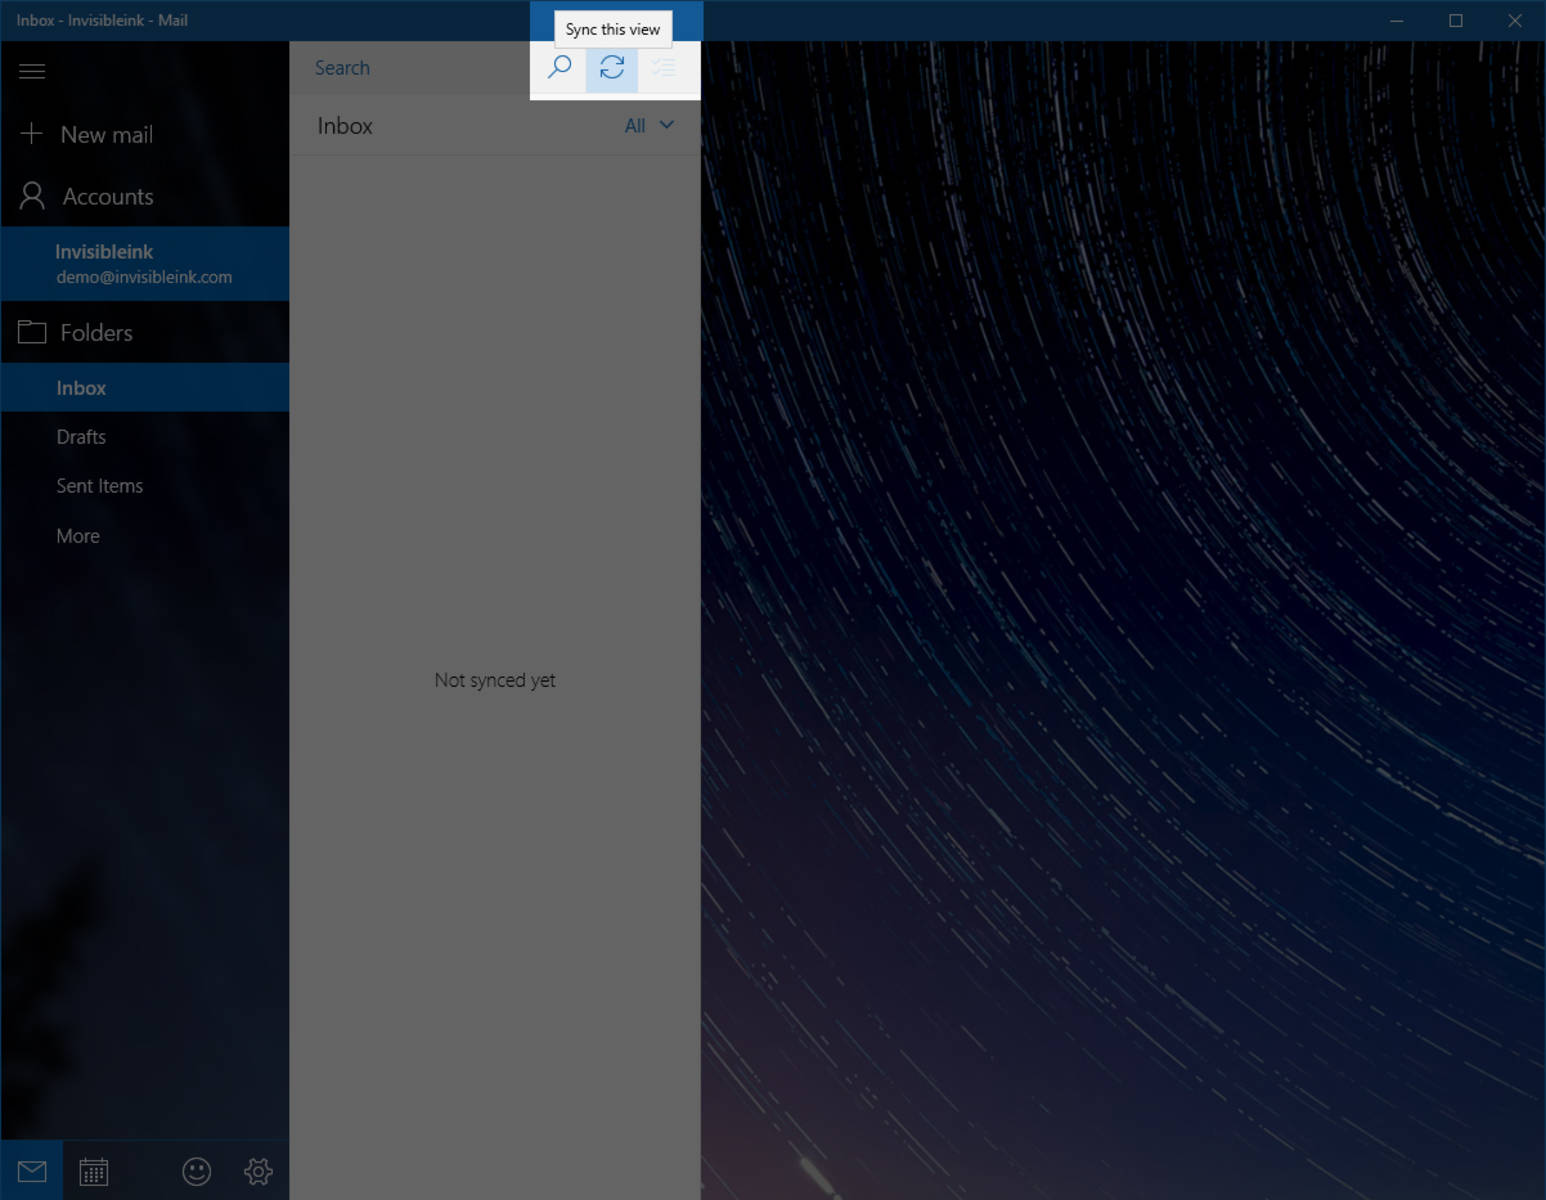
Not to be confused with Outlook 2016, Mail is a free app for sending and receiving mail on Widows 10.

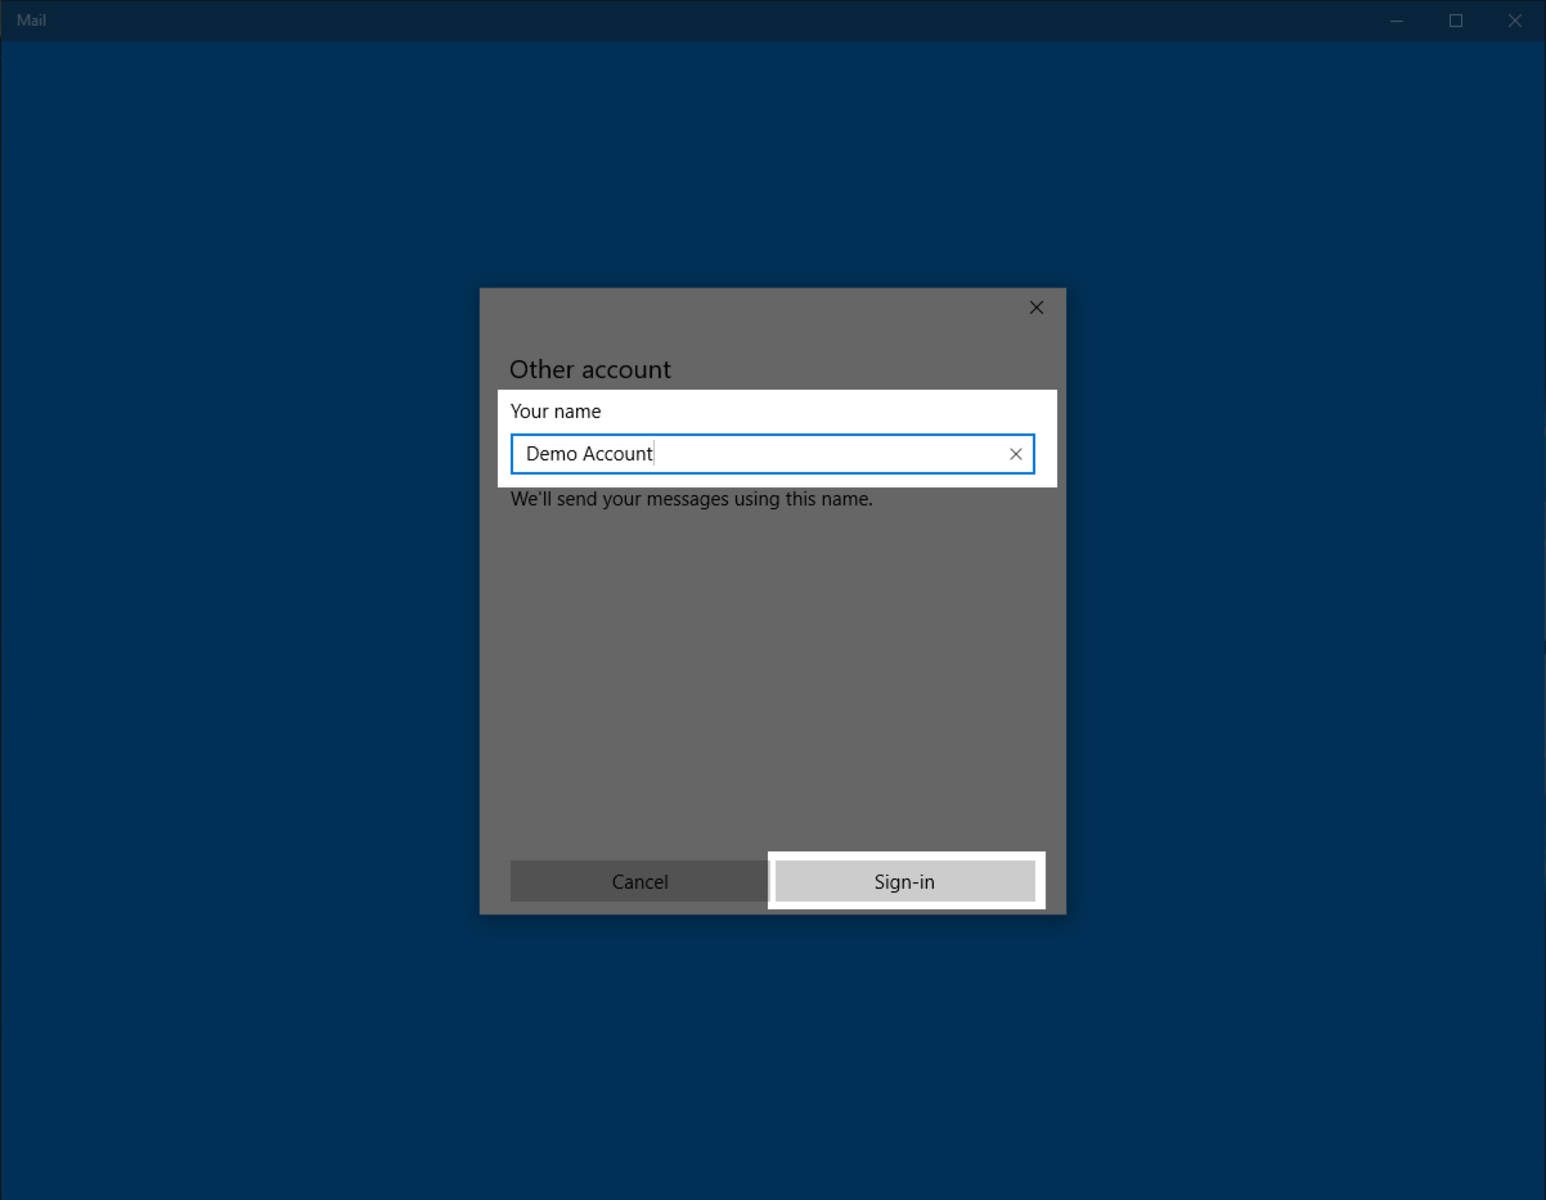
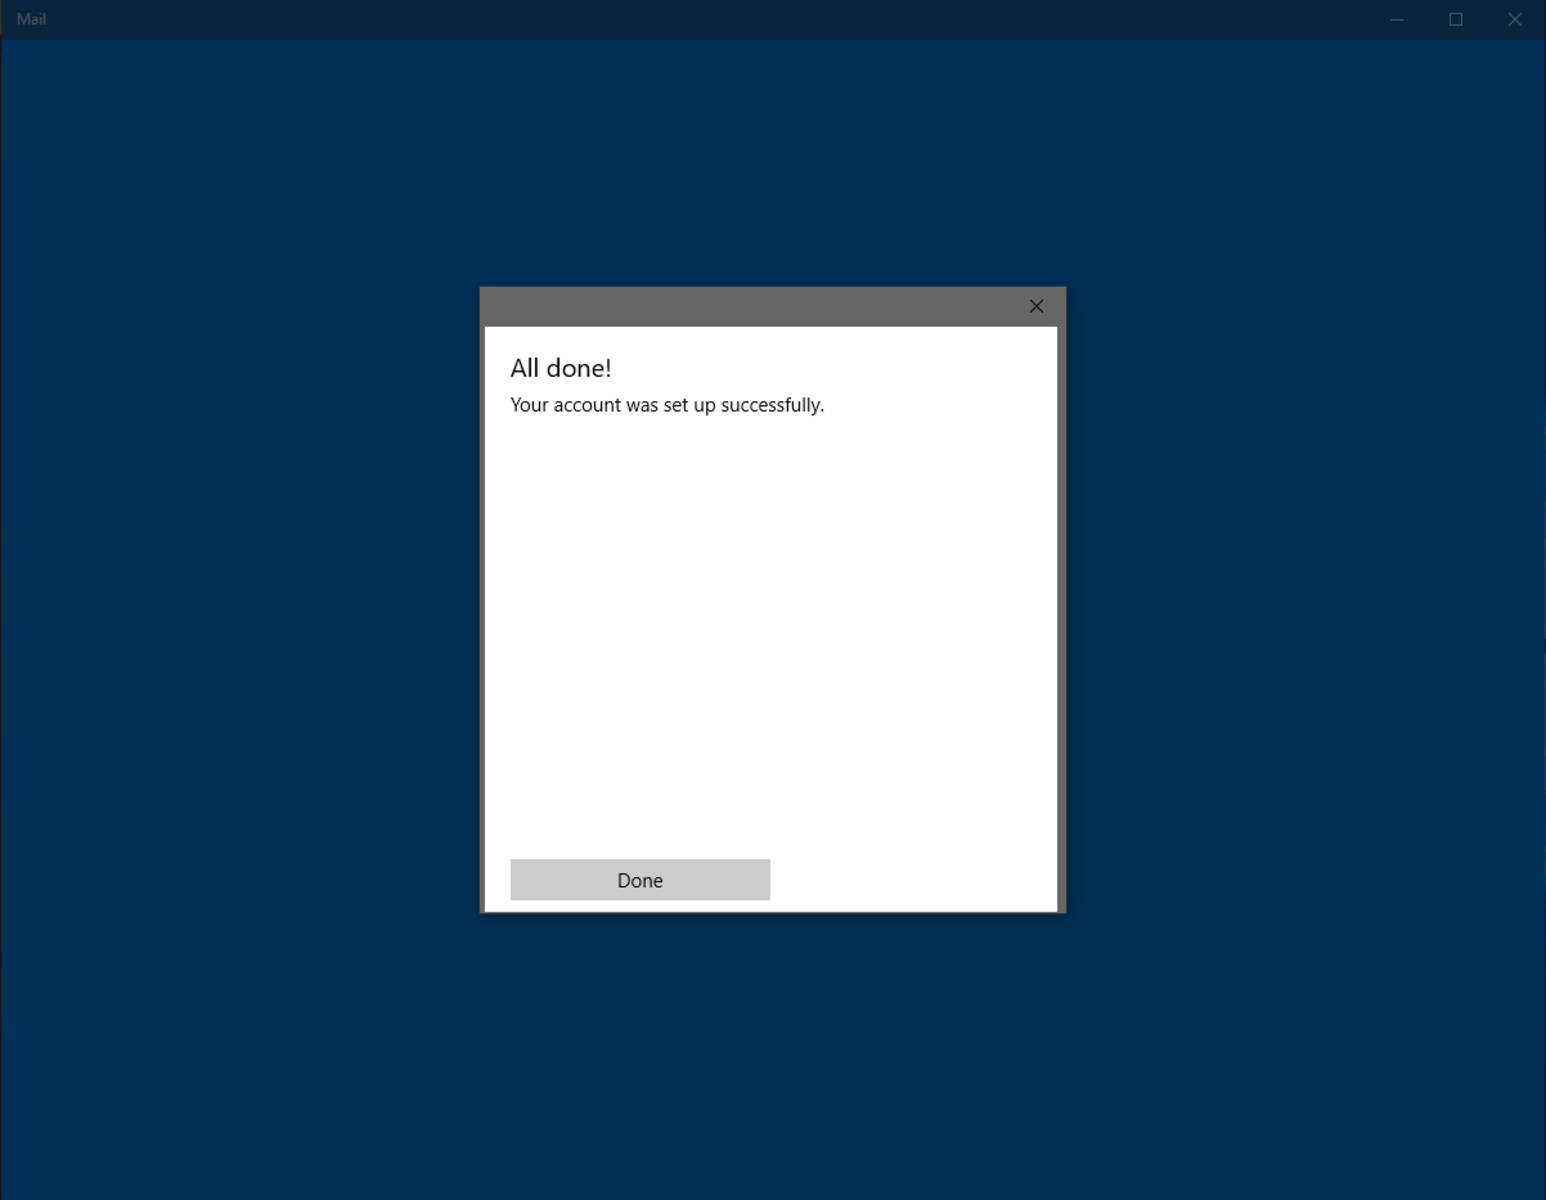
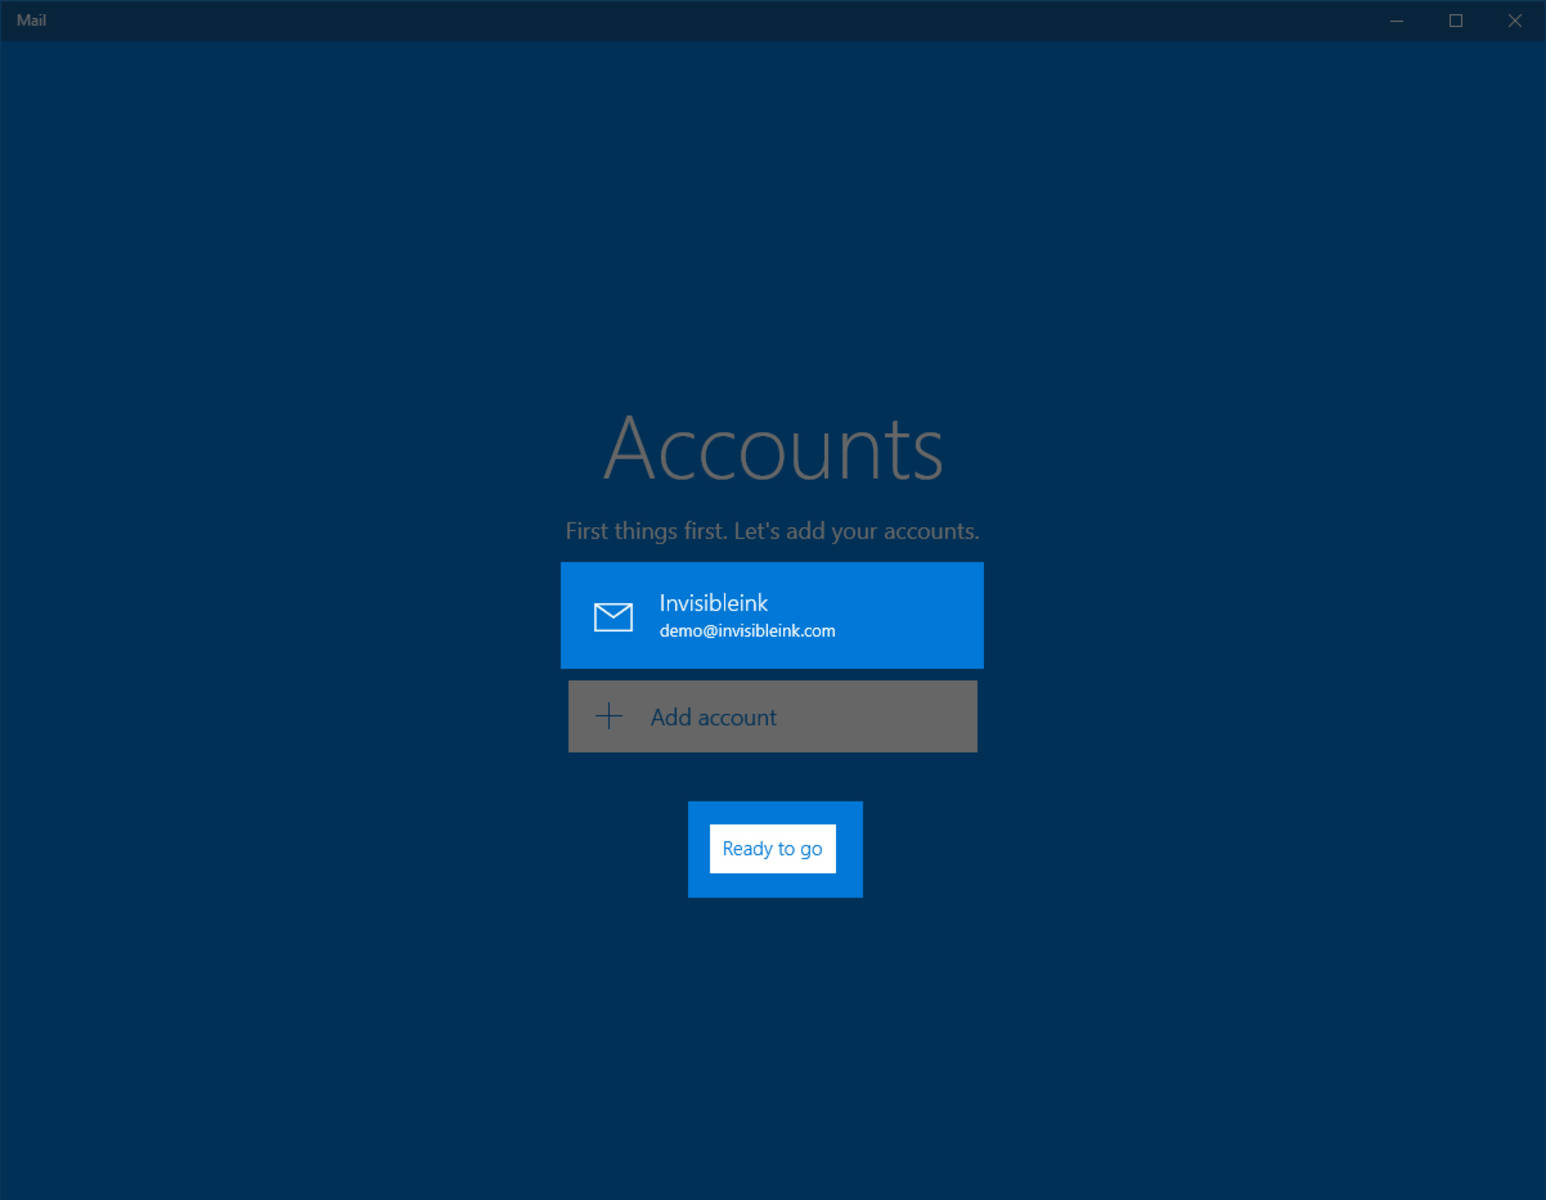
The following instructions will guide you through the step-by-step process of adding a secure email account to Mail for Windows 10.

View Setup Guide

Posted December 06, 2016

Details

Step 1: From the Windows icon in the lower left corner of the screen, select All Apps, then click Mail.
Step 2: When the welcome screen appears, click Get Started.
Step 3: Click Add Account. Note: It may take a few seconds for the next menu to appear.
Step 4: From the Choose an Account screen, select Other Account.
Step 5: Enter your email address and password, then click Sign In.
Step 6: Enter your name as you would like it displayed next to outgoing emails, then click Sign In.
Step 7: Click Done to finish setting up your account.
Step 8: Click Ready to Go to start using your new account.
Step 9: Click the Sync button to start receiving messages. Note: this step may take several minutes depending on the number of messages stored on your account.
[?]