Automatically Archive Sent Messages in Outlook 2013

Automatically Archive Sent Messages in Outlook 2013

The option to save Sent messages in a local folder is no longer available in Outlook 2013. Outlook now saves all sent messages directly to the IMAP sent folder, giving you access to sent messages from all devices.

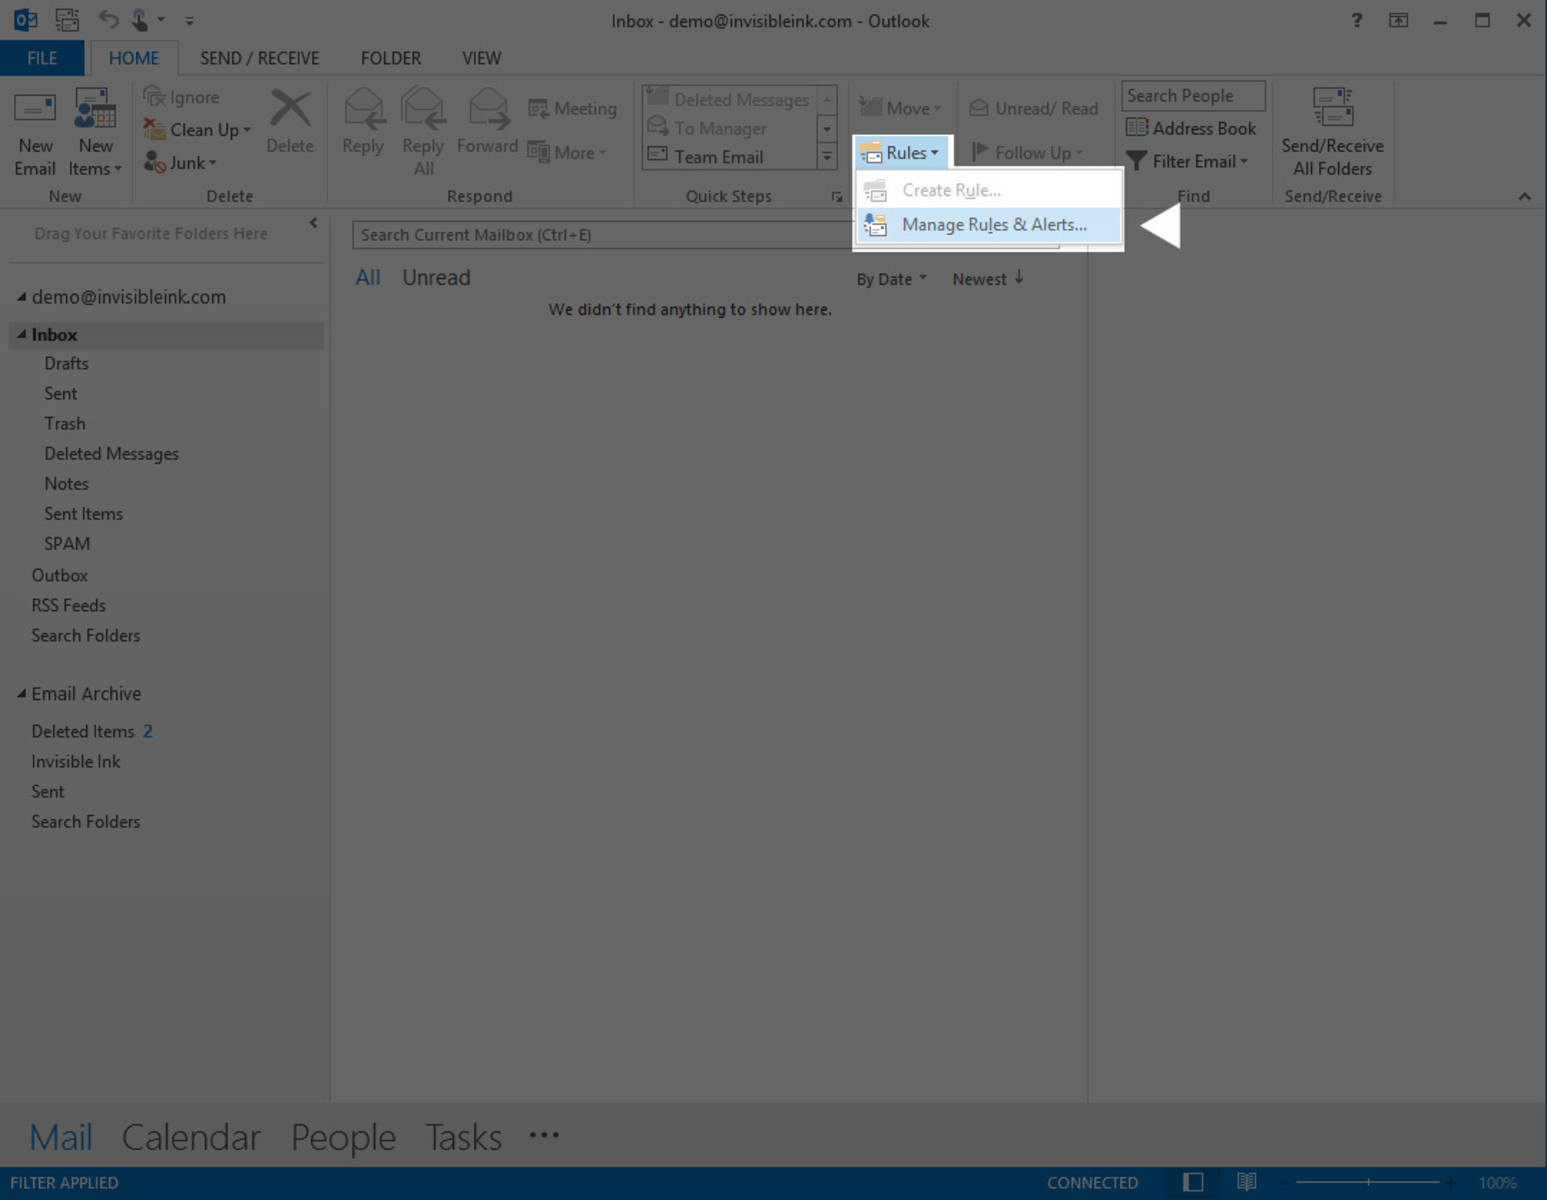
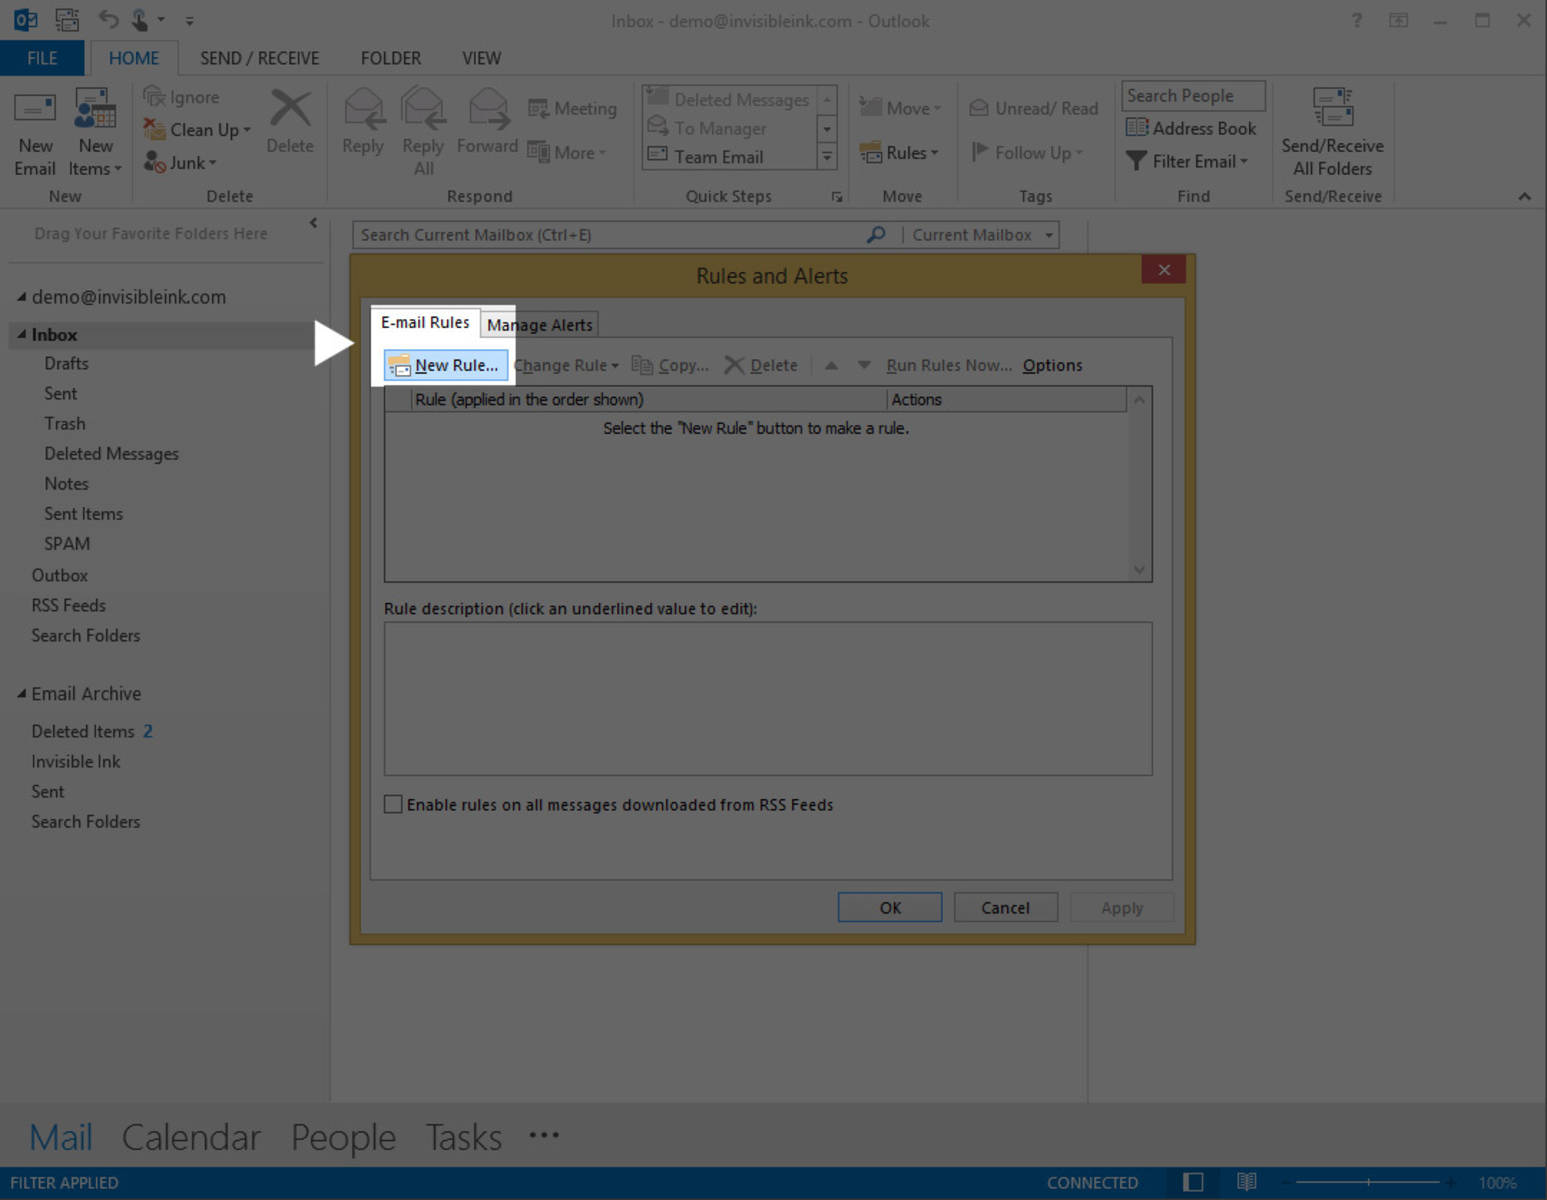
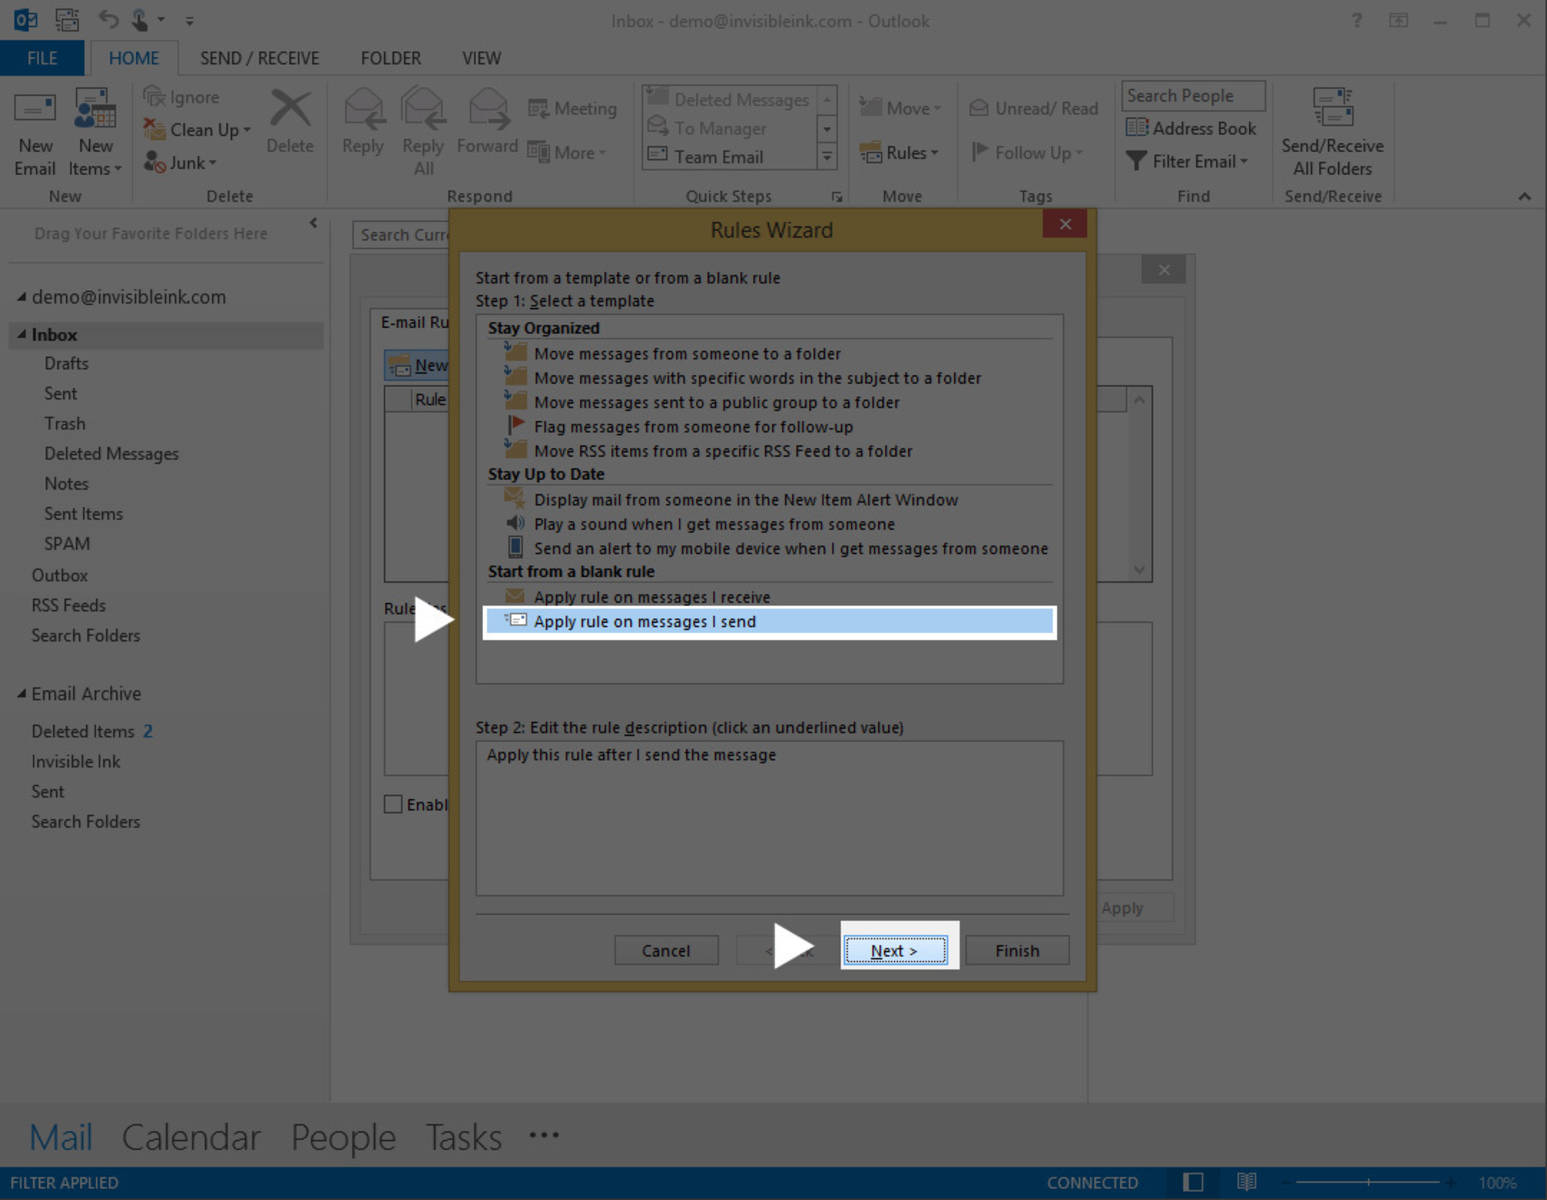
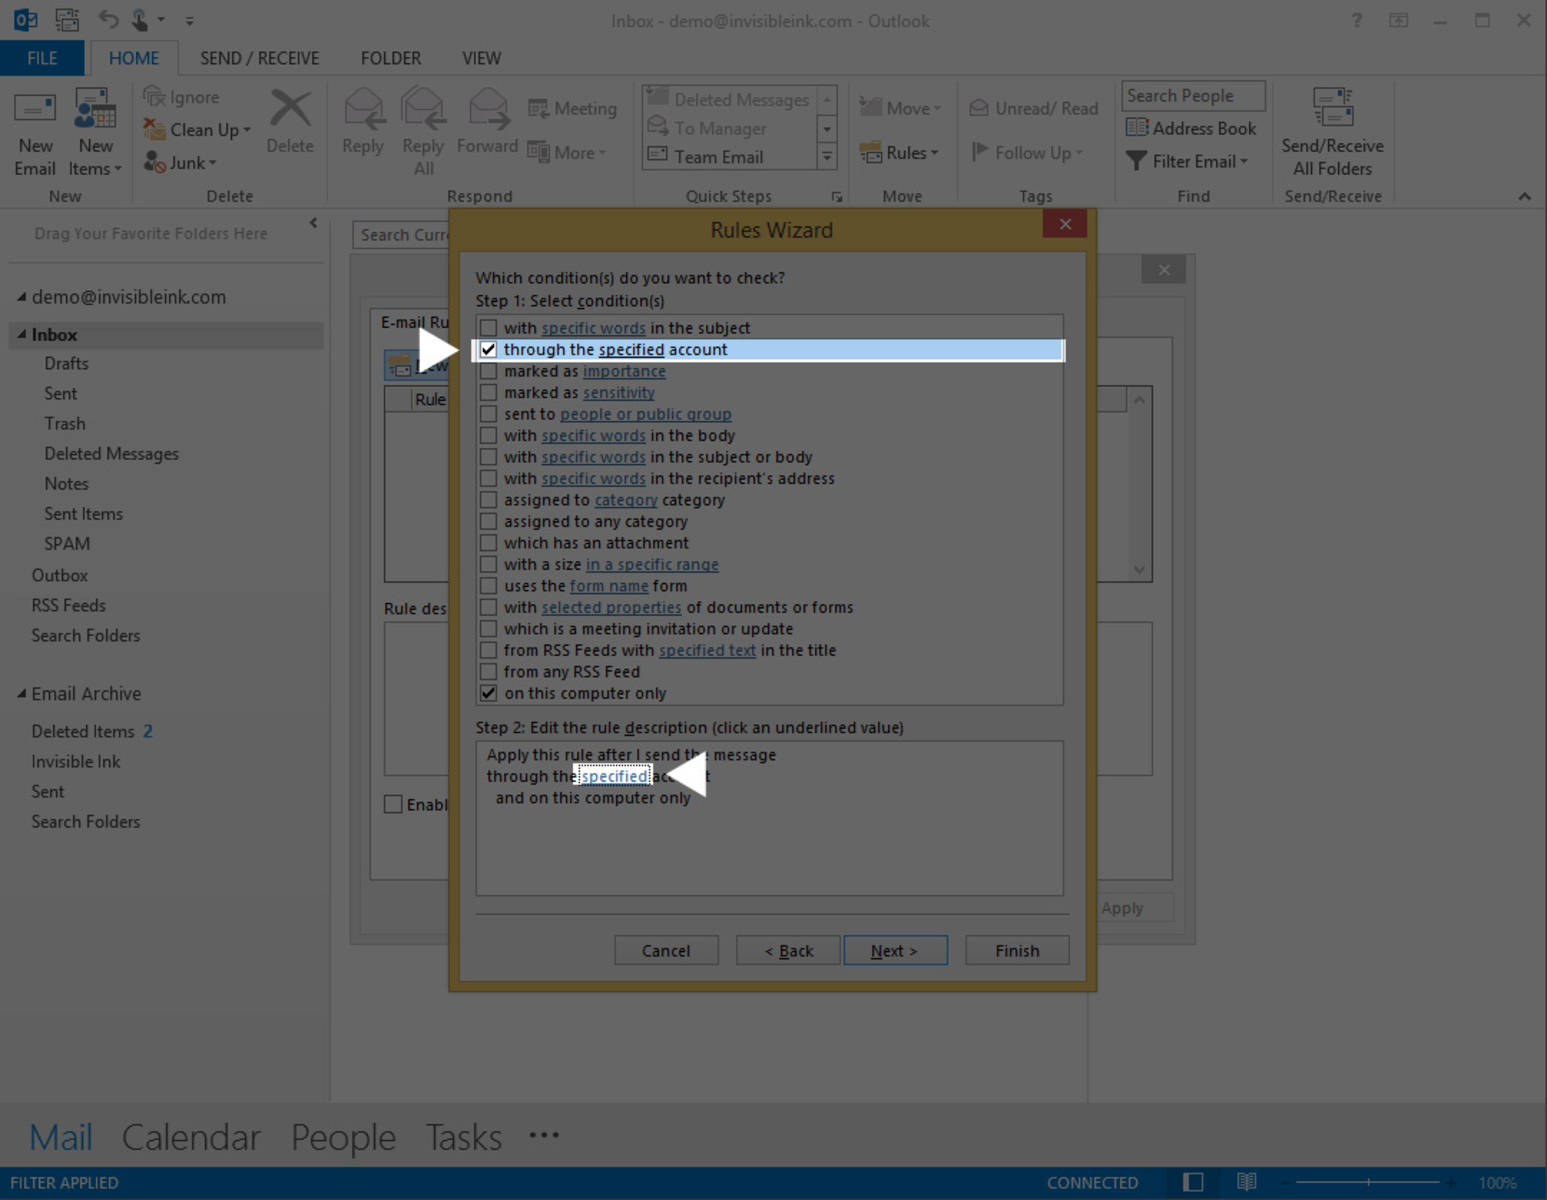
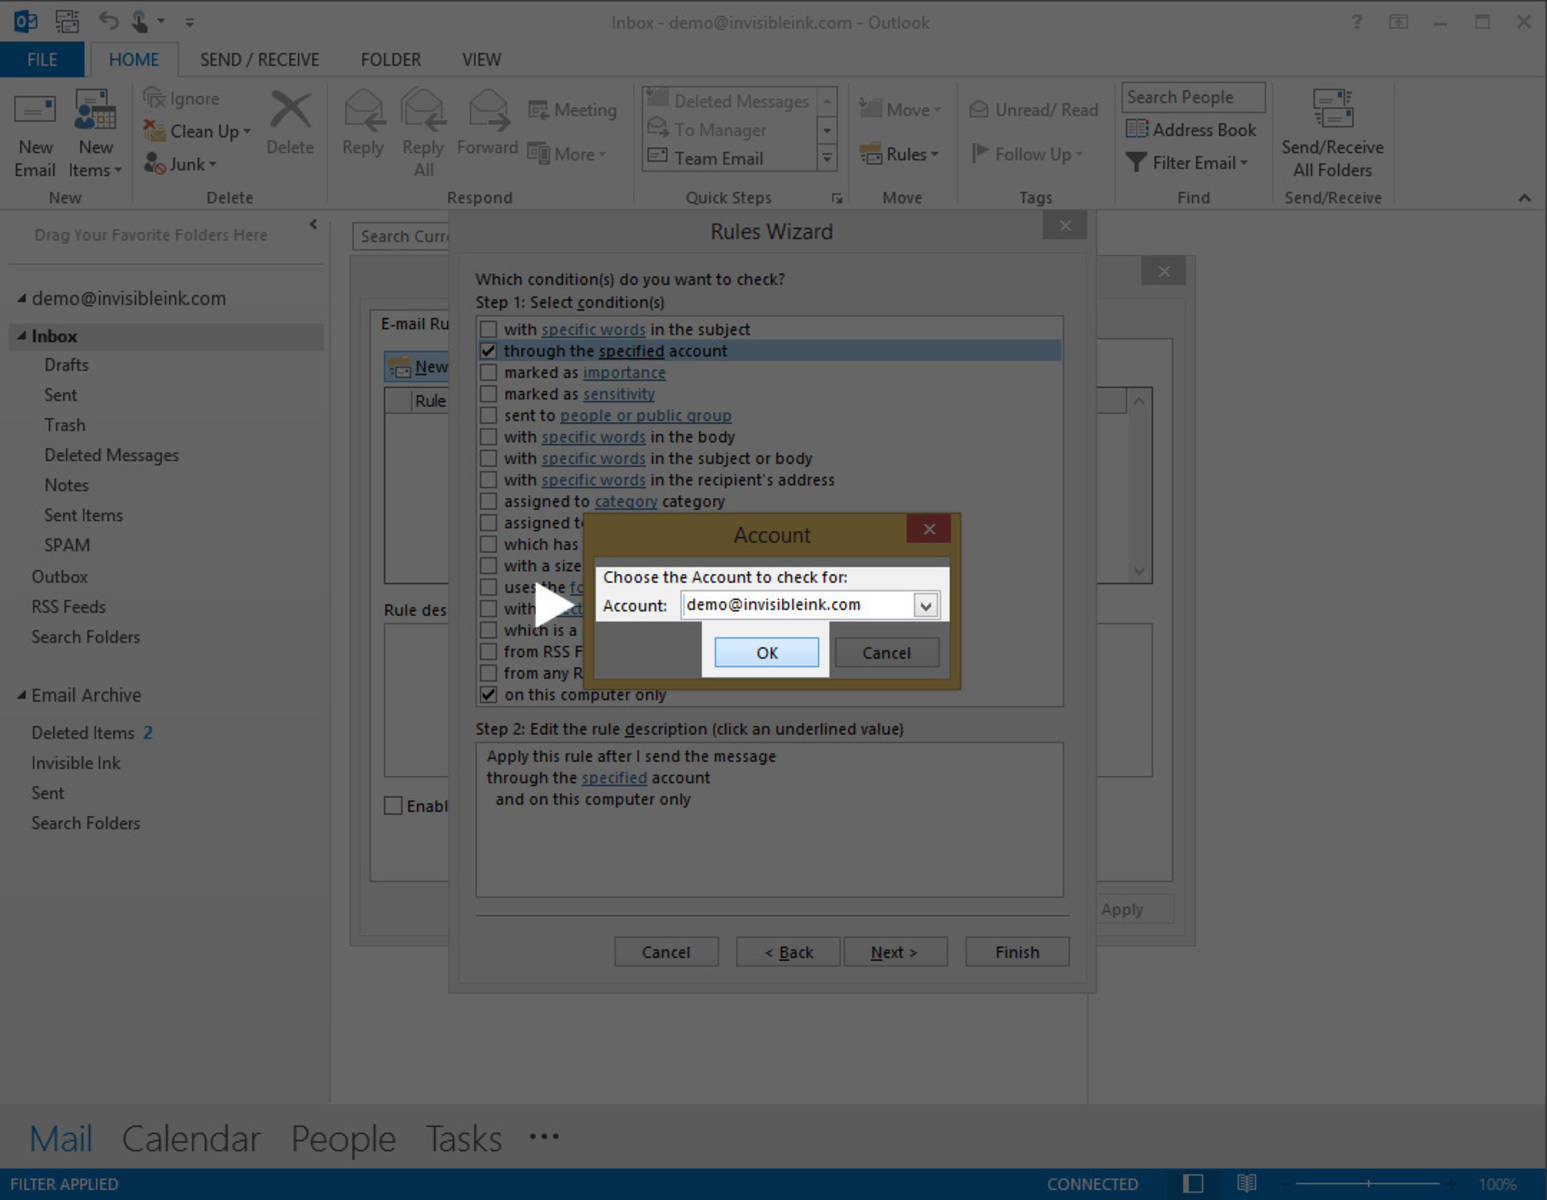
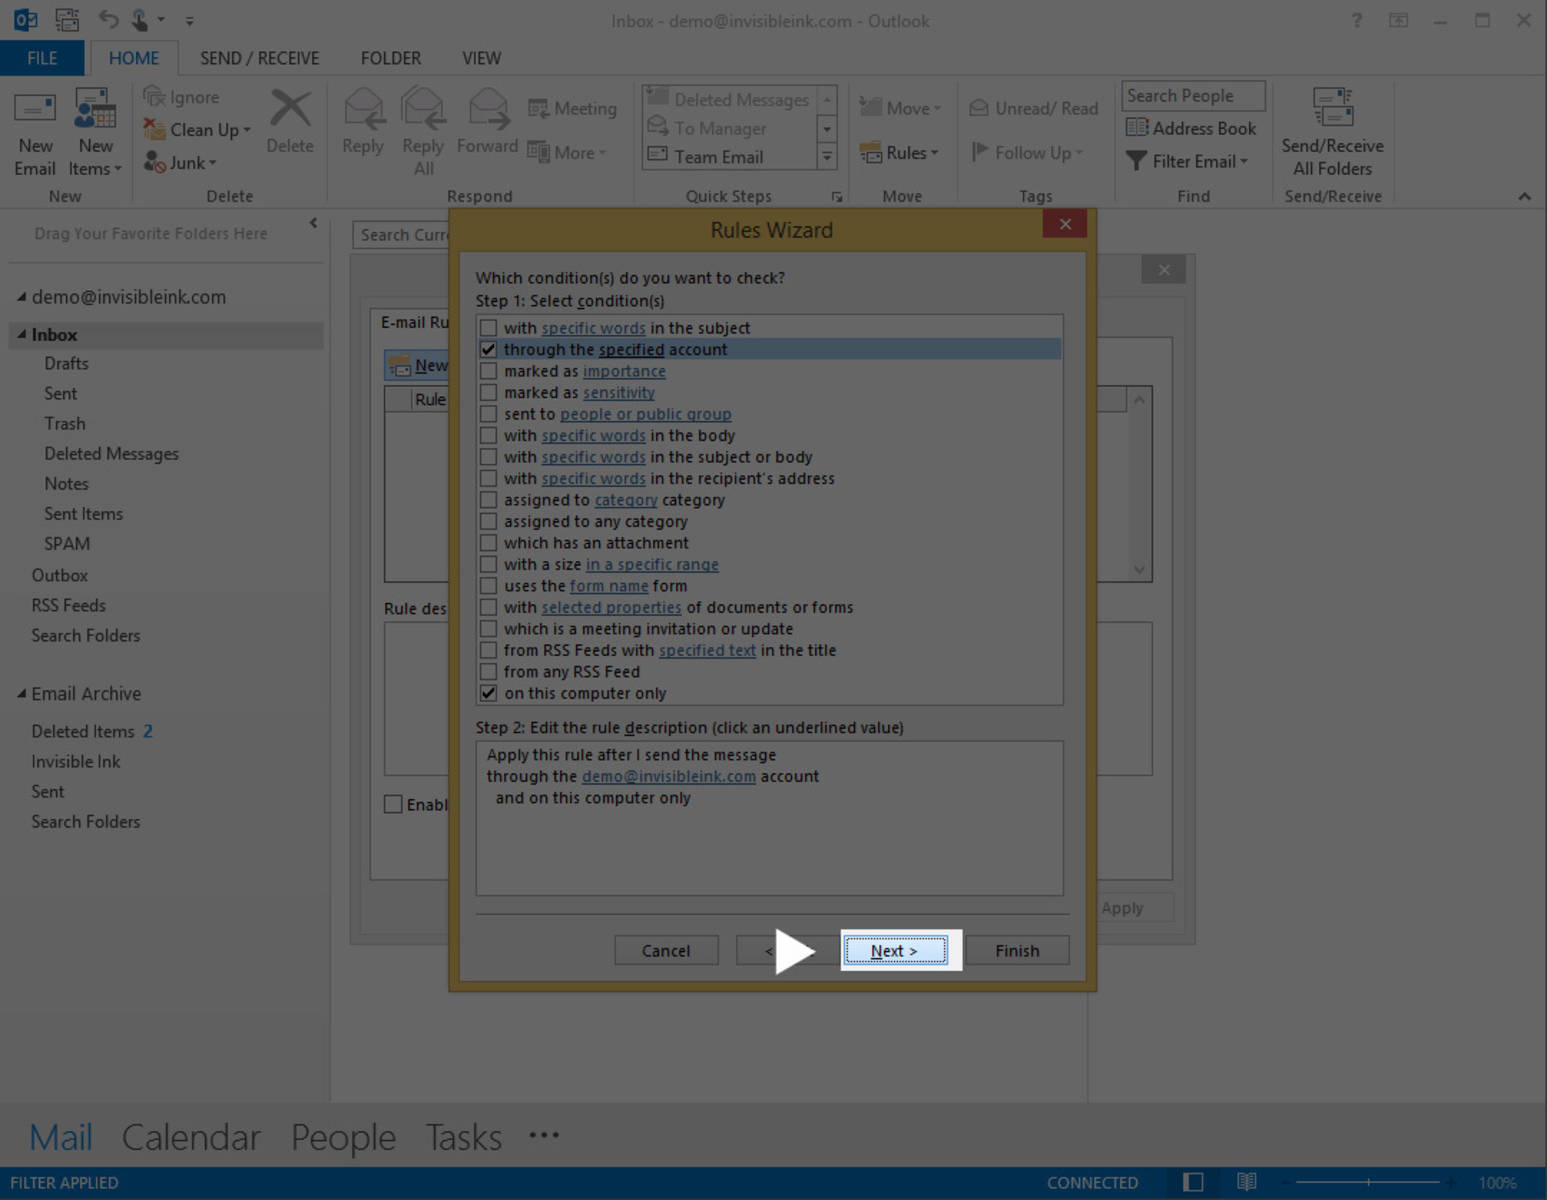
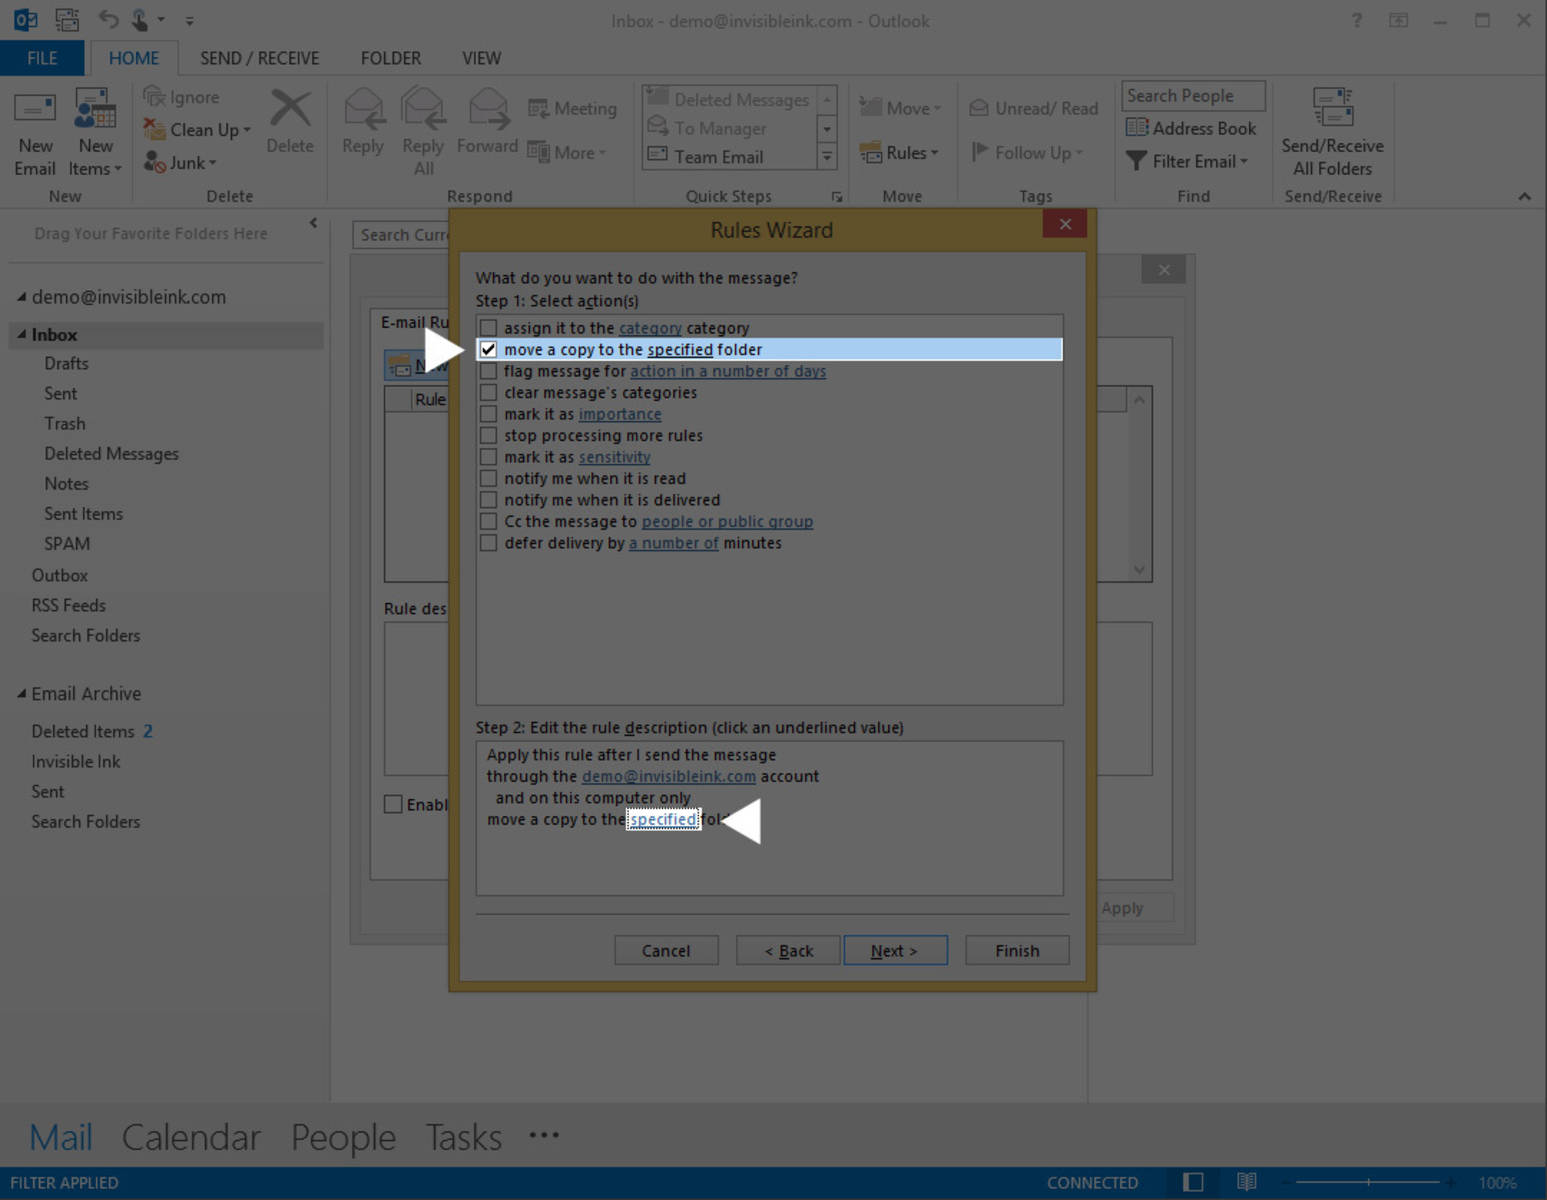
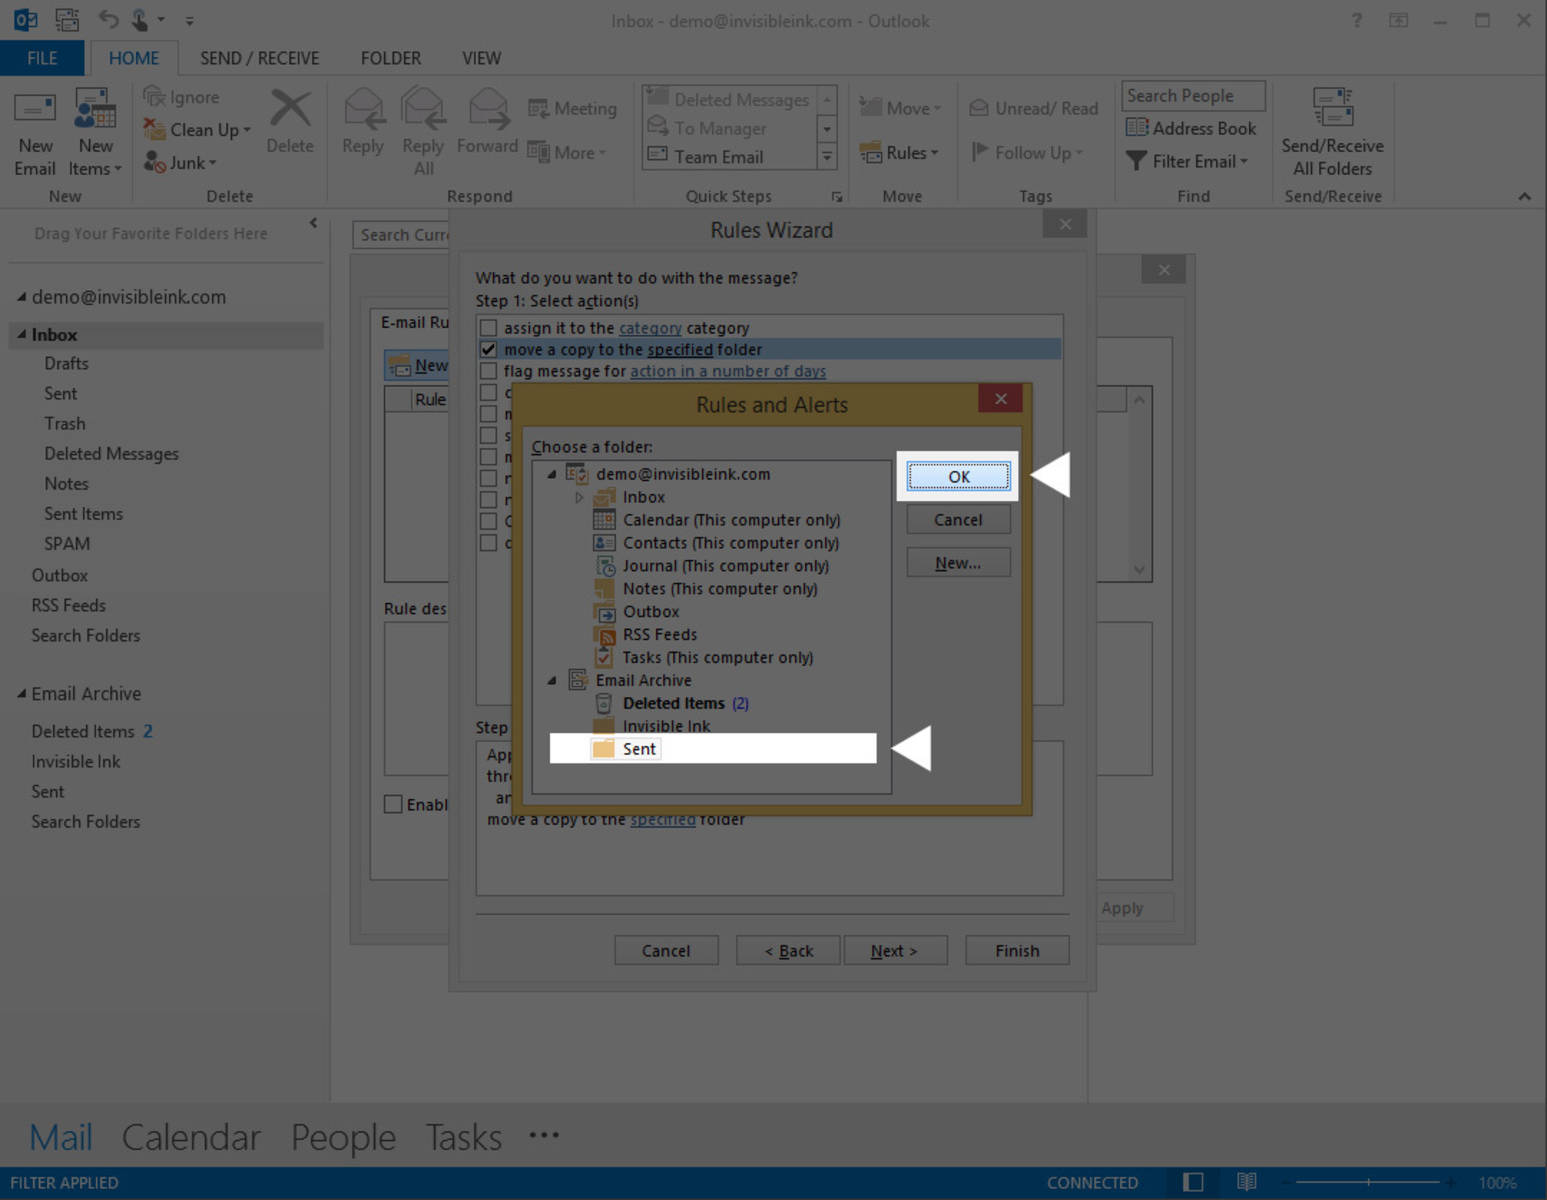
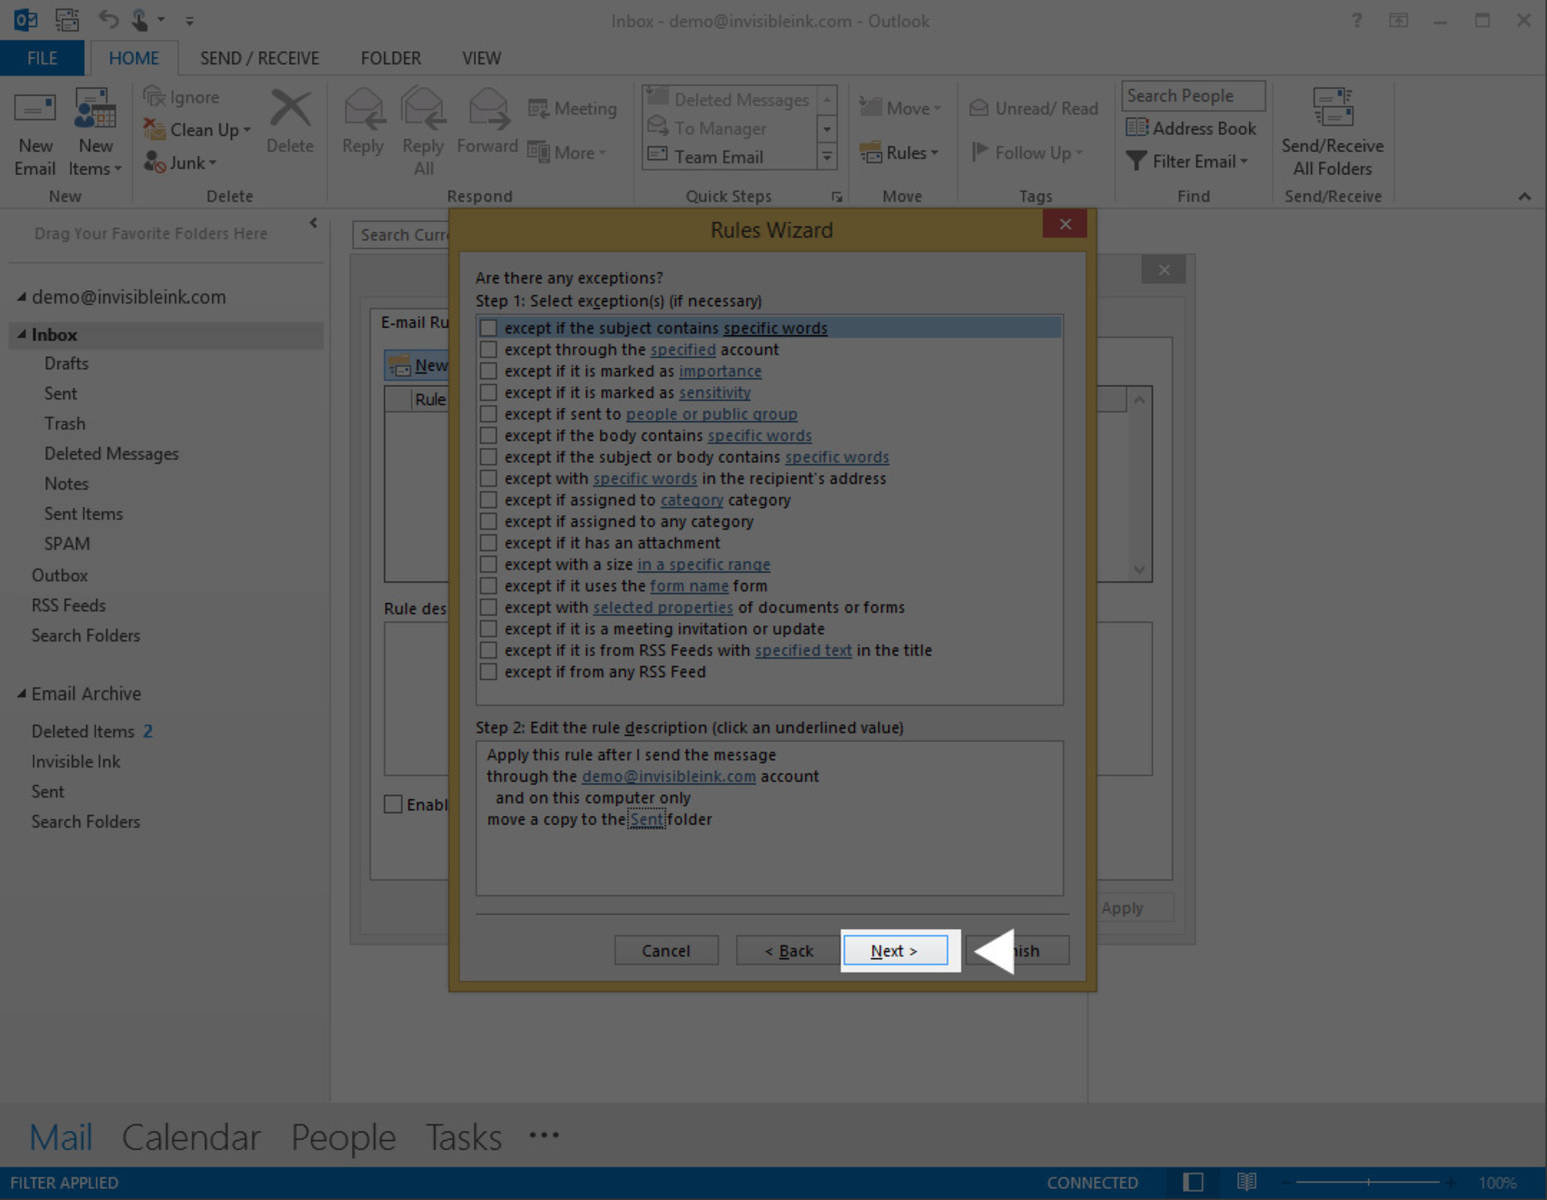
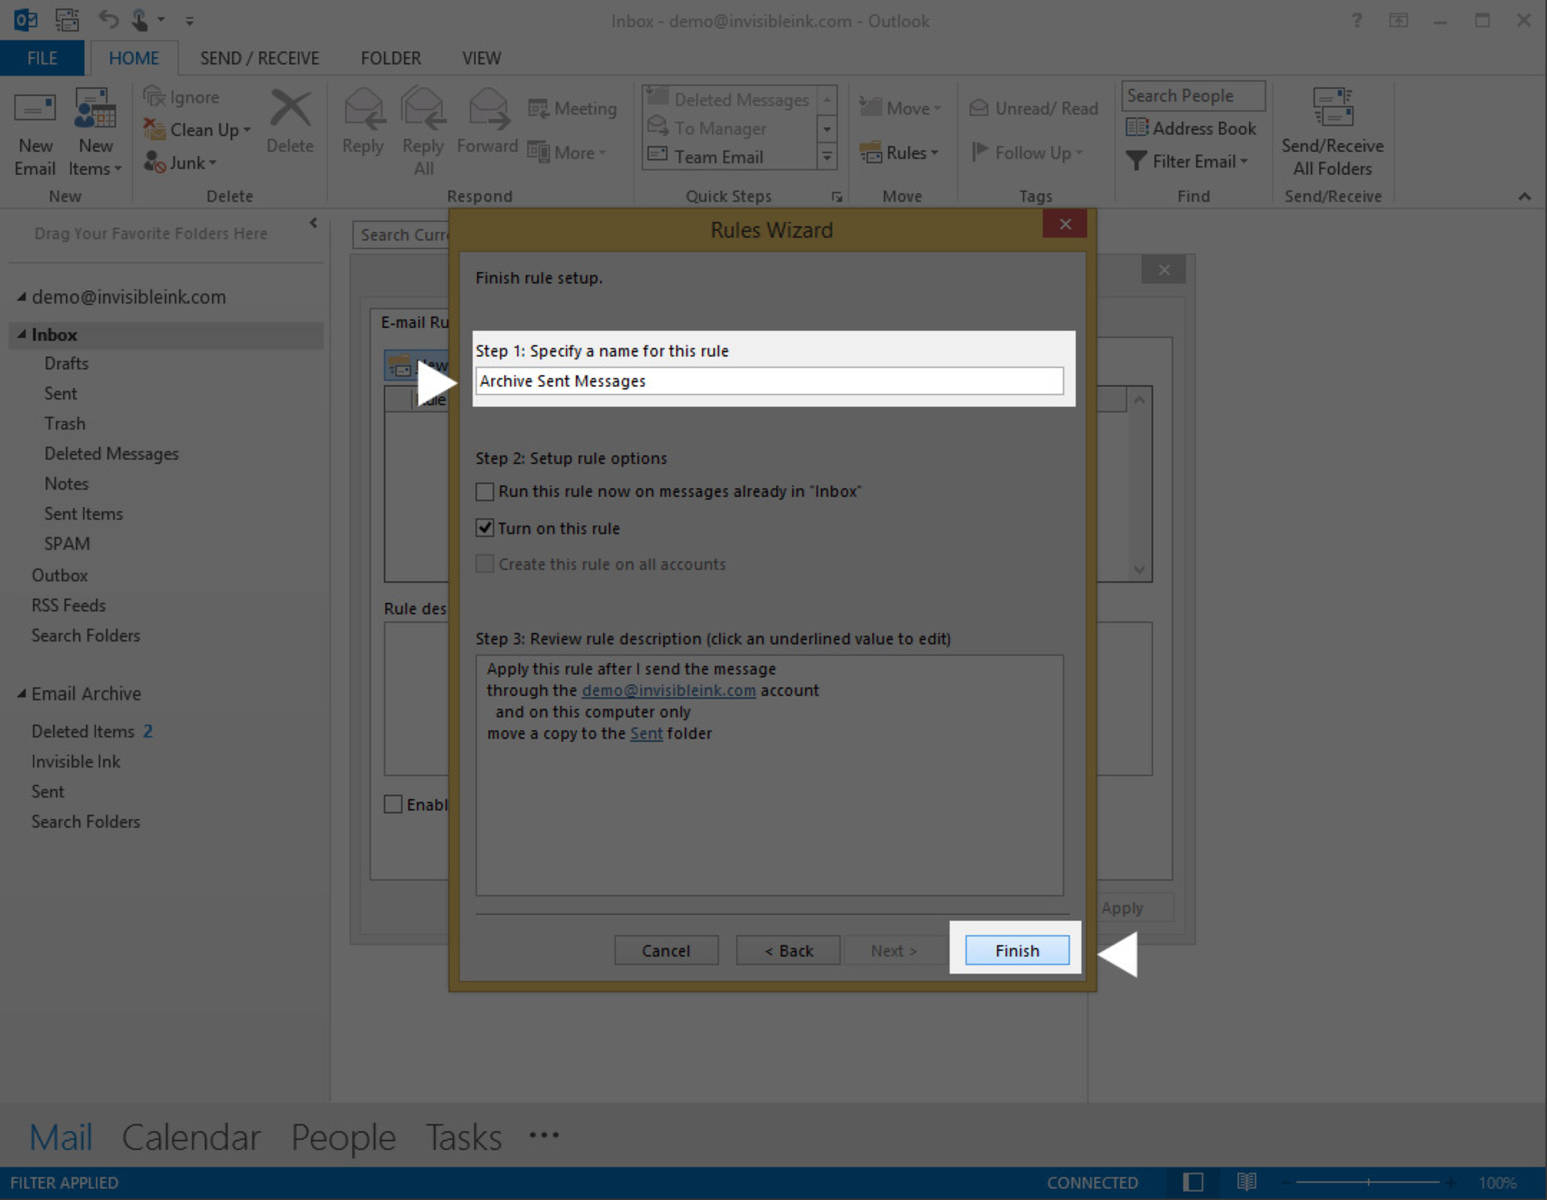
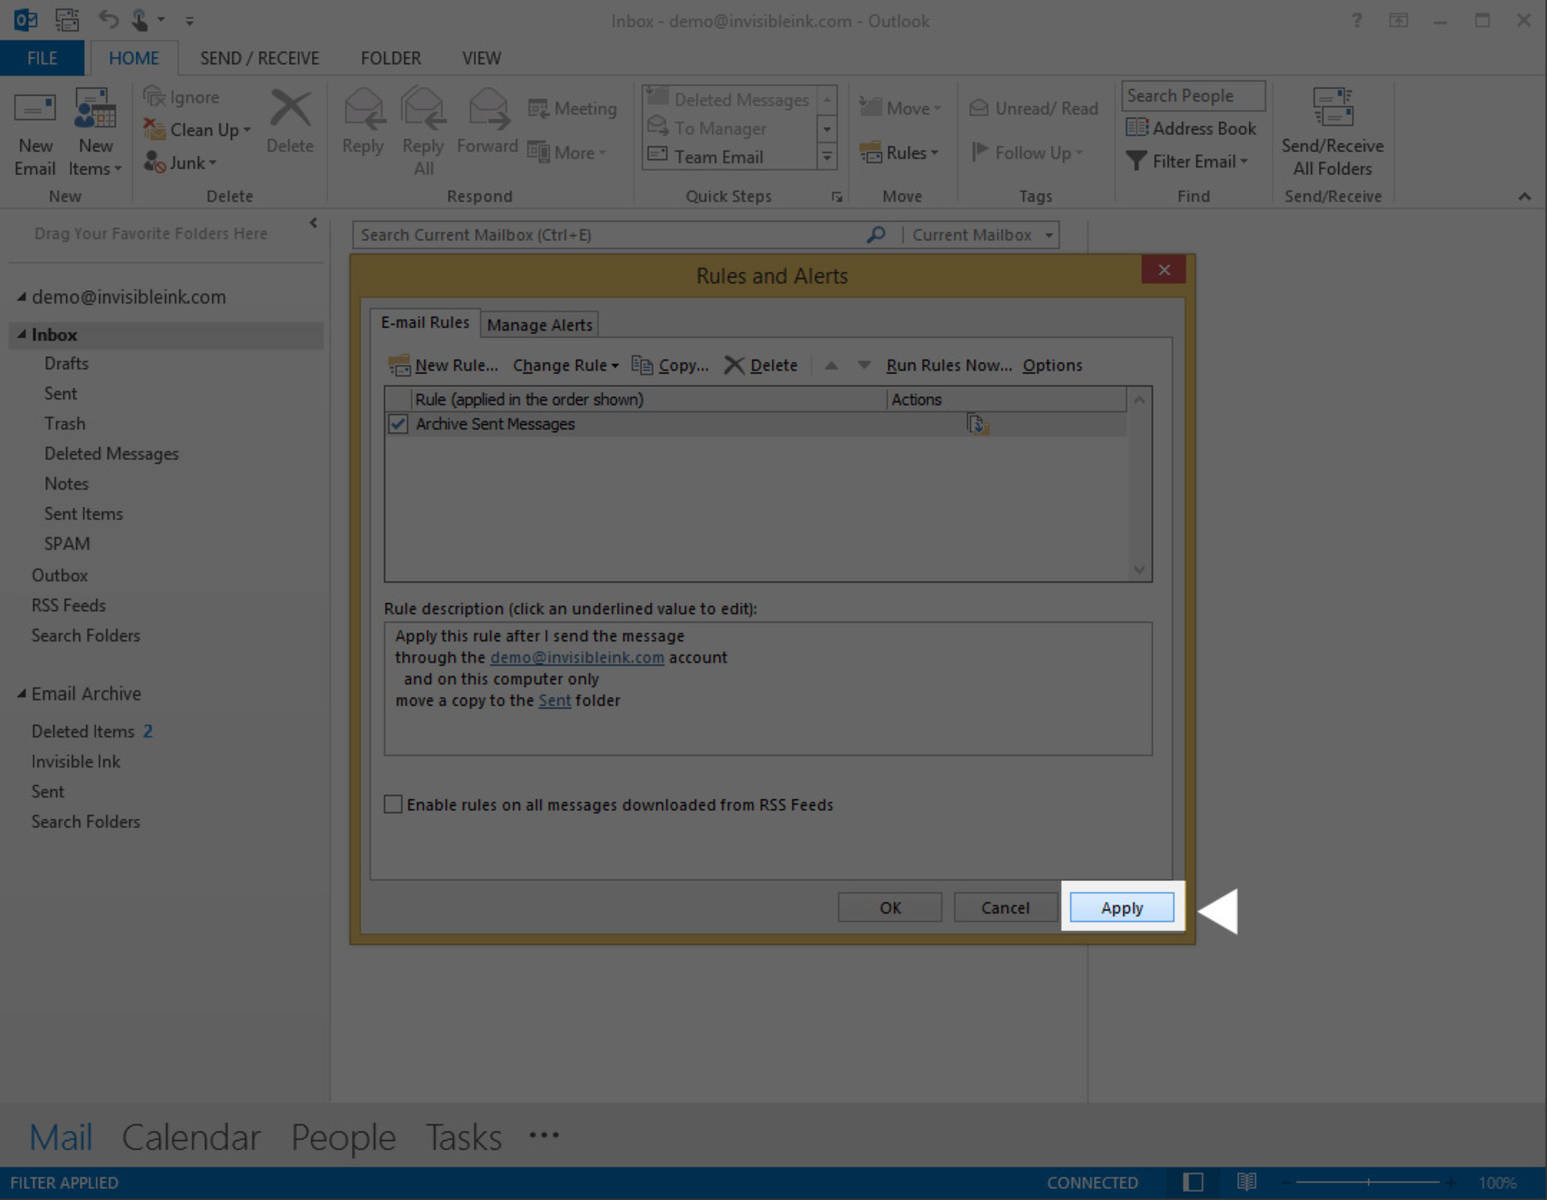
While this sounds convenient in theory, your mailbox can quickly fill up with sent messages causing your account to reach its quota. To prevent this change from affecting your mailbox, you can create a custom rule to automatically archive your sent messages.

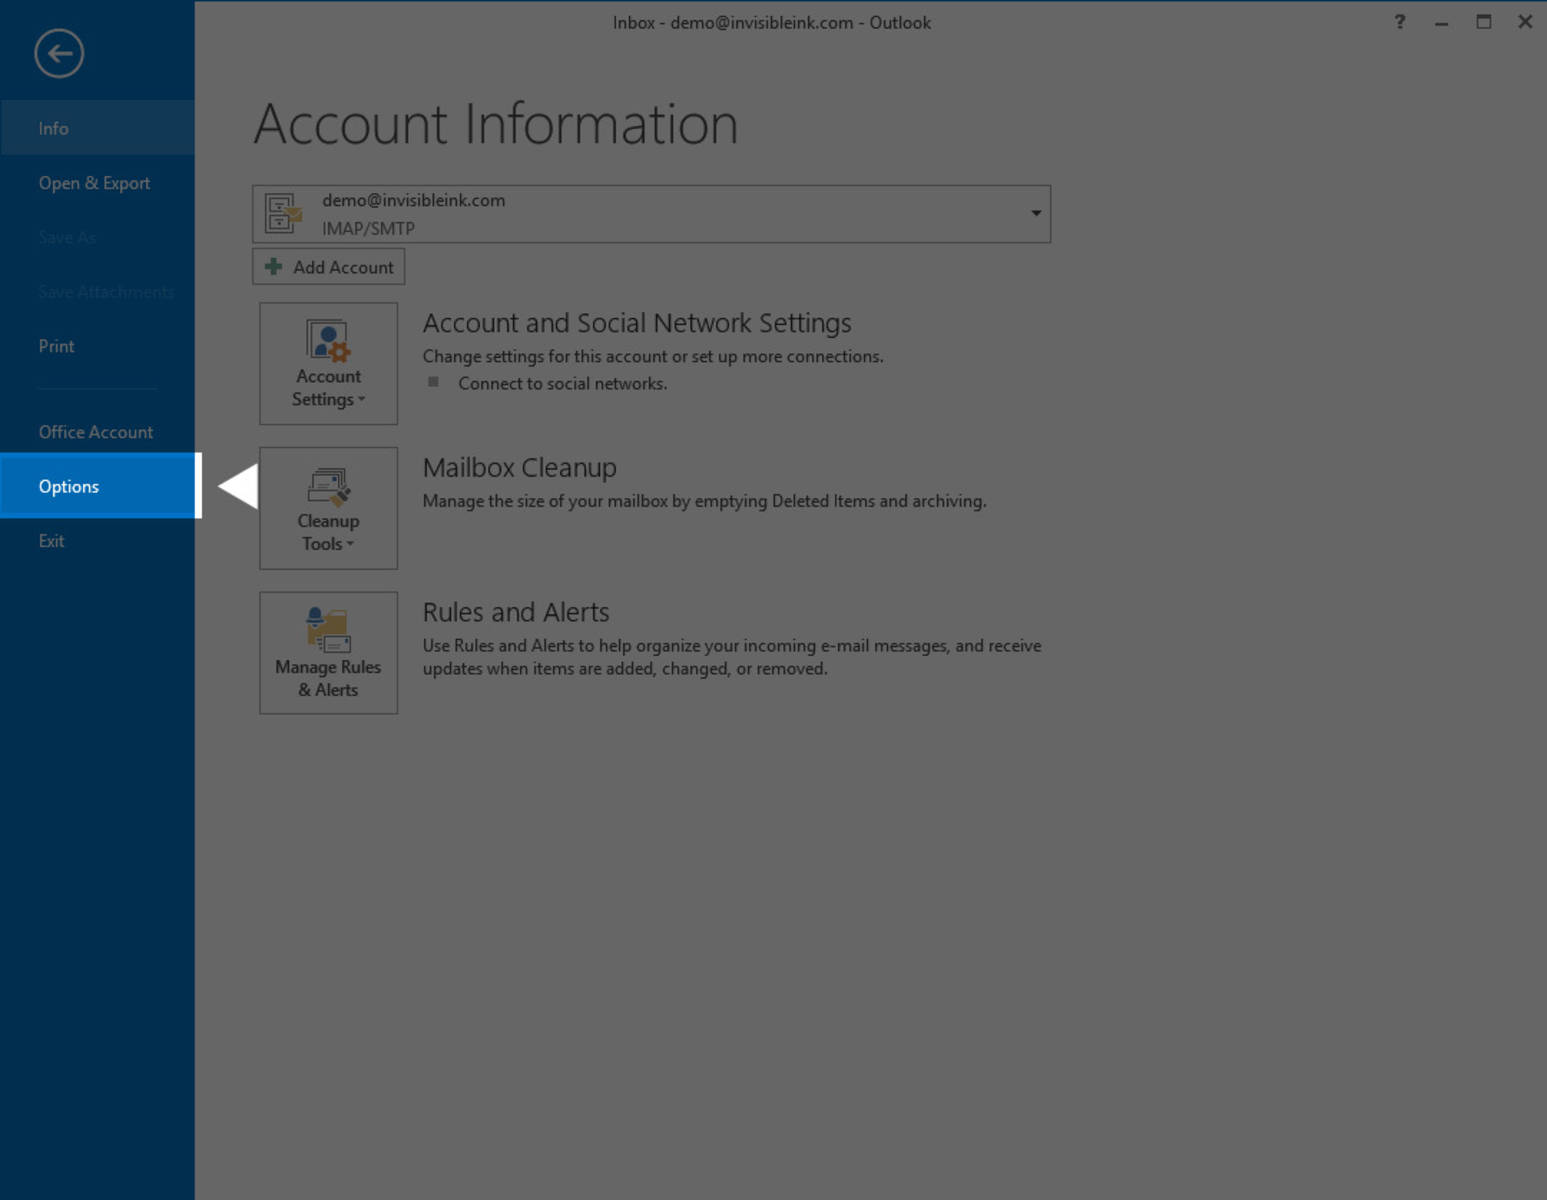
Before you proceed to Part I of these instructions, you will need to set up a new Outlook Data File. This will be used to store sent messages on your computer’s hard drive.

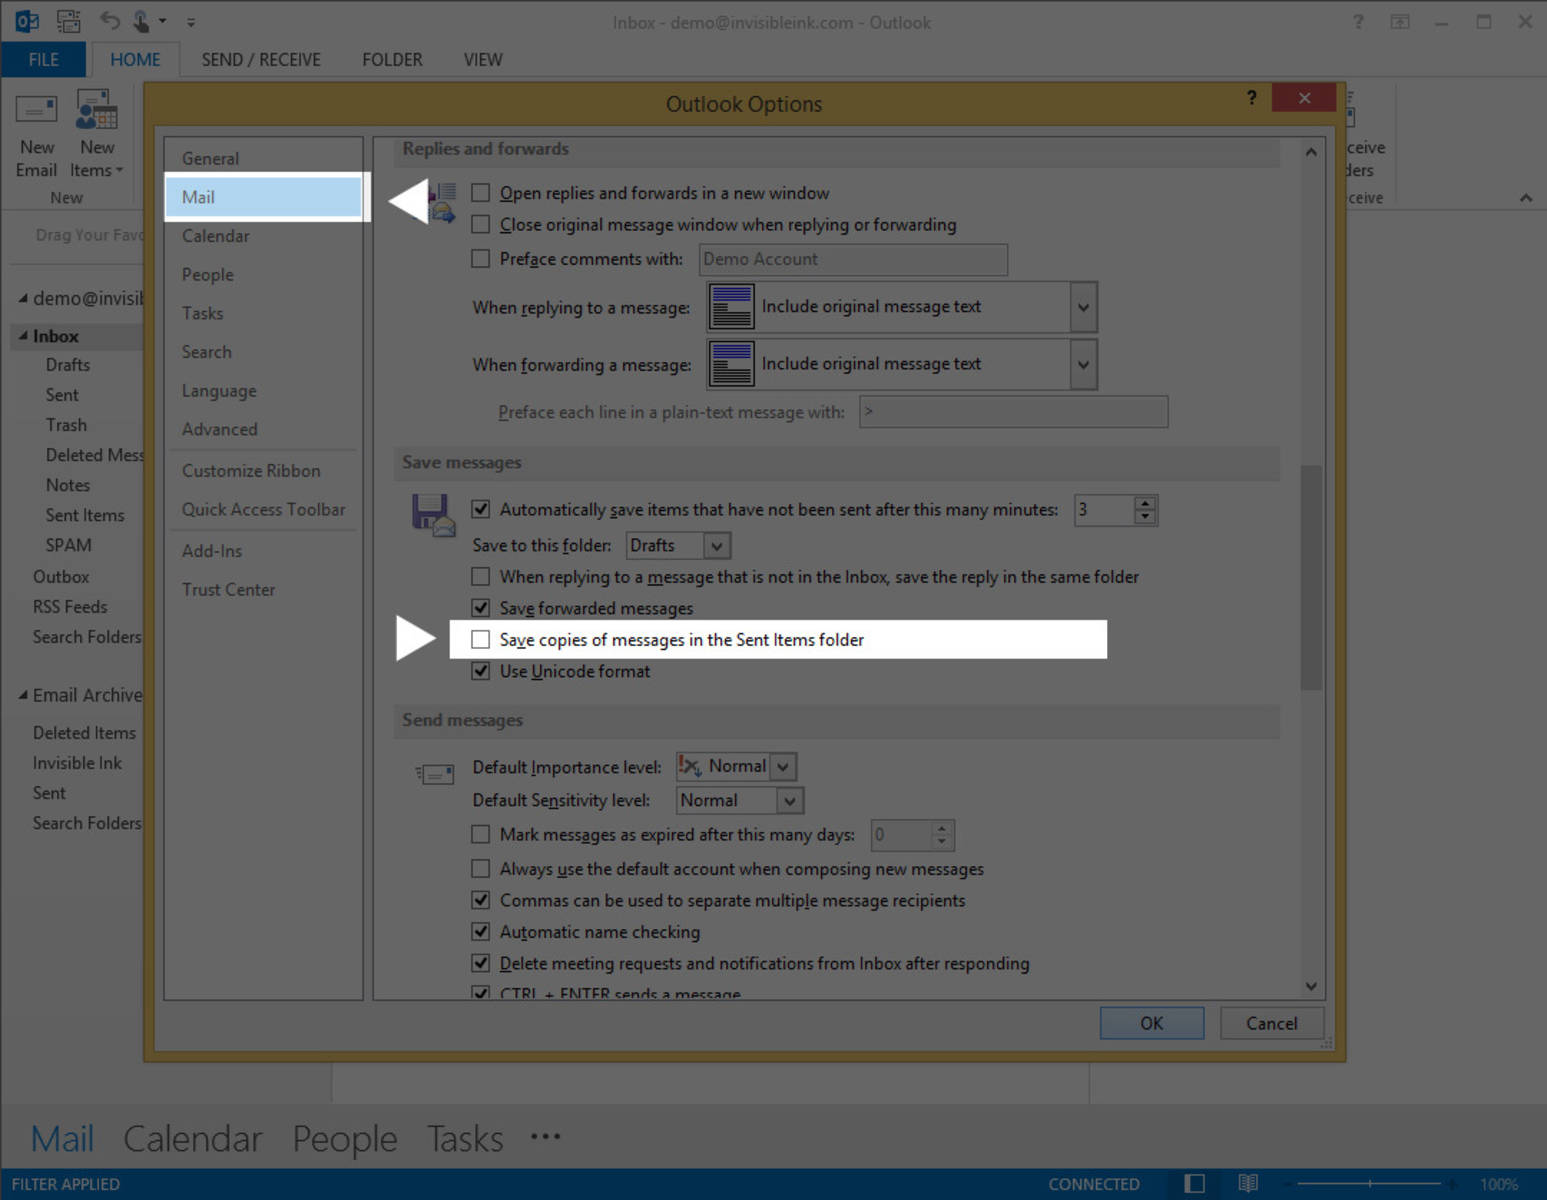
Part II (Optional): If you want to prevent Outlook from saving your Sent messages on the server in the first place, follow part II of the setup after you have finished part I. IMPORTANT: If you use Outlook for other email accounts (Gmail, Office 365, etc.) you may want to skip this part of the instructions since it will apply to ALL accounts in Outlook.

View Instructions

Click the images below to view step-by-step instructions.


Posted April 07, 2015

Details

Part 1, Step 1: Open Outlook 2013 and select Manage Rules & Alerts from the Home tab.
Part 1, Step 2: Click the New Rule button to create a new rule.
Part 1, Step 3: Select “Apply rule on messages I send”, then click Next.
Part 1, Step 4: Check the box next to “through the specified account”, then click on the word “specified”at the bottom of this window to select your account.
Part 1, Step 5: Make sure the correct account is selected in the drop-down menu, then click OK.
Part 1, Step 6: Click Next to proceed to the next screen.
Part 1, Step 7: Check the box next to “move a copy to the specified folder”, then click on the word “specified”at the bottom of this window to select a folder.
Part 1, Step 8: Select the desired sent folder in your offline email archive, then click OK.
Part 1, Step 9: Click Next, then click Next again to skip the “Are there any exceptions?” screen.
Part 1, Step 10: Name your new sent message archive rule, then click Finish.
Part 1, Step 11: Click Apply to enable the new rule, then click OK to close the Rules & Alerts window.
OPTIONAL STEPS (SEE POST INTRO)» Part 2, Step 1: Select the File menu and choose Options.
Part 2, Step 2: From the Mail tab, locate the heading titled Save Messages. Uncheck the box next to “Save copies of messages in the Sent Items folder”, then click OK.
[?]